This post may contain affiliate links. Please read my privacy policy.
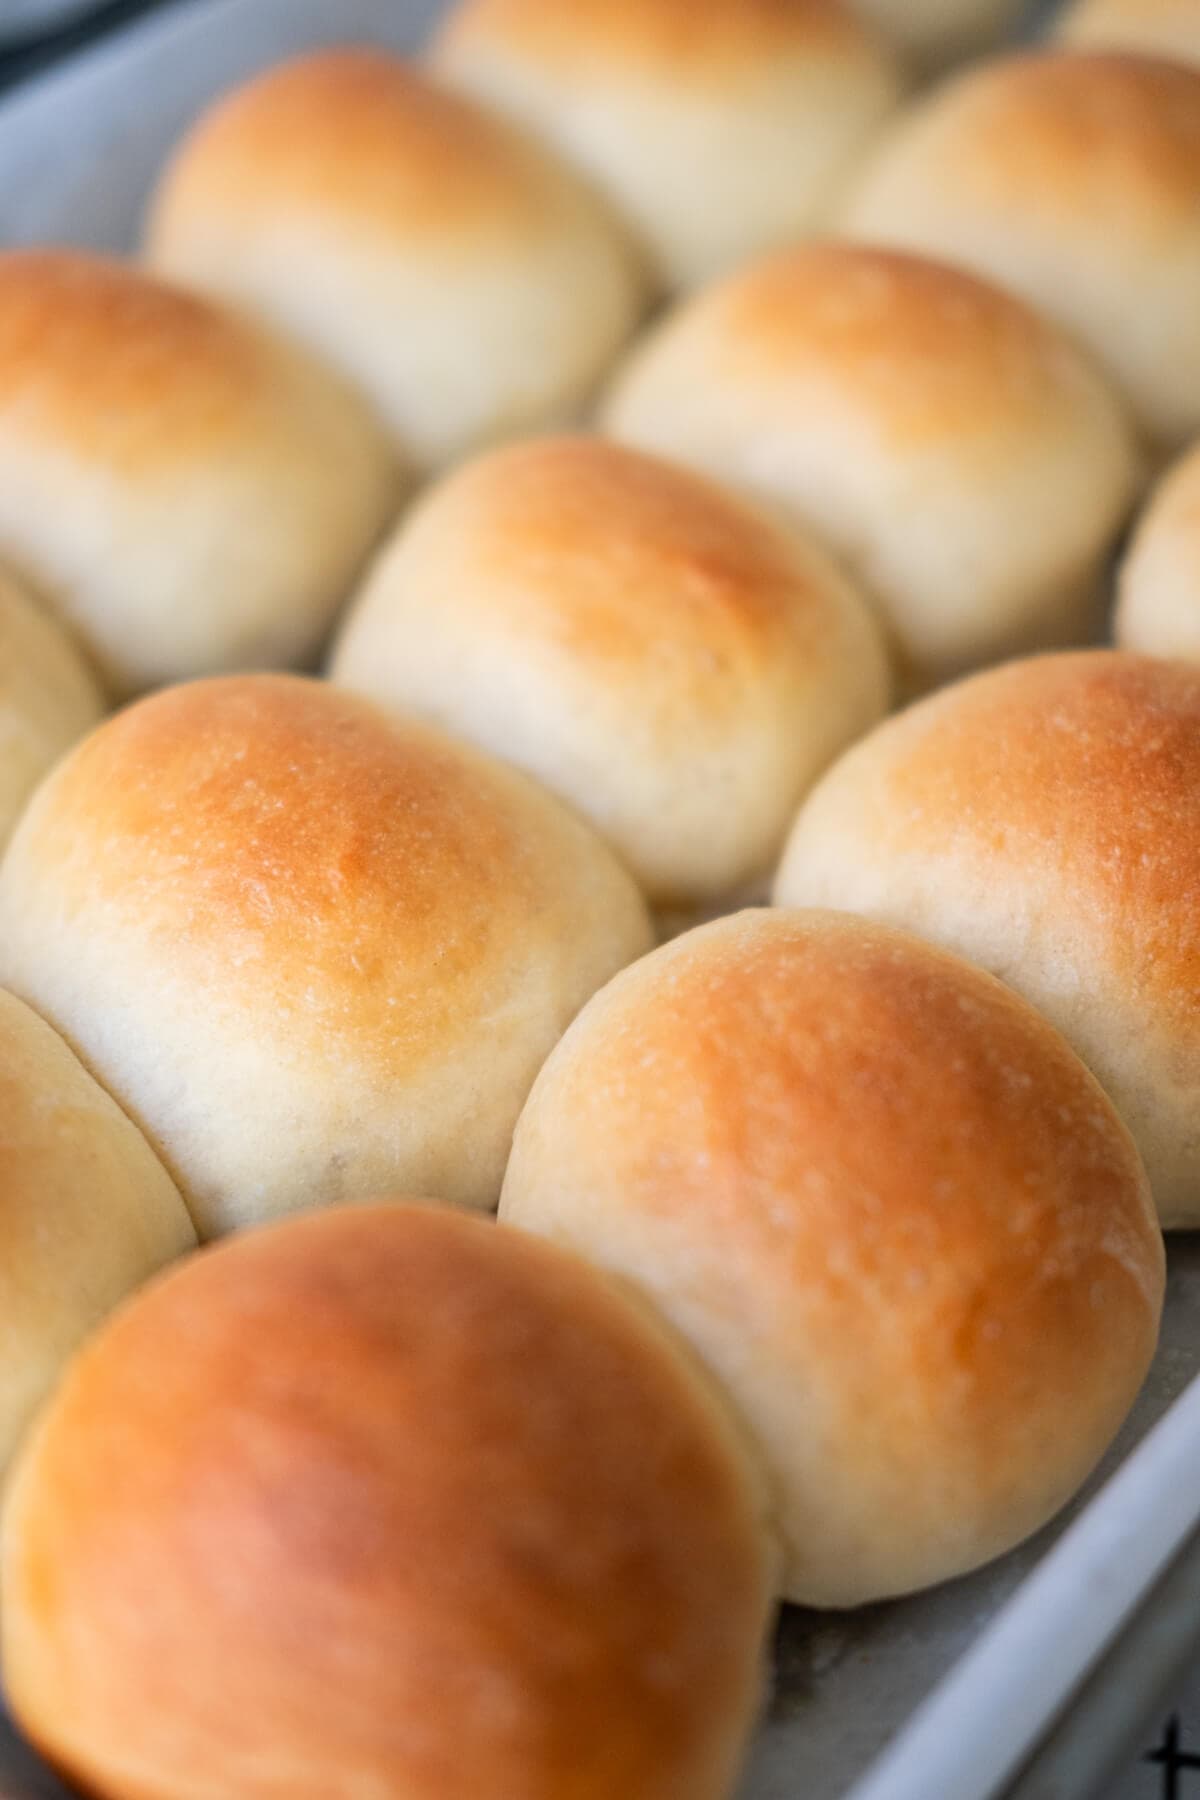
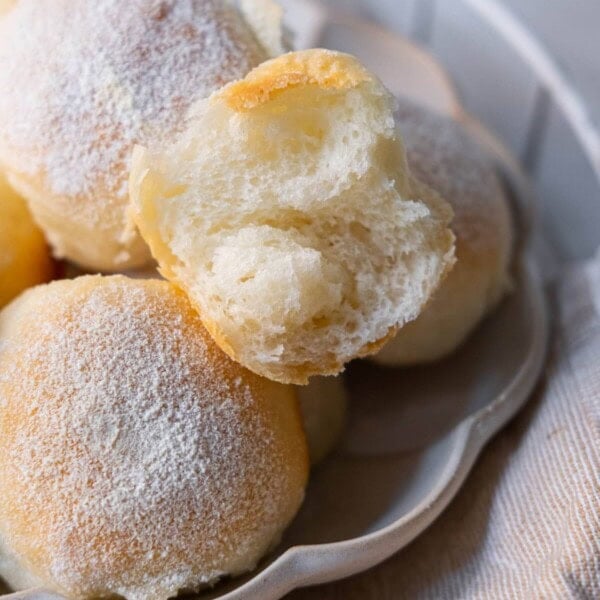
Easy Slider Buns recipe yields cotton-soft, fluffy, buttery buns with a crispy golden brown exterior. These amazing buns are fail-proof and beginning baker friendly. They take just a few simple ingredients you already have in your pantry.

Slider Buns Recipe
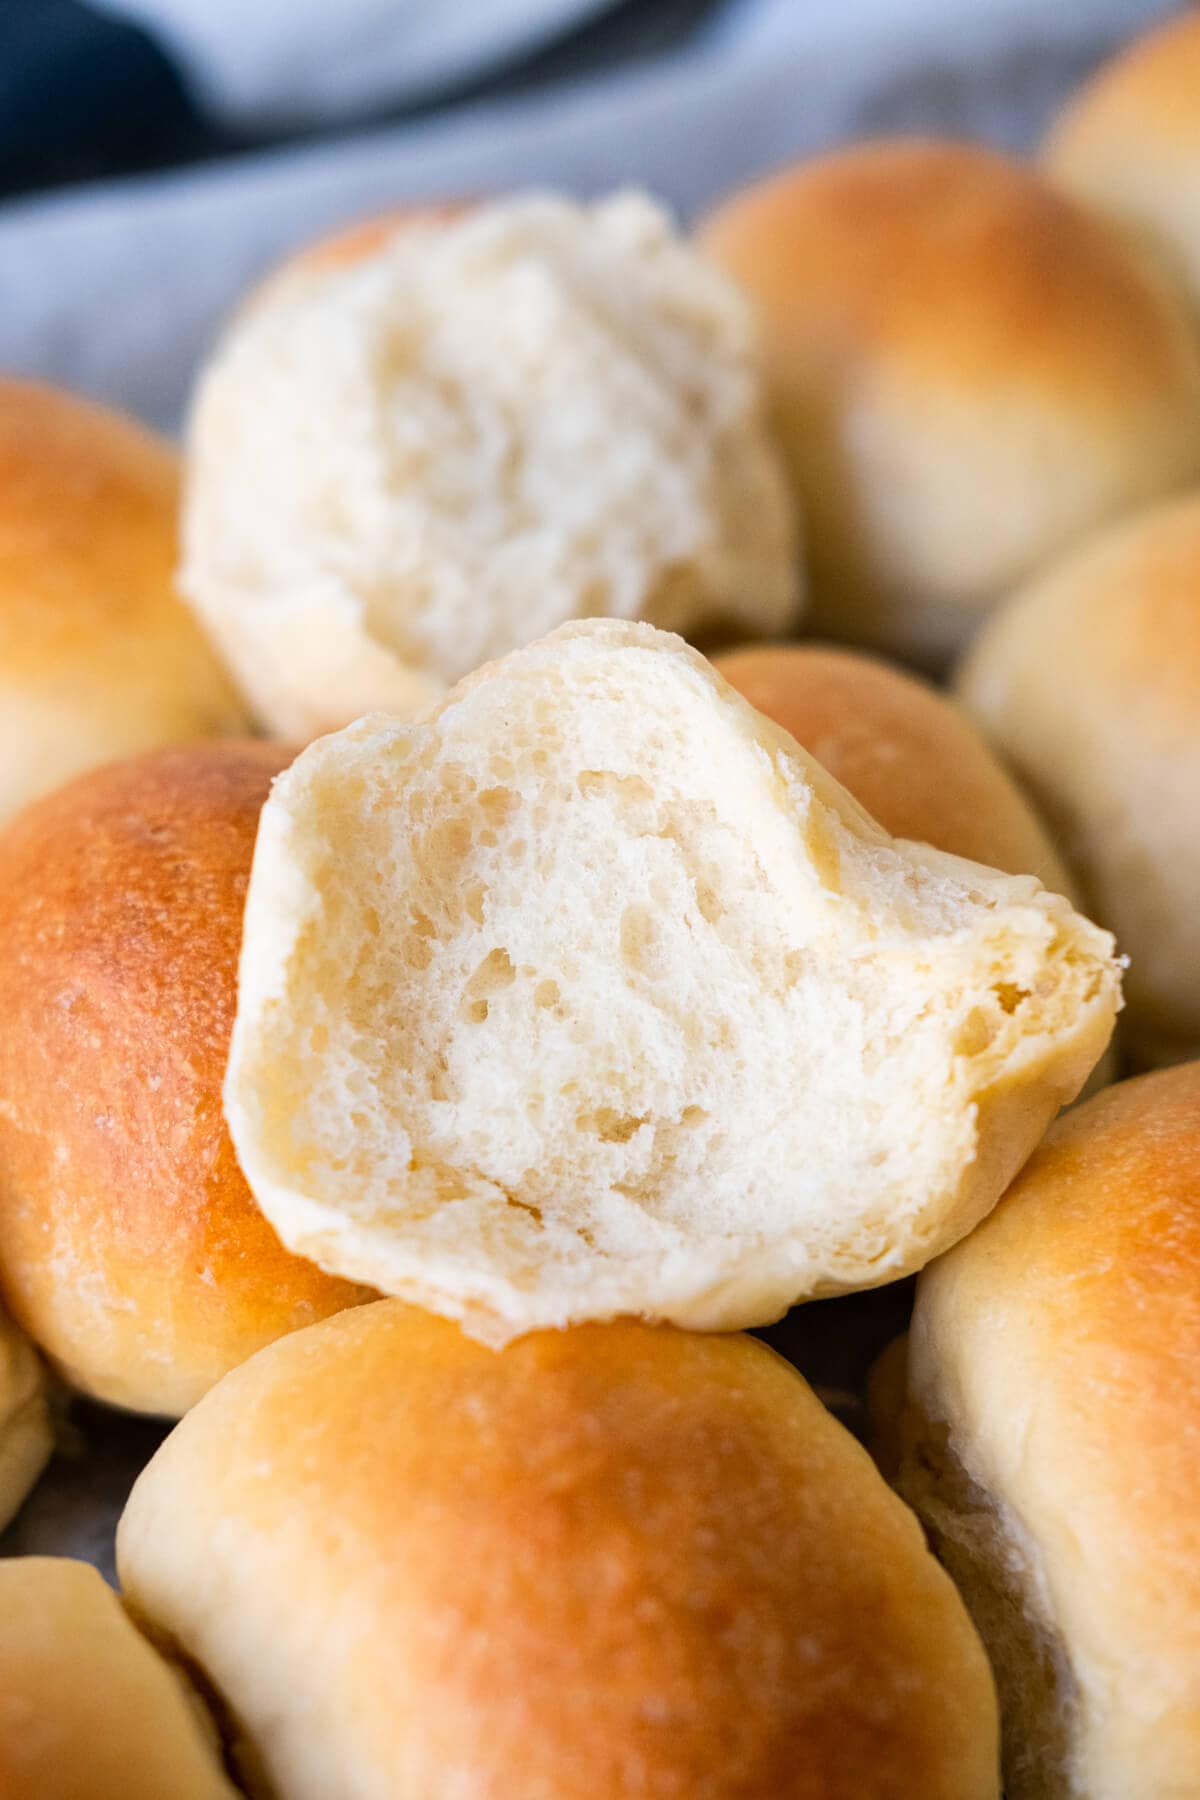
These cottony-soft slider buns are fluffy, buttery, and perfectly baked into golden brown deliciousness. They’re the best and easiest slider buns to make at home with only a few everyday ingredients. It’s effortless to prepare with either a stand mixer or by hand.
Why This Recipe Works
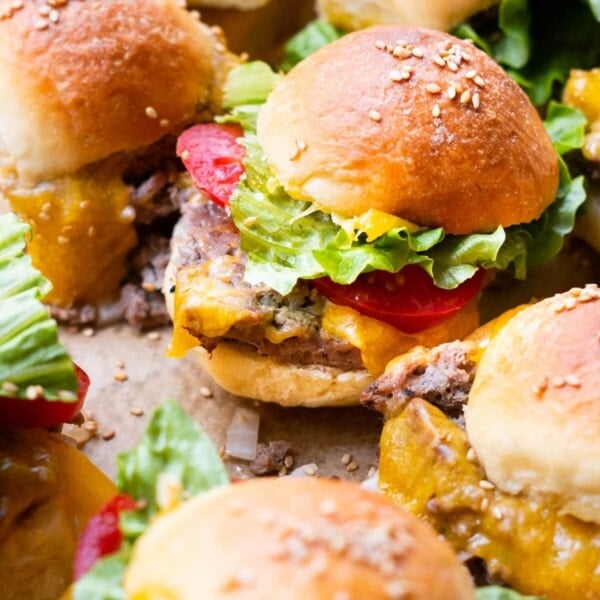
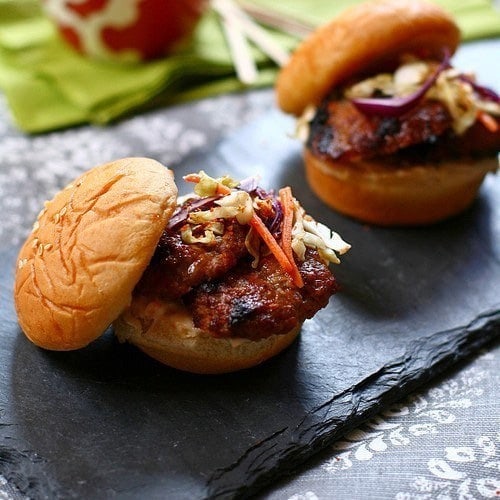
This recipe makes amazing buns for delicious sliders, mini burgers, and sandwiches filled with pulled meat and vegetables. It’s perfect for lunch or dinner, as well as healthy appetizers.
You can always prepare these little buttery buns in advance. The fresh and soft texture lasts for a few days at room temperature.
It’s a novice baker-friendly recipe in which the dough can be easily handled even without a stand mixer.
Recipe Ingredients
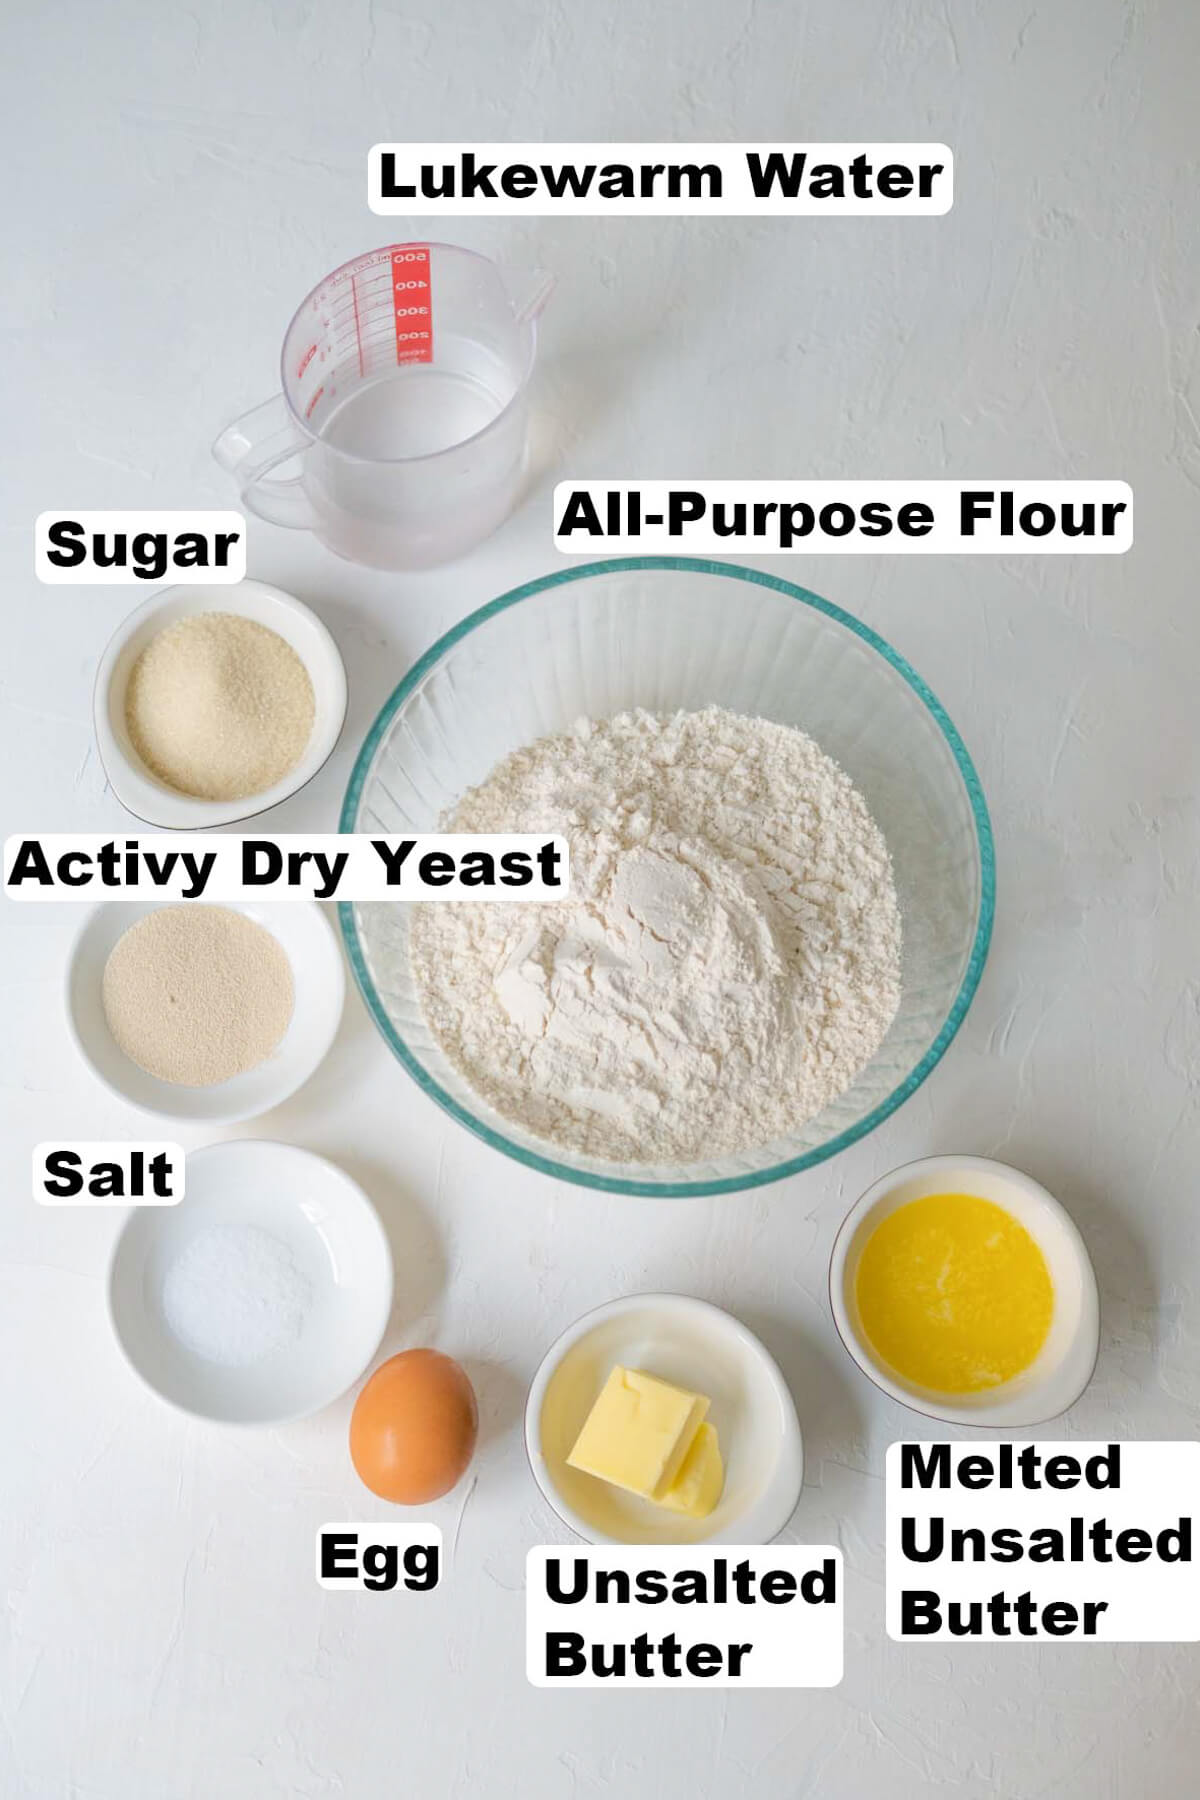
These homemade slider buns are made with:
- Lukewarm water
- Active dry yeast
- Sugar
- All-purpose flour
- Kosher salt
- Egg
- Unsalted butter
If using salted butter for the dough, please omit the Kosher salt in the recipe for the best taste.
If using instant dry yeast as a substitute for active dry yeast, you can skip the first step of activating the yeast in water. Simply combine all dry and wet ingredients except butter in a mixing bowl and knead until well incorporated, then add butter.
See the recipe card for full information on ingredients.
How To Make Slider Buns
First, activate the yeast by mixing sugar, active dry yeast, and lukewarm water in a cup and stirring to combine well. Allow the mixture to sit for 10 minutes until it becomes foamy.
Next, combine all dry ingredients with the yeast mixture and knead the dough with either a stand mixer or by hand.
Let the dough rise for an hour until it has doubled in size, then divide it into eighteen equal pieces.
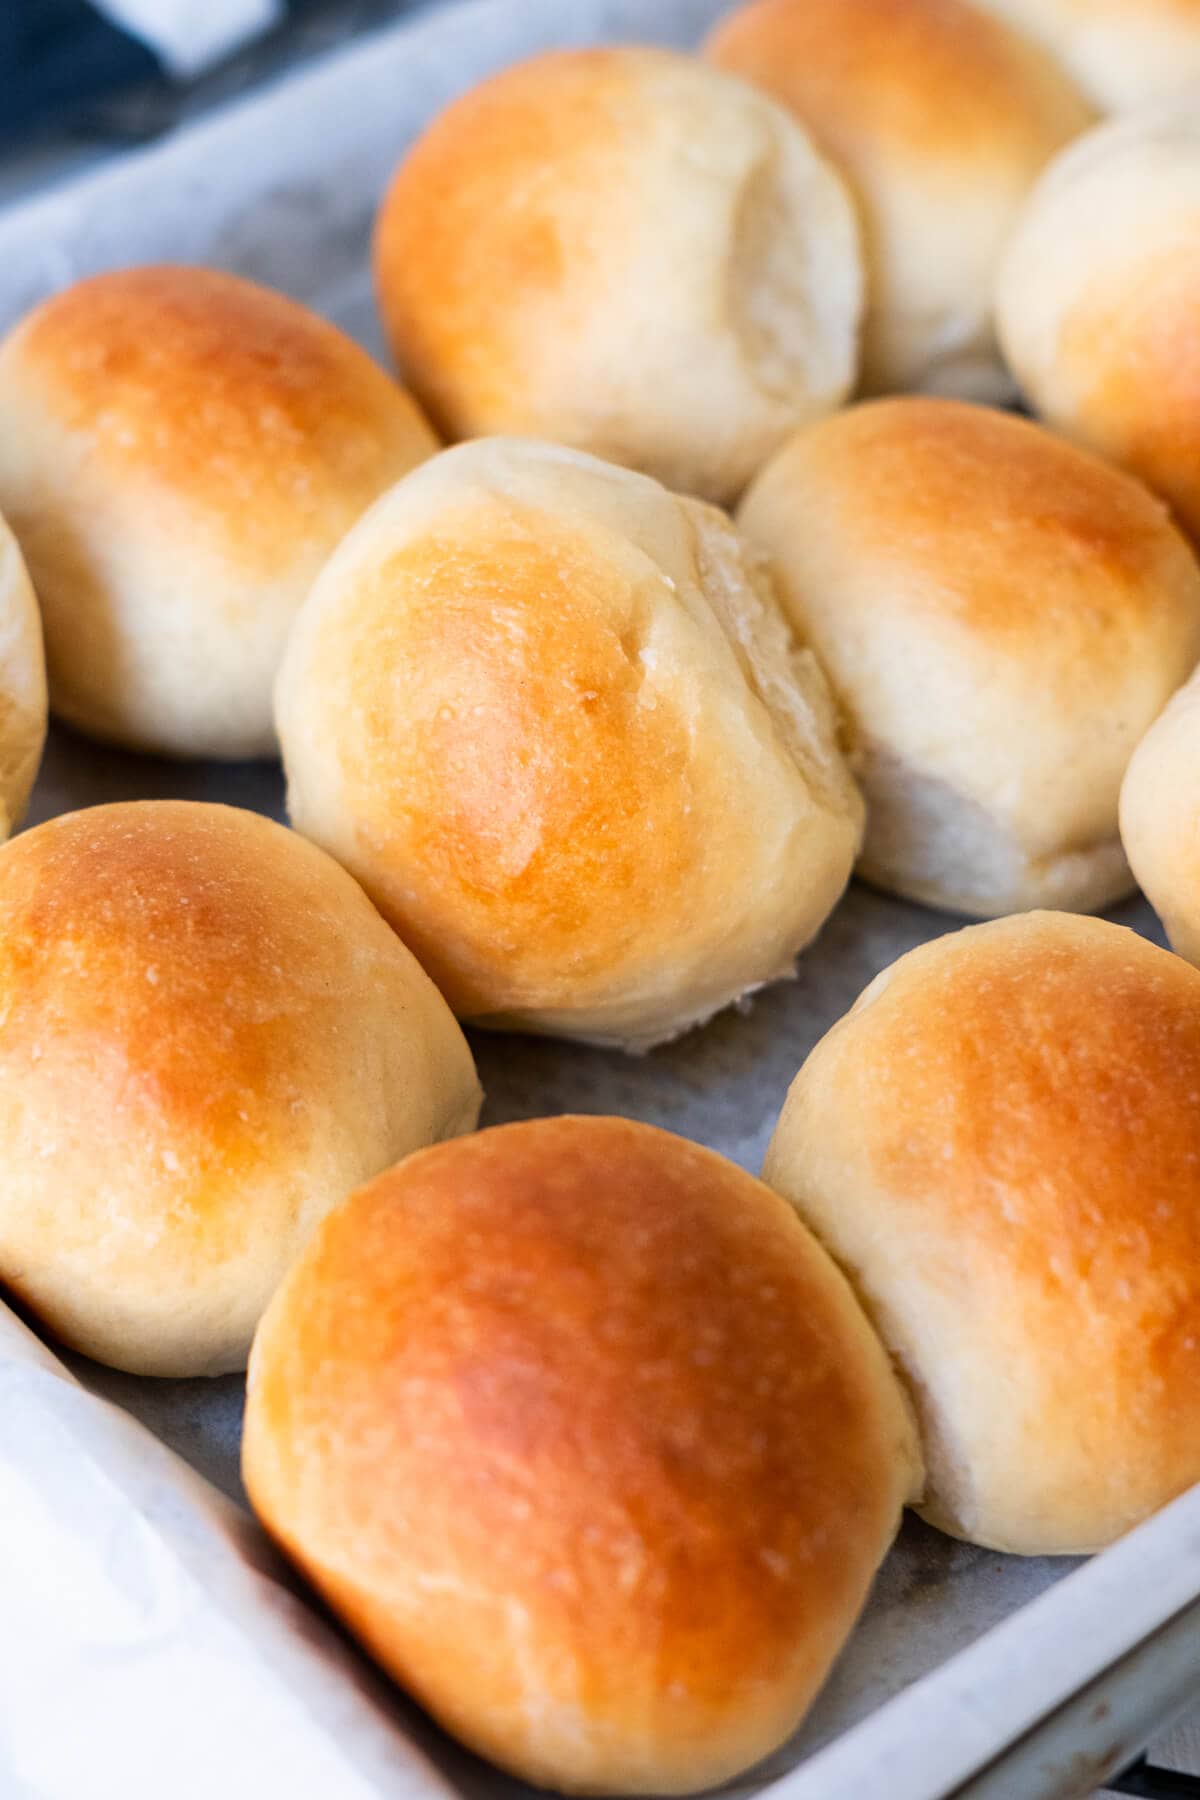
Shape the buns, and transfer them to a baking pan. Proof the dough for half an hour to 45 minutes until doubled in size and puffy.
Finally, bake the buns. Brush them with tons of melted butter before and after baking to get the perfect golden brown.
Baking Tips
For the best result, please follow these tips:
- Always check the yeast’s expiration date to ensure the buns will rise properly.
- Activate the dry yeast by mixing it with sugar and lukewarm water, stir well, and sit for 10 minutes until foamy. Get a new pack of active dry yeast for the recipe if it doesn’t froth up.
- To make the buns the exact same size, divide and weigh them before shaping.
- Generously brush the buns with melted butter before and after baking. It helps to create a perfect crispy golden brown exterior in the oven as well as a soft crust afterwards.
Frequently Asked Questions
Keep the leftover buns at room temperature for up to 5 days with an airtight bag or container sealed.
In a freezer bag, the buns will last for 2 months in the deep freezer.
Reheat the slider buns in the oven for 5 to 8 minutes at 350°F after buttering them.
This recipe has only 128 calories per serving.
Other Recipes You Might Like

I hope you enjoy this post as much as I do. If you try my recipe, please leave a comment and consider giving it a 5-star rating. For more easy and delicious recipes, explore my Recipe Index, and stay updated by subscribing to my newsletter and following me on Facebook, Pinterest, and Instagram for new updates.

Slider Buns
Ingredients
- 1 cup lukewarm water
- 1 tablespoon active dry yeast
- 3 tablespoon sugar
- 3 1/2 cups all-purpose flour
- 1 teaspoon kosher salt
- 1 egg, 2 oz (or 60g) with shell
- 2 tablespoons unsalted butter, softened
- 3 tablespoons unsalted butter, melted
Instructions
- Add lukewarm water, active dry yeast, and sugar to a measuring cup and stir well. Let it sit for 10 minutes, or until foamy. In a large mixing bowl, combine all-purpose flour, salt, and egg, then pour in the yeast mixture. Mix well with a spatula. Using a stand mixer with a dough hook, knead the dough on high speed for 5 minutes, or until smooth.
- Add the softened butter and continue kneading for 5 minutes at medium-high speed until the butter is fully incorporated and the dough becomes smooth and elastic. (If kneading by hand, it should take less than 10 minutes to achieve a smooth dough.)
- Cover the dough with plastic wrap and let it rise in a warm place for 1 hour, or until doubled in size. (You can place the dough in the microwave with a cup of hot water to create a warm environment for rising.) Transfer the dough to a clean surface and gently press it to release the air. Divide the dough into 18 equal pieces and shape each piece into a smooth ball.
- Line a 10×15-inch (25 x 38 cm) baking pan with parchment paper. Place each bun in the pan, spaced 1 inch apart. Let the dough rise in the pan for 30 to 45 minutes in a warm area, or until puffy and doubled in size.
- Preheat the oven to 356°F (180°C). Brush the buns with melted butter and bake for 15 minutes, or until golden brown. Transfer the buns to a cooling rack and brush more melted butter on top while still warm. Allow the buns to cool for 5 minutes before enjoying.
Video
Notes
- Always check the expiration date of the yeast you're using. The buns won't be high and fluffy if the yeast is expired.
- Activate the dry yeast by mixing it with sugar and lukewarm water, stir well, and sit for 10 minutes until foamy. If it doesn't froth up, get a new pack of active dry yeast for the recipe.
- To make the buns the exact same size, divide and weight them before shaping.
- Generously brush the buns with melted butter before and after baking. It helps to create a perfect crispy golden brown exterior in the oven.
Nutrition
Nutrition information is automatically calculated, so should only be used as an approximation.


128 kcal per roll? And does that just mean 128 cals?
Yes. 128 kcal means 128 calories per roll.
I’ve made this recipe 4 times now and it’s completely replaced store-bought slider buns for my family. Easy, foolproof and delicious! Thank you!
Hi Katherine, thanks for trying my recipe and for the 5 stars! :)
Can I make and freeze the dough ahead of time? If so, what does that process look like?
If you’d like to freeze the dough, you would do so right after kneading.(step 3 in recipe) To use the dough, you will need to let it thaw out in the fridge overnight, and then once thawed, you continue with step 4 in the recipe. Do make sure to wrap your dough well to prevent freezer burn. The alternative is to bake and then freeze the buns.
The recipe says to cook at 356 degrees Fahrenheit… my oven doesn’t do that temp ! What do you suggest ?
Hi Lauren. Do you mean that your oven cannot get up to 356 degrees Fahrenheit, or that you don’t have a specific setting for that temperature? If it’s the latter, you can set it at 350 degrees F, and let it bake for an extra minute while keeping a close eye on the buns.
Can this be made in a bread machine?
You can try!
Absolutely perfect. I used instant yeast because that’s my personal preference and it is HOT here so the dough didn’t take long to rise. The rolls are nice & light too. Thanks so much for this recipe.
Lol! Someone new to baking breads/buns will probably add the egg with the shell included, not knowing any better. Definitely needs to be worded better. (1 egg, 2 oz with shell).
I think I’m going to try these, but I would be much more confident if you could use weight for your ingredients — especially flour — instead of volume.
A cup of flour could be 120 grams or 150, and it can mean the difference between a successful bake and a failure.
I love this site and your recipes. I expect this one will work out, too, but let me just say that for baked goods I much appreciate weight measurements, and other folks might, too.
Good