This post may contain affiliate links. Please read my privacy policy.
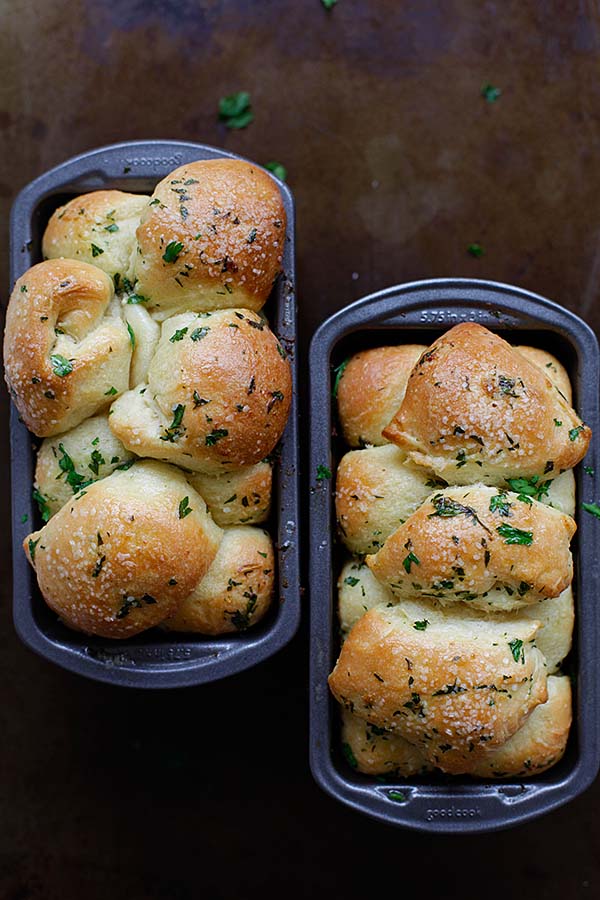
Table of Contents
FREE EMAIL BONUS:
5 Secrets to 20 Minute Dinners!
Tips, tricks, and recipes for dinner in a hurry!
I am not a good baker, but once in while, when I chance upon great baking recipes, I would bookmark them and attempt the recipes at home.
So, when I saw this amazing pull apart garlic bread on Pinterest a few weeks ago, I immediately saved it to one of my boards.
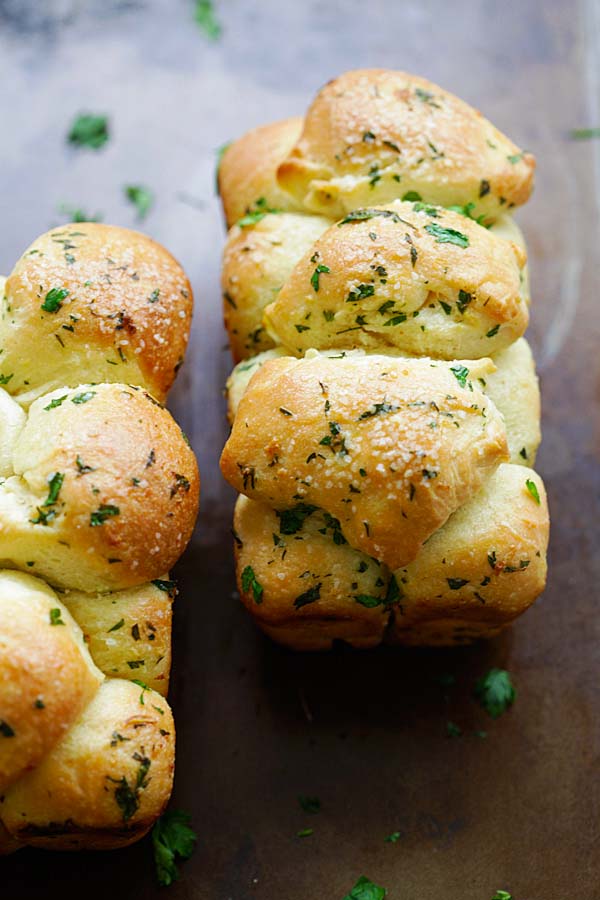
I love garlic bread, especially those warm-off-the-oven, garlicky, buttery, aromatic pull apart garlic bread that I can just easily tear off and munch away.
While I like the regular loaf of garlic bread, sometimes it’s kind of a hassle as I need to slice the garlic bread before eating.
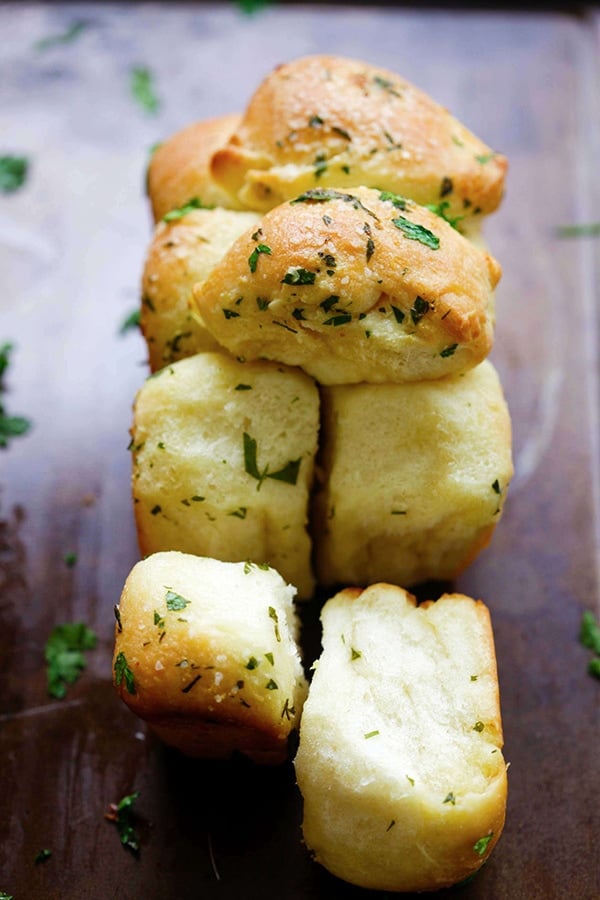
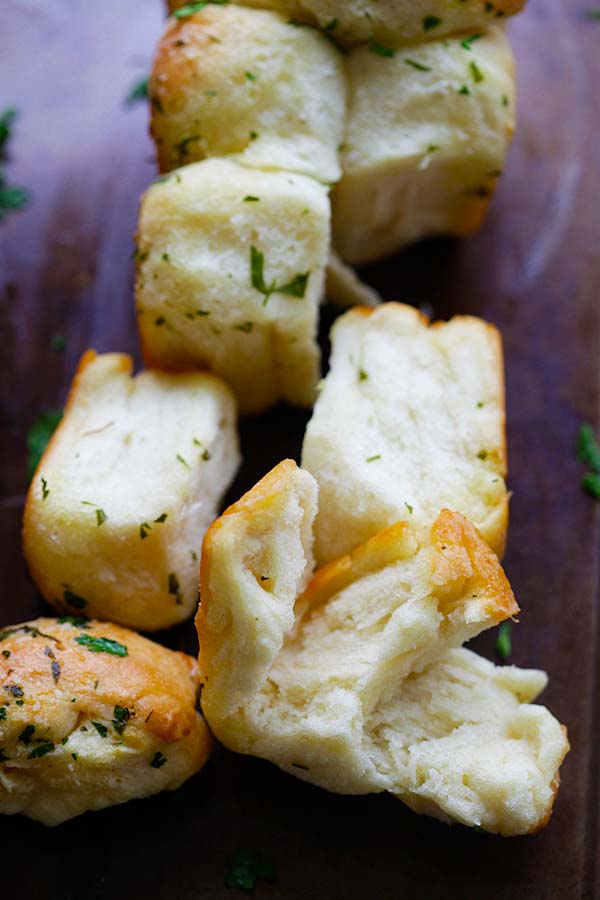
So the pull apart garlic bread works just great for me, as I can just tear it off and eat the bread whenever I like.
I gathered the ingredients and spent some time in the kitchen baking this wonderful pull apart garlic bread. The recipe is adapted from Carmel Moments but I reduced the ingredients into half.
I wanted to make sure that I don’t waste the ingredients in case I fail. The recipe is rather easy and straight forward to follow and fool proof.
A couple of hours in the kitchen and I had the beautiful bread in the kitchen!
How Many Calories per Serving?
This recipe is only 414 calories per serving.
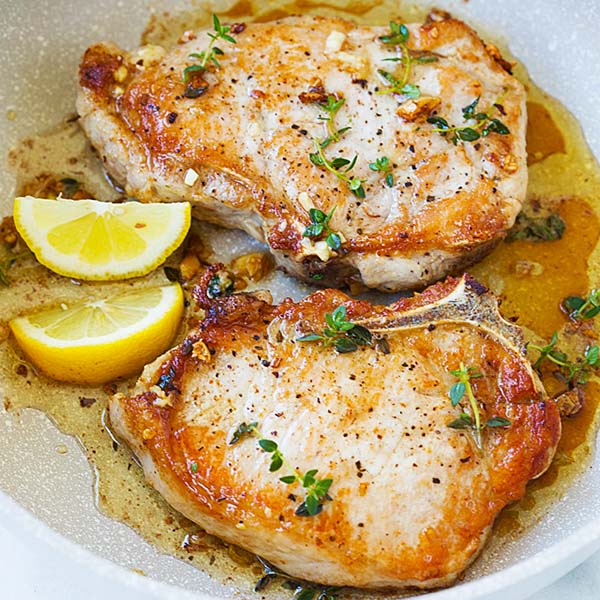
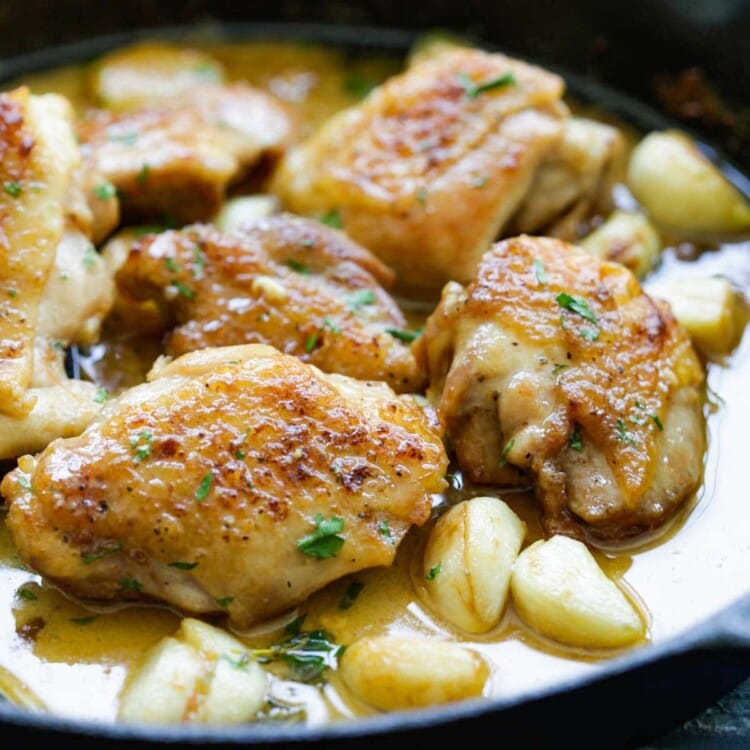
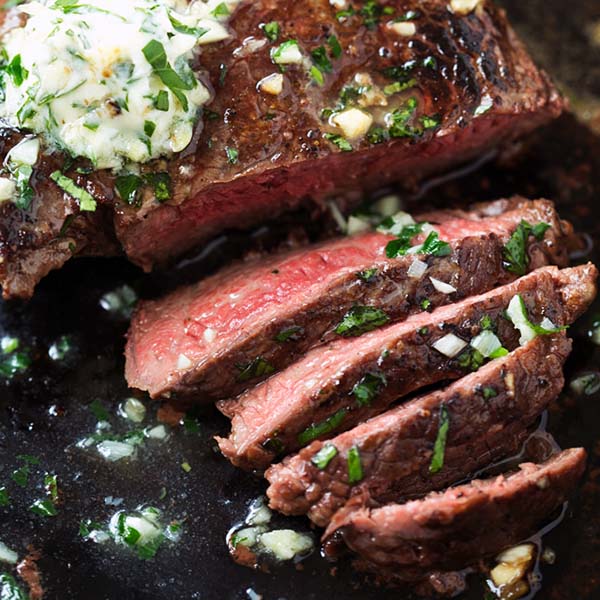
What Dishes to Serve with This Recipe?
For a wholesome meal and easy weeknight dinner, I recommend the following recipes.

Pull Apart Garlic Bread
Ingredients
- 1/2 cup warm water
- 1 teaspoon active dry yeast
- 1 tablespoon white sugar
- 1 tablespoon unsalted butter (softened)
- 1/2 cup milk
- 1 teaspoon salt
- 3 cups bread flour
Topping:
- 4 tablespoons butter (melted)
- 1 pinch salt
- some finely chopped fresh parsley leaves
- 2 cloves garlic (finely minced)
Instructions
- Add warm water to the bowl of a stand mixer fitted with dough hook. Sprinkle sugar and yeast into the water. Let stand 5-10 minutes until foamy. Mix in butter, milk, salt and stir in the flour gradually. Knead for 7-10 minutes. Dough should stick to the bottom of the bowl but clears sides. Divide dough into 2 equal portions.
- In a small bowl, combine the butter, salt, parsley leaves, and garlic. Cut dough into small round pieces and dip into the butter mixture. Arrange the dough balls into two mini loaf pan or one regular loaf pan. Cover and let rise until doubled, about 1 hour. Reserve the leftover butter mixture.
- Bake at 350°F (176°C) for 30 minutes or until golden brown. Baste the butter mixture on the pull-apart garlic bread after they are out of the oven.
Video
Nutrition
This is yummy! I made it tonight with all purpose flour since that’s all I had. Do you have a suggestion on storage?
Just wrap it up with aluminum foil and keep it in the fridge.
This recipe is perfect. Absolutely perfect. I have had Texas Toast sitting in my freezer for quite some time now because I refuse to use it and always make this instead! I also tried to omit the garlic and made regular pull apart rolls for fun. They were delicious, as well of course! Go make it!
Thanks, Tiffany.
Michael.
Try it with sweet dough, or even instead of making cinnamon ROLLS
………
I have made this bread twice now and it is so delicious, pillowy soft. Someone called it the best garlic bread they have had!!!
Also love that its a 1 rise bread makes is so eacy. I even prepared everything let it rise and cooked it at a friends house so it was fresh out the oven.
Hi Stacey, thanks so much for trying my recipe. Please try more: https://rasamalaysia.com/recipe-index-gallery/
Hi! Wondering if you can use a bread maker for the first part instead of the stand alone mixer?
Thanks and I can’t wait to make it!
I don’t have garlic, but I have garlic powder would that still work?
Yes, you can try.
I’d like to try this recipe. Can I use instant yeast instead of active dry yeast?
Should be fine.
Can I use all all purpose flour if I do not have bread flour? And would the measurements be the same on the flour? Thanks!
You can try all-purpose flour but I think it should be fine, but I can’t guarantee the exact same results.
I have never been able to bake a bread that I’ve been really satisfied with, but this bread turned out amazing. It was so delicious everyone in my family loved it. I will definitely save and share this recipe. Thank you!
Hi Arlene awesome. Please try more recipes on my site: https://rasamalaysia.com/recipe-index-gallery/
Do you not have to proof this 2 times? Or just the ones?
Please follow the instructions.
Can I substitute regular all purpose flour for the bread flour?
I think it should be fine.
Nice recipe. I am going to try them . I just wanted to know , once the dough is cut into 2 , do we have to rest them ? That is before making balls and dipping them in garlic mixture
I am about to make this…you don’t say what size pan to bake the bread in.
Please help! Thanks. Barbara
Two mini loaf pans per the pictures.
Thank you…yes, I figured it out …from your photo….actually they are 8 x 4 loaf pans…it . turned out great! Thanks.
Hi Barbara, thanks and I am glad you had success. Please try more recipes on my site: https://rasamalaysia.com/recipe-index-gallery/
I noticed in the directions you said we can also use one bread loaf pan but is there a a temperature and bake time difference with one normal size loaf pan?
Same.
Hey! I’m making this bread a day earlier than I was supposed to (thought we were having spaghetti tonight…lol). Will it be good on the counter til tomorrow, or should I refrigerate it and warm it up in the oven tomorrow? Also, should I wait to baste it until tomorrow??? Thanks!!! :)
You can keep on the counter and still reheat in the oven tomorrow. You can baste it and again when ready to serve. :)