This post may contain affiliate links. Please read my privacy policy.
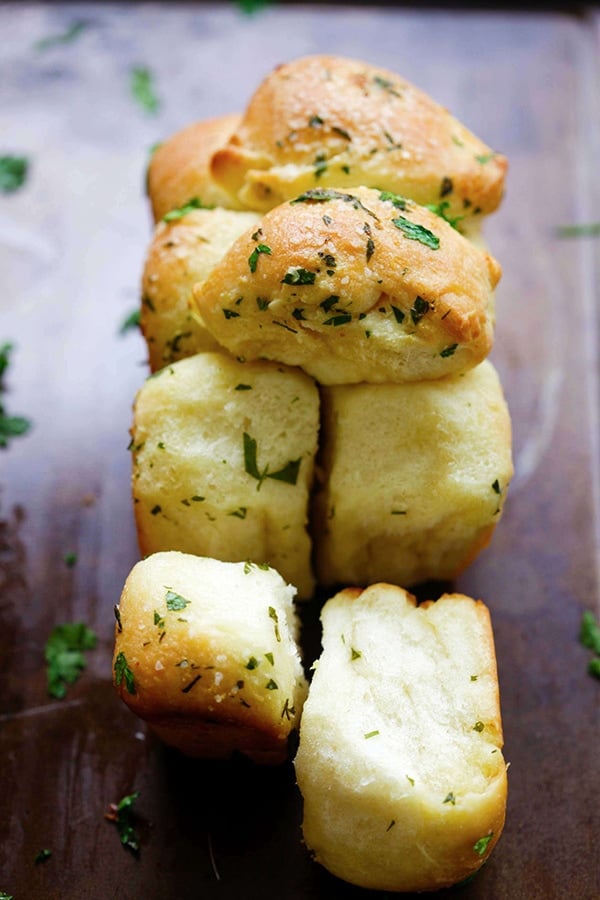
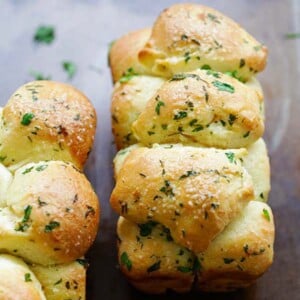
Pull Apart Garlic Bread - homemade pull apart garlic bread recipe that is easy, fool proof and yields the softest and best garlic bread ever!
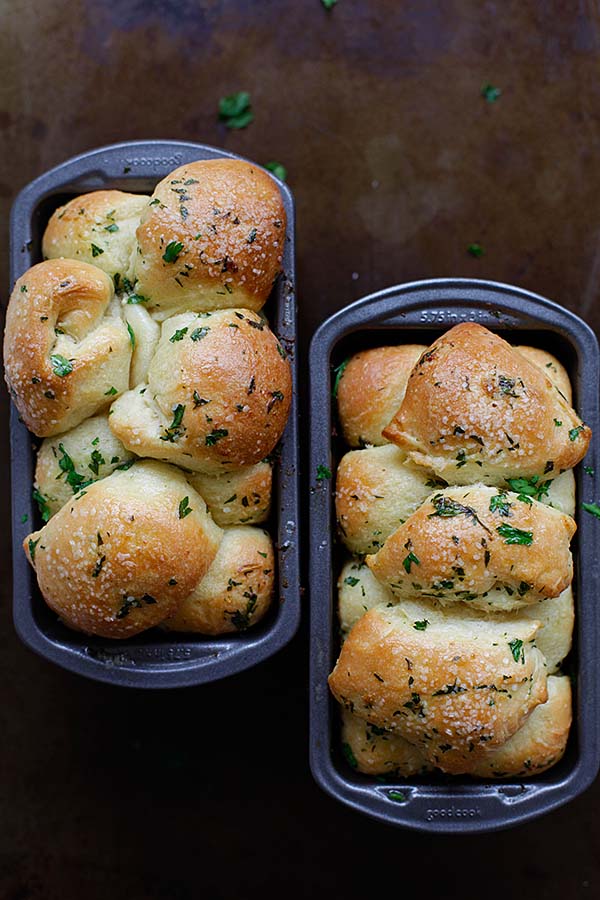
Pull Apart Garlic Bread
I am not a good baker, but once in while, when I chance upon great baking recipes, I would bookmark them and attempt the recipes at home.
So, when I saw this amazing pull apart garlic bread on Pinterest a few weeks ago, I immediately saved it to one of my boards.
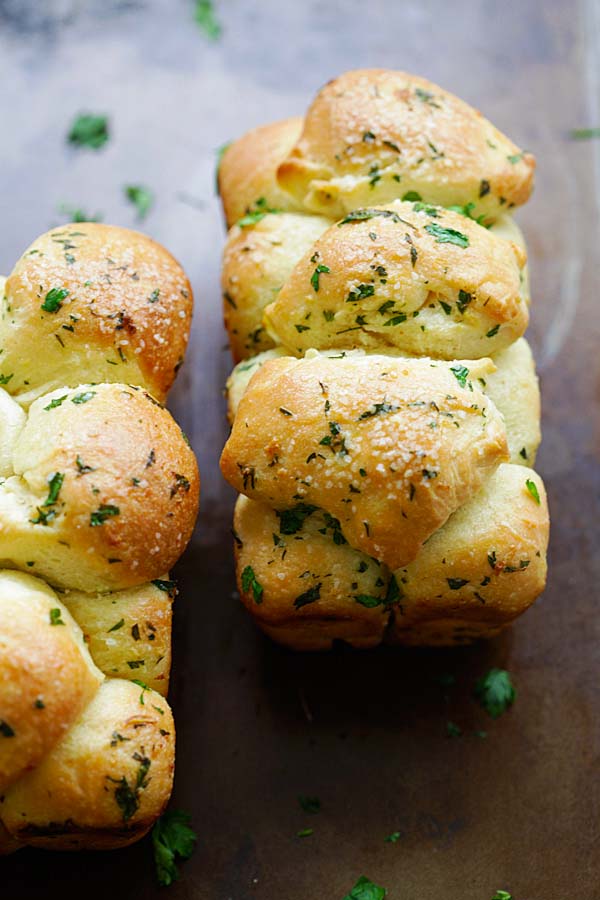
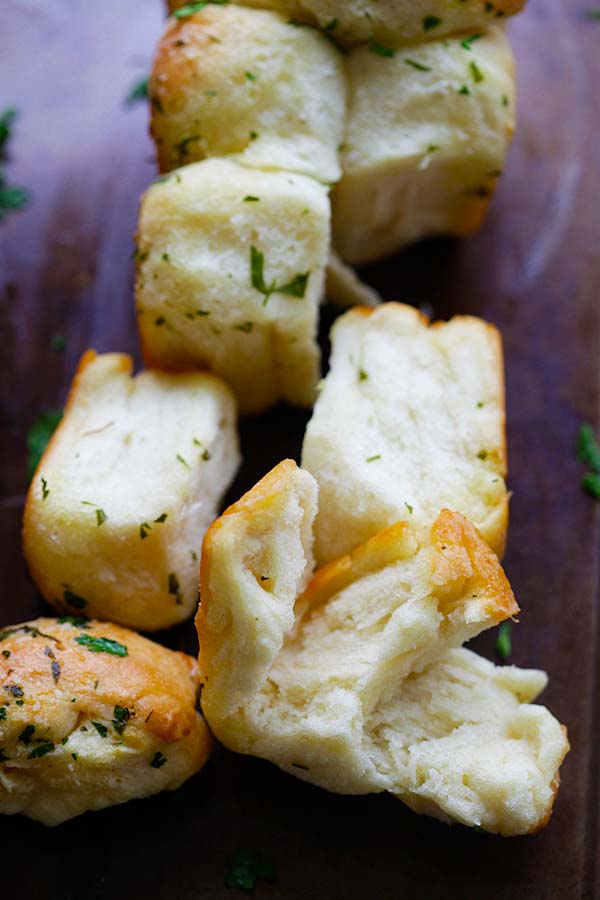
I love garlic bread, especially those warm-off-the-oven, garlicky, buttery, aromatic pull apart garlic bread that I can just easily tear off and munch away.
While I like the regular loaf of garlic bread, sometimes it’s kind of a hassle as I need to slice the garlic bread before eating.
So the pull apart garlic bread works just great for me, as I can just tear it off and eat the bread whenever I like.
I gathered the ingredients and spent some time in the kitchen baking this wonderful pull apart garlic bread. The recipe is adapted from Carmel Moments but I reduced the ingredients into half.
I wanted to make sure that I don’t waste the ingredients in case I fail. The recipe is rather easy and straight forward to follow and fool proof.
A couple of hours in the kitchen and I had the beautiful bread in the kitchen!
For more bread recipes, check out my brioche and milk bun recipes!
Ingredients
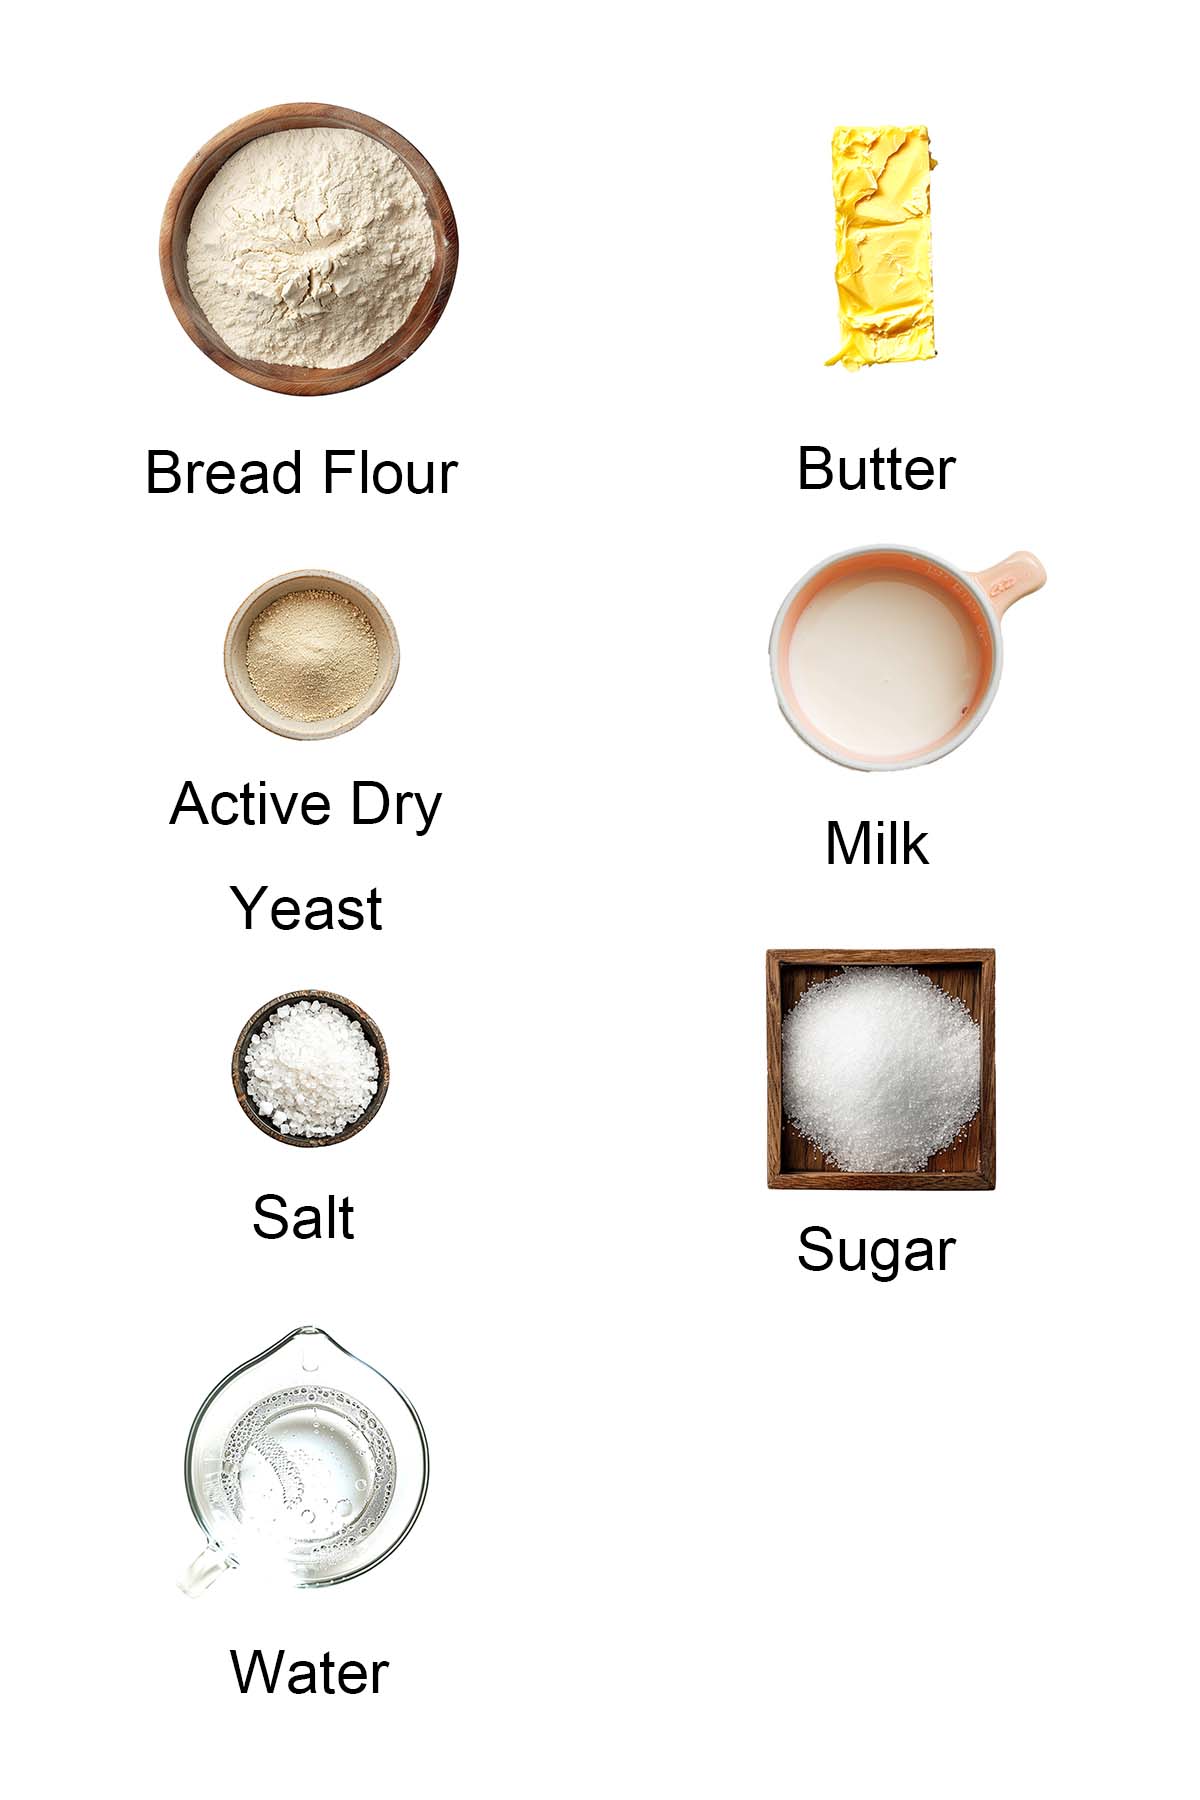
Ingredients For Pull Apart Garlic Bread
- Bread flour
- Butter
- Active dry yeast
- Milk
- Salt
- Sugar
- Water
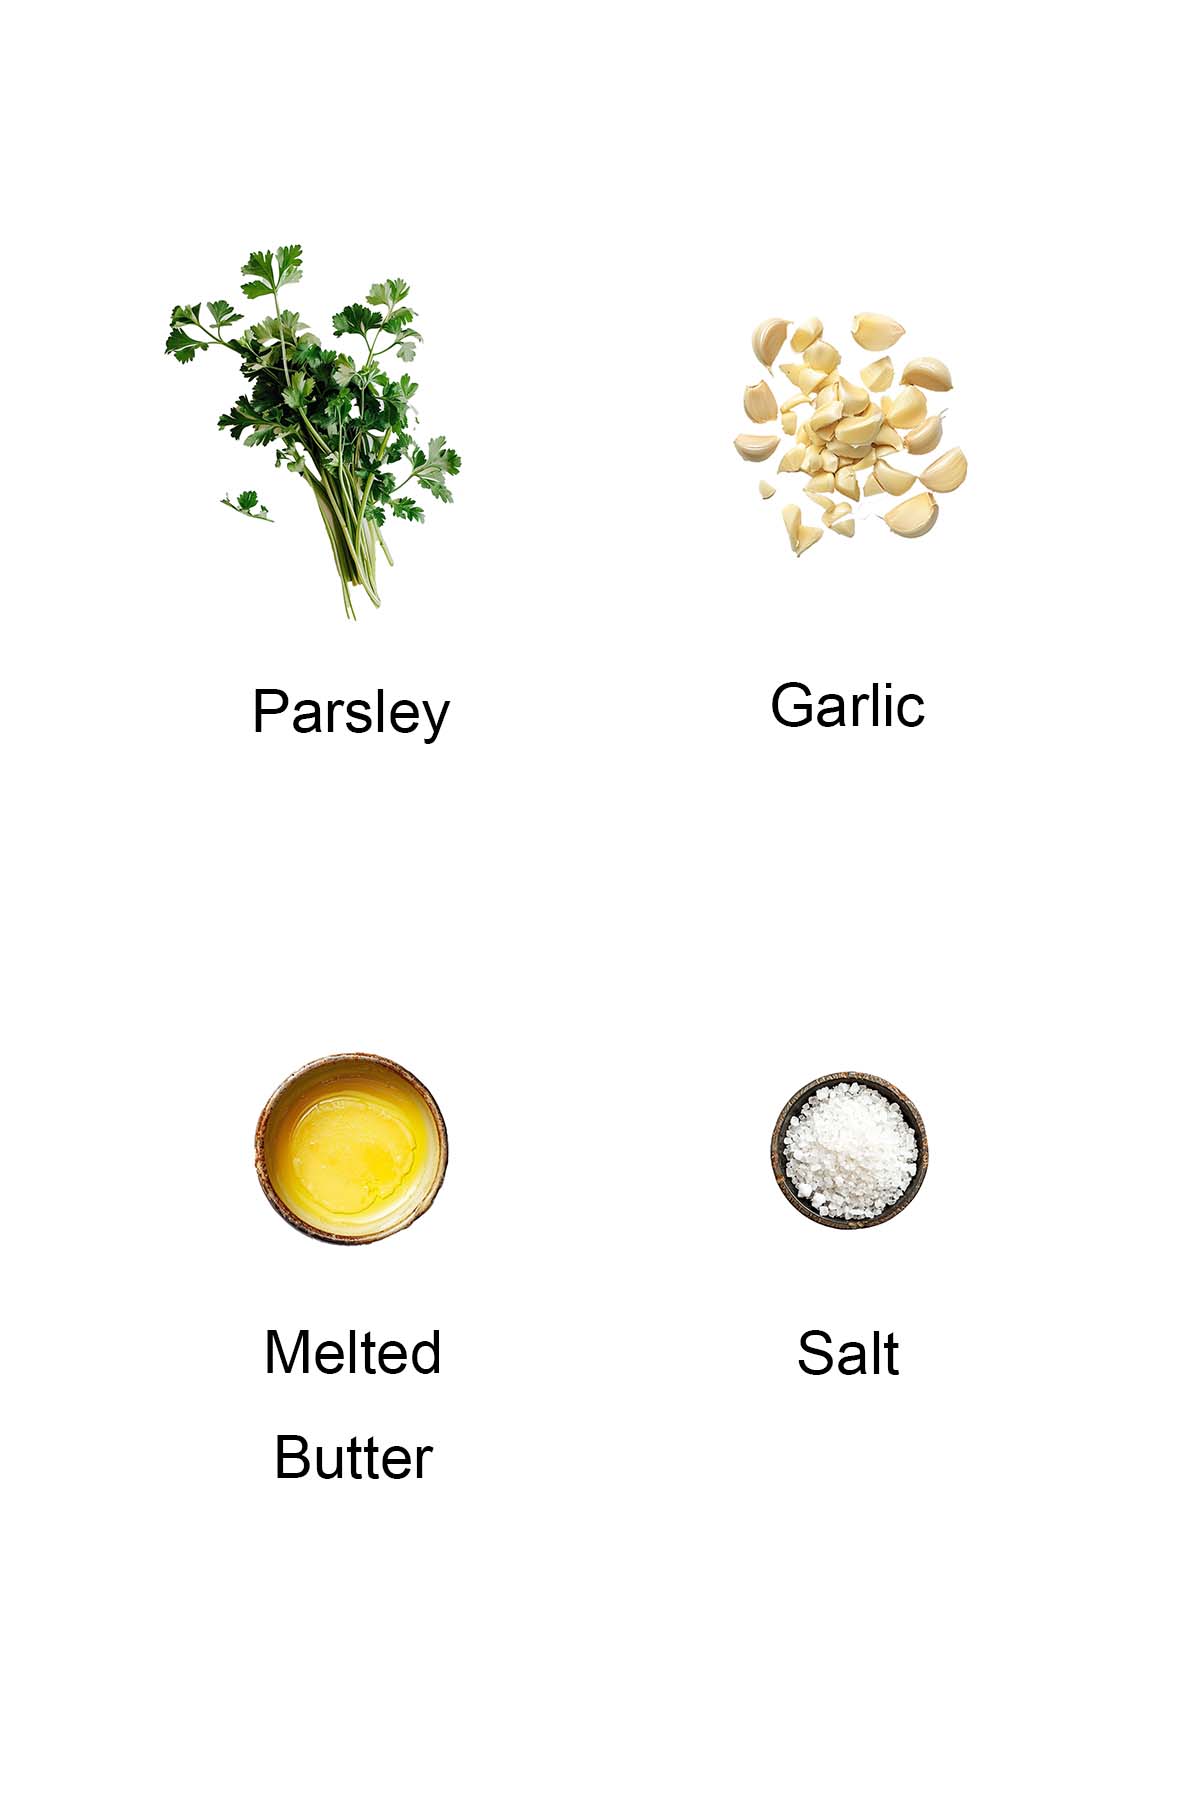
Ingredients For Topping
- Parsley
- Garlic
- Melted butter
- Salt
See the recipe card for full information on ingredients.
How To Make This Recipe
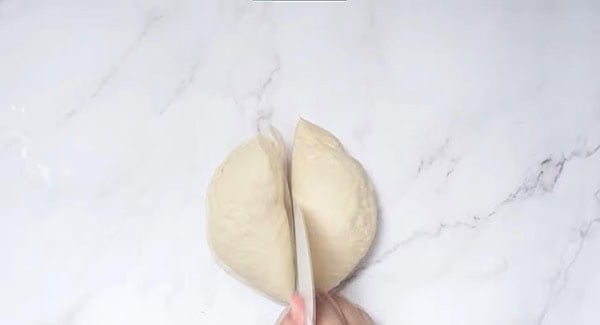
Step 1: Add warm water to the bowl of a stand mixer fitted with dough hook. Sprinkle sugar and yeast into the water. Let stand 5-10 minutes until foamy. Mix in butter, milk, salt and stir in the flour gradually. Knead for 7-10 minutes. Dough should stick to the bottom of the bowl but clears sides. Divide dough into 2 equal portions.
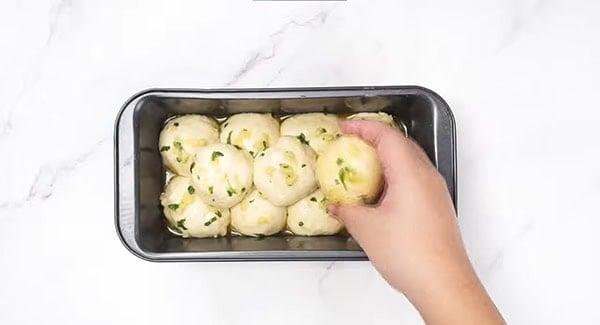
Step 2: In a small bowl, combine the butter, salt, parsley leaves, and garlic. Cut dough into small round pieces and dip into the butter mixture. Arrange the dough balls into two mini loaf pan or one regular loaf pan. Cover and let rise until doubled, about 1 hour. Reserve the leftover butter mixture.

Step 3: Bake at 350°F (176°C) for 30 minutes or until golden brown. Baste the butter mixture on the pull apart garlic bread after they are out of the oven.
Frequently Asked Questions
This recipe is only 414 calories per serving.
What To Serve With This Recipe
For a wholesome meal and easy weeknight dinner, I recommend the following recipes.

I hope you enjoy this post as much as I do. If you try my recipe, please leave a comment and consider giving it a 5-star rating. For more easy and delicious recipes, explore my Recipe Index, and stay updated by subscribing to my newsletter and following me on Facebook, Pinterest, and Instagram for new updates.
Other Recipes You Might Like
- Easy Pull-Apart Pepperoni Garlic Knots
- Garlic Herb and Cheese Pull Apart Bread
- Easy Cheesy Pull-Apart Rolls
- Garlic Bread Homemade
Pull Apart Garlic Bread
Ingredients
- 1/2 cup warm water
- 1 teaspoon active dry yeast
- 1 tablespoon white sugar
- 1 tablespoon unsalted butter, softened
- 1/2 cup milk
- 1 teaspoon salt
- 3 cups bread flour
Topping:
- 4 tablespoons butter, melted
- 1 pinch salt
- some fresh parsley leaves, finely chopped
- 2 cloves garlic, finely minced
Instructions
- Add warm water to the bowl of a stand mixer fitted with a dough hook. Sprinkle sugar and yeast into the water and let it stand for 5-10 minutes until foamy. Mix in the butter, milk, and salt, and then stir in the flour gradually. Knead for 7-10 minutes. The dough should stick to the bottom of the bowl but clear the sides. Divide the dough into 2 equal portions.
- In a small bowl, combine the butter, salt, parsley leaves, and garlic. Cut the dough into small round pieces and dip them into the butter mixture. Arrange the dough balls in two mini loaf pans or one regular loaf pan. Cover and let rise until doubled, about 1 hour. Reserve the leftover butter mixture.
- Bake at 350°F (176°C) for 30 minutes or until golden brown. Baste the butter mixture onto the pull-apart garlic bread after it comes out of the oven.
Video
Notes
- Dough should stick to the bottom of the bowl but clears sides.
- You can divide the dough balls into however many pieces you would like to place into the loaf pan.
Nutrition
Nutrition information is automatically calculated, so should only be used as an approximation.


how did you go from two divided dough balls (suggested in the recipe) to one of the two divided dough balls to eight dough balls (shown in the video), but in the loaf pan there are 11 dough balls?
Hi Mich. You can divide the dough balls into however many pieces you would like. The video shows just one way of arranging the dough balls as we made a double batch. However you can go with whichever arrangement you prefer. The beauty is in the ease of a pull-apart bread that doesn’t need slicing. Happy baking!
I love this recipe! I’ve made this 3 times now and it just doesn’t get any easier. It’s everyone’s favorite by far. 10/10
Thank you for your kind comment, Tamara. I am very glad that this recipe is a favourite of yours.
how did you divide your dough balls to form the shape you have from the divided two dough balls? looks beautiful!
Can you make this ahead of time and bake later?
Hi Savanna. Yes, you can make this ahead of time. Follow the recipe instructions, and at step 2, arrange the dough balls into baking loaves and cover with cling film and refrigerate. When you are ready, you can let it come to room temperature and proof for the second time and continue with the baking instructions as listed in the recipe.
Omg! Soo good!! Thank you for the recipe! It will be our go to garlic bread recipe from now on! I added some garlic cloves in the bread as well and added a little extra butter for the top because I didn’t have a lot left. My family loved it.
Thank you for your comment, Rachel. So glad your family loves the garlic bread recipe.
What would you recommend if the dough is too dry? I bake bread often but first time trying this and the dough wasn’t sticky at bottom seemed on the drier side. I haven’t baked it yet so don’t know how it tastes but sounds delicious. Going with another reviewers addition of cheese too.
Hi Amanda. If you have not baked the bread yet, bear in mind that the later part of the recipe includes 4 tbsps of butter for the garlic butter topping.
Made so many times and is so good, I always throw cheese on top and everyone asked me to make them all the time
Hi Treyden. Thank you for your comment. That’s so awesome to know that everyone likes the bread. Happy cooking!
Does it have to be a loaf pan
Hi Calley. No, it doesn’t. You can use any baking pan that’s not too wide.
I messed this up the first time around not having so much experience baking bread (yeast was dead), but the second time..oh! Was extremely wonderful…!
Hi Holly. I’m glad it worked out great for you. Thanks for your comment.
This is a great recipe for all year around, truly great bread.
I made this 2 days ago to go with a pasta dish. My oh my!! It turned out perfect!
The bread was soft and absolutely delicious. Making it again today to have with creamy butternut soup.
So glad I found this site. Thanks for sharing your recipe.
??