This post may contain affiliate links. Please read my privacy policy.
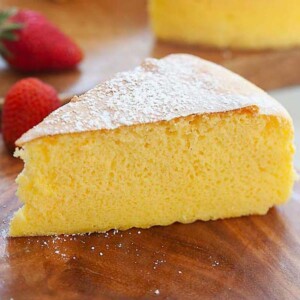
Cotton soft, light, fluffy and the best Japanese cheesecake. This is a tried and tested Japanese cheesecake recipe. A must-bake for cheesecake lovers!
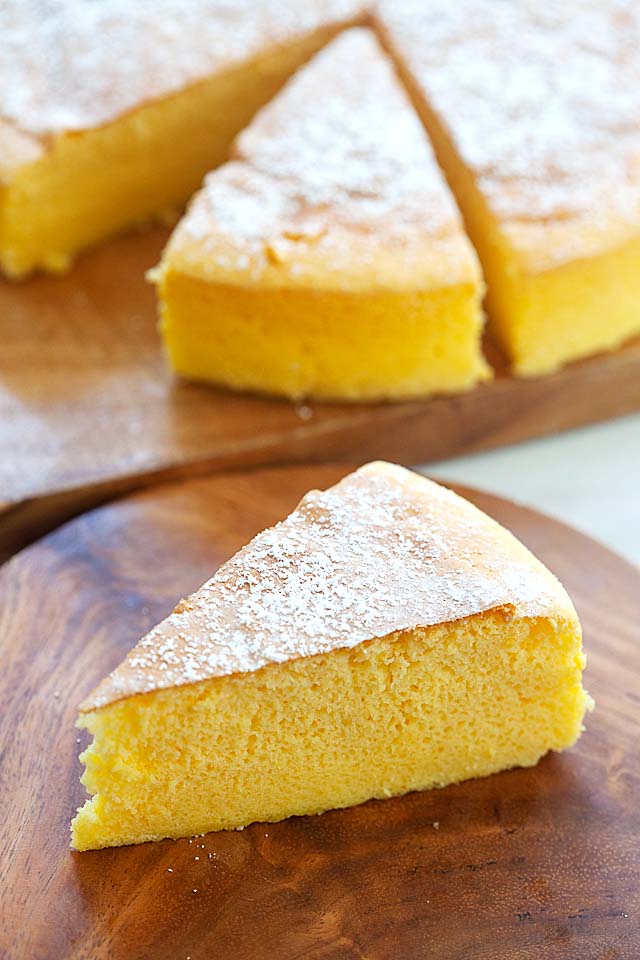
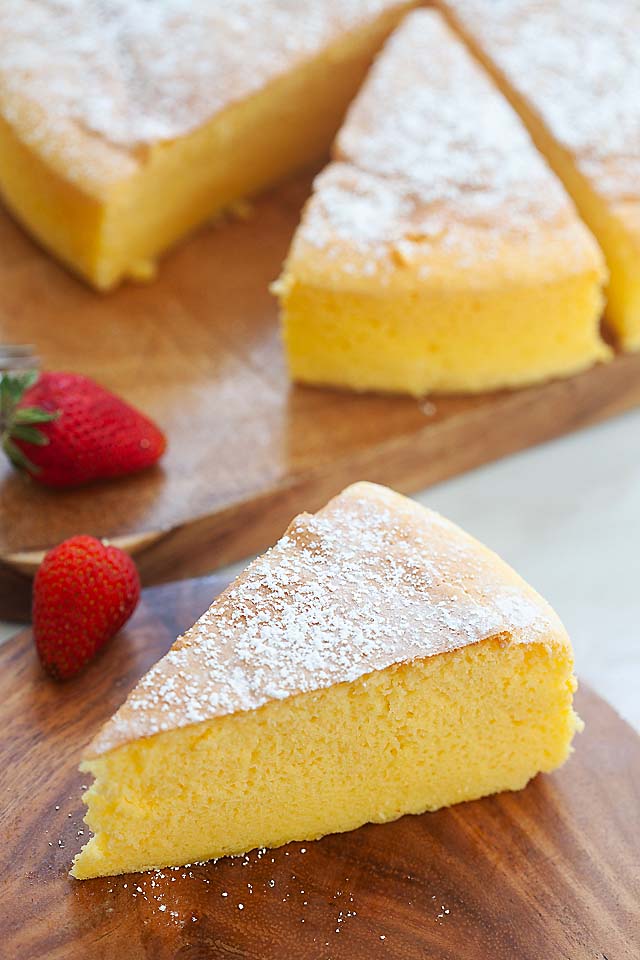
Japanese Cheesecake Recipe
Japanese cheesecake is very different from regular cheesecake.
It is cotton soft, light, fluffy and the one of the best cheesecakes I have ever tasted.
Japanese cotton cheesecake is also jiggly, due to the meringue egg white mixture in the recipe.
Make this and I will guarantee that you will never go back to regular cheesecake again!
Ingredients
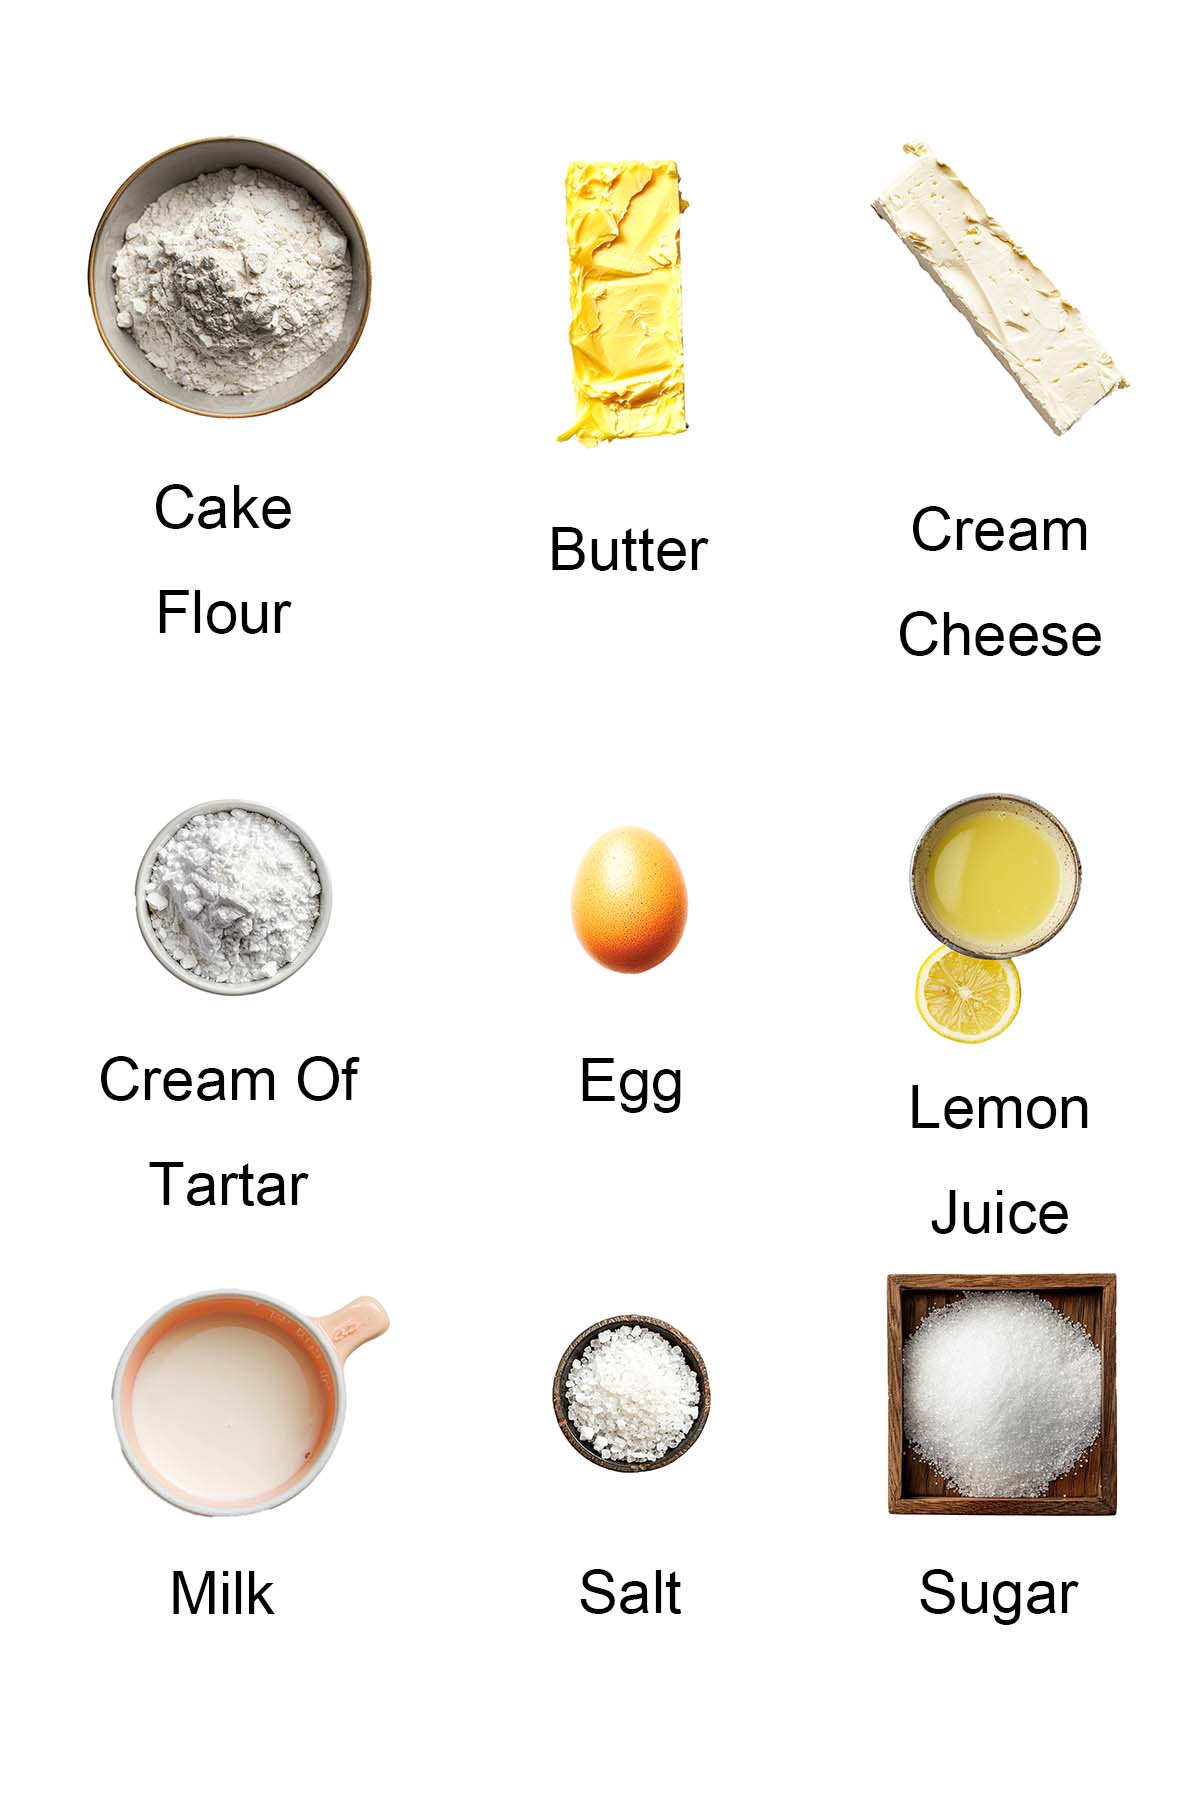
- Cream cheese
- Butter – use a good quality butter for the best results. In the United States, I always buy Challenge butter.
- Milk
- Cake flour – this lower gluten flour is idea for the cotton soft, spongy and airy texture.
- Corn starch
- Eggs
- Sugar
- Cream of Tartar – this is the secret ingredient that stabilizes the tiny bubbles in the egg white meringue. It prevents the egg proteins from sticking together, hence holding the bubbles together for the jiggly and spongy texture of this cheesecake.
- Lemon juice
Please take note that there is no baking soda or baking powder in the ingredients list as the meringue mixture will ensure that the cake rise tall.
See the recipe card for full information on ingredients.
How To Make Japanese Cheesecake
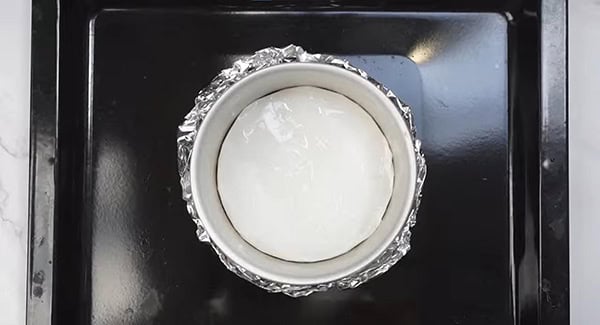
Step 1: Preheat oven to at 325°F (160°C). Prepare and measure all the ingredients and set out on your working area. I used a 9-inch springform pan. Grease the entire pan and line the bottom part with parchment paper. Please refer to notes if you use other pan.
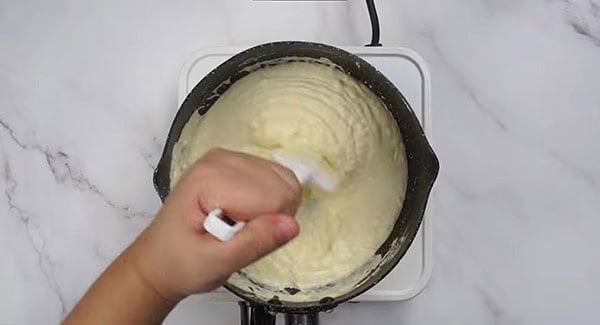
Step 2: On a stove top, melt cream cheese, butter and full milk on low heat. Use a whisk to mix well until the cream cheese melts completely without lumps. Remove from heat.
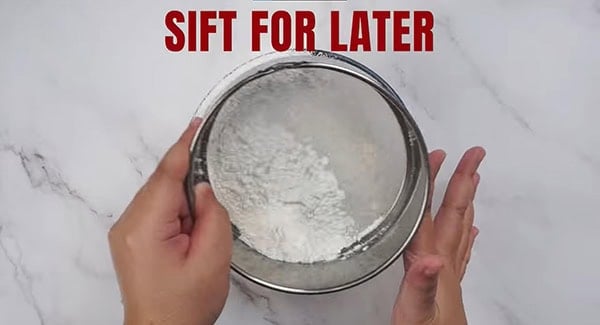
Step 3: Sift the cake flour and corn starch.
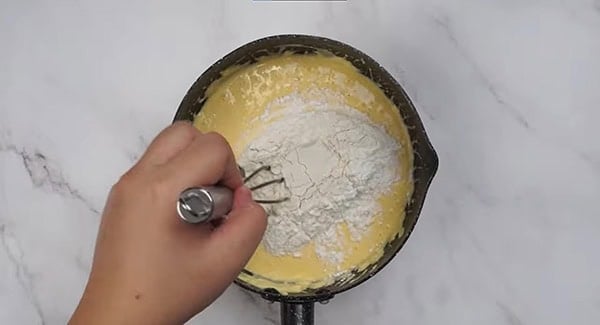
Step 4: Add egg yolks, lemon juice and salt to the cream cheese mixture. Whisk to combine well. Add the cake flour and corn starch, whisk until a smooth batter forms and there is no lump.
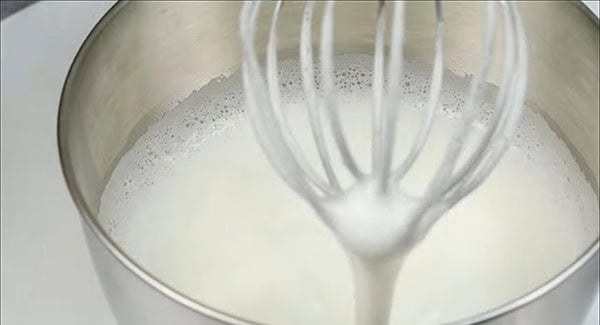
Step 5: Make the meringue by whisking egg whites, sugar and cream of tartar until light, foamy and soft peaks form. You can beat with a stand mixer or electronic hand mixer. I used speed 4 and beat for 1-2 minutes or until soft peaks form. DO NOT over beat.
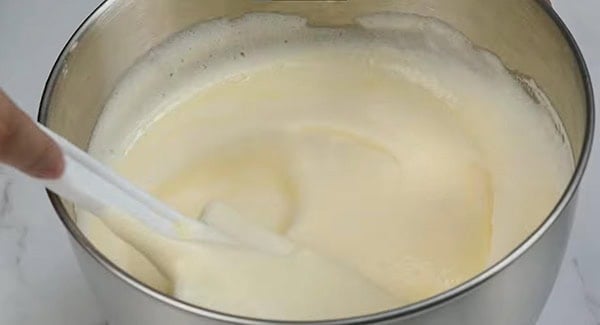
Step 6: Add the cream cheese mixture gently into the meringue, FOLD GENTLY until well incorporated.
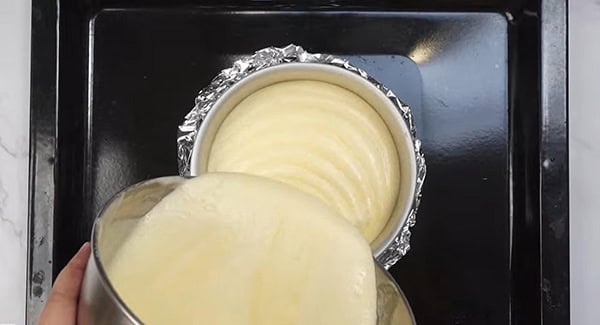
Step 7: Pour the mixture into the springform pan. Tap the cake pan gently before baking.
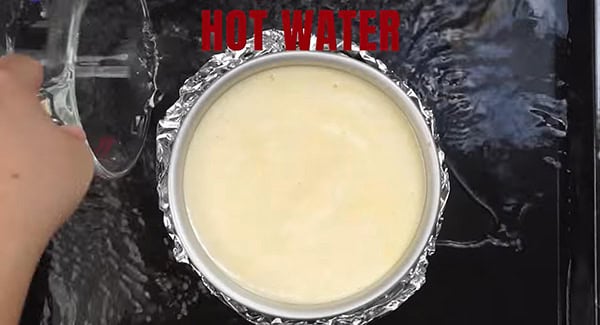
Step 8: Bake the cake using hot water bath. Place the cake pan in a larger pan and add 1 inch (2.5cm) of hot water in the larger pan. Bake at the bottom shelf of the oven for 1 hour 10 minutes.
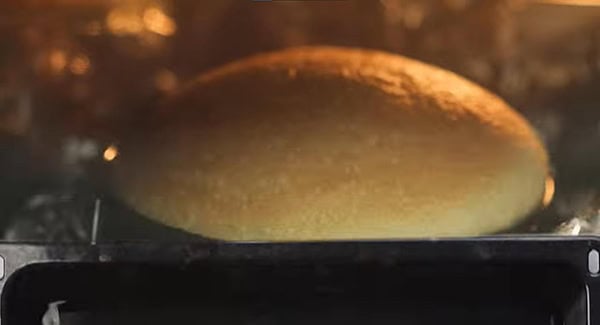
Step 9: Leave the Japanese cheesecake to cool down in the oven with the oven door open, about 30 minutes. This will prevent sudden change of temperature that may cause the cake to shrink. However, it’s normal that the cake will shrink about 1/2 – 1 inch (1cm-2.5cm) after cooling.
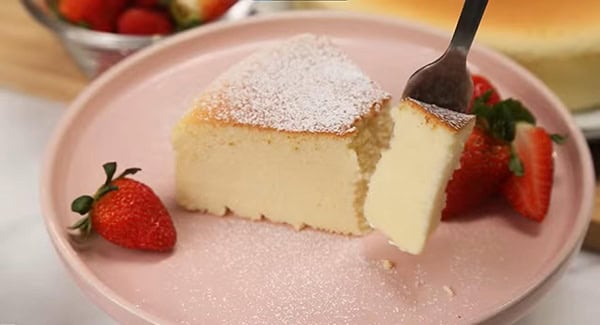
Step 10: Refrigerate the cake (with or without the cake tin) for at least 4 hours or overnight. Top the cake with powdered sugar before serving.
Baking Tips
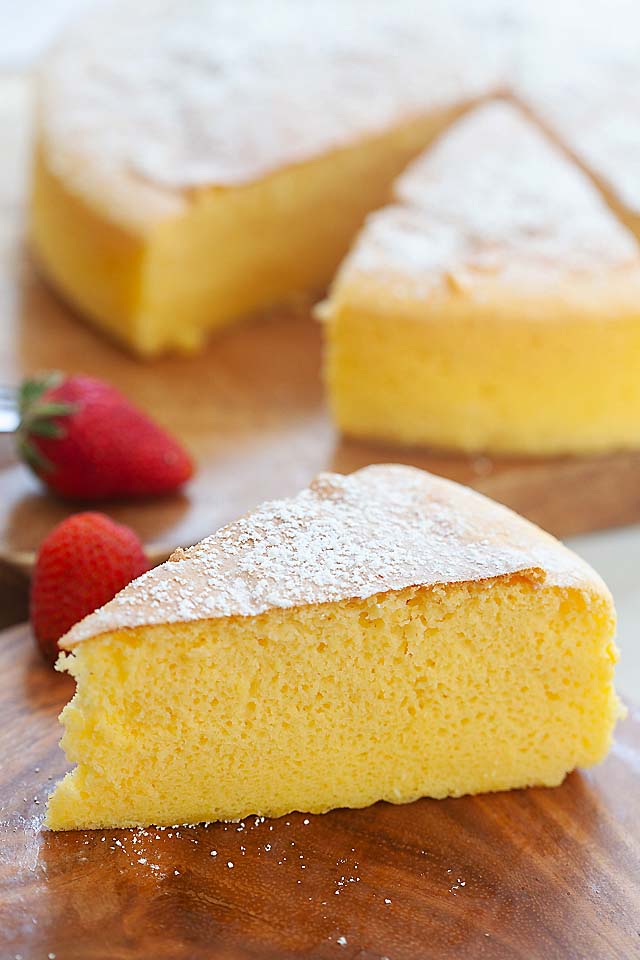
Even though DIY and homemade Japanese cheesecake is relatively easy, there are potential troubles when the cake turns out less than perfect.
For the best, jiggly and perfect result just like Uncle Tetsu, here are the tips and tricks:
- Make sure you have a smooth cream cheese mixture that is not lumpy.
- Use room temperature eggs to ensure that the meringue has the maximum volume.
- Make sure your egg whites are beaten until soft peaks form. Dot not over beat, we don’t want stiff peaks.
- DO NOT OVER MIX the meringue with the cream cheese batter. Fold very gently, do not stir or blend as the bubbles in the meringue will disappear.
- To avoid the sudden drop in oven temperature and room temperature, leave the cake in the oven with the oven door open. This will make sure that the cake doesn’t lose volume and sink.
- To avoid cracking at the top, please make sure you use a water bath for baking. The steam from the water will circulate in the oven, hence minimizing cracking at the top.
- To avoid over browning, bake the cake at the bottom part of your oven.
- Before you start baking, make sure you have all the ingredients measured up and ready. This is very important because every step has to be very precise.
Frequently Asked Questions
You can keep it in the refrigerator for a couple of days.
You shouldn’t have to worry about the leftover because this is the best cheesecake ever, and I can assure you that you won’t have anything left to keep for more than a day!
Other than springform pan and round cake tin, you can also use a 8×8-inch or 9×9-inch square pan. You can also make them into cupcakes by using cupcake tins.
Yes, you sure can. You may add 1 – 2 tablespoons of matcha powder in the cream cheese mixture if you like.
Japanese cheesecake has the lowest calories of all cheesecake. Each slice is only 214 calories.
What To Serve With This Recipe
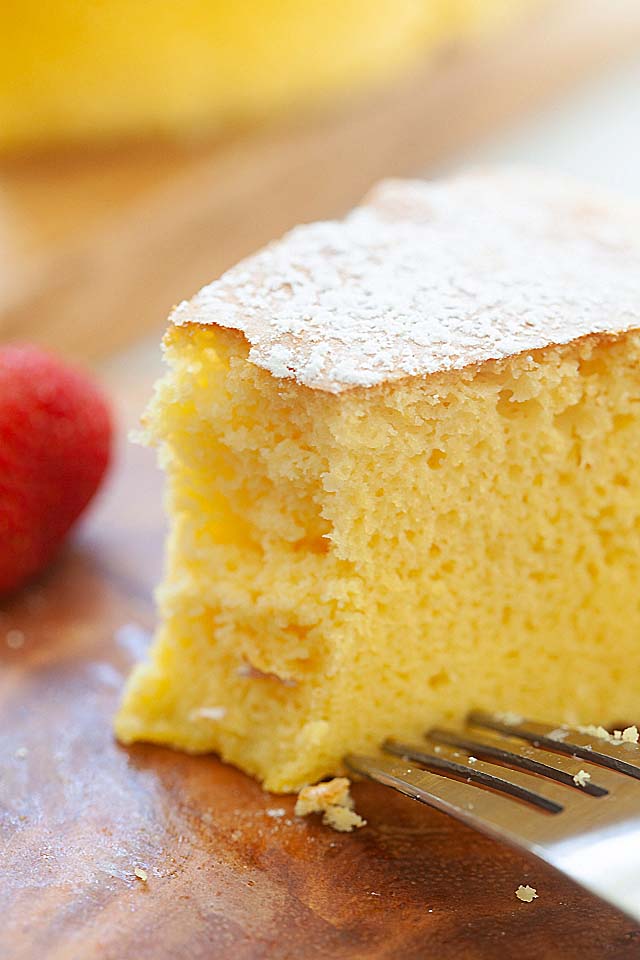
Japanese cheesecake is best served on its own, with your favorite cup of tea or coffee. For an afternoon tea, make the following desserts to go with it.
I hope you enjoy this post as much as I do. If you try my recipe, please leave a comment and consider giving it a 5-star rating. For more easy and delicious recipes, explore my Recipe Index, and stay updated by subscribing to my newsletter and following me on Facebook, Pinterest, and Instagram for new updates.
Other Recipes You Might Like
Japanese Cheesecake (Fail Proof Recipe)
Ingredients
- 8 oz (230g) Philadelphia cream cheese
- 2 oz (60g) unsalted butter
- 100 ml full milk
- 2 oz (60g) cake flour
- 1 oz (30g) cornstarch
- 6 egg yolks, room temperature
- 1/2 tablespoon lemon juice
- 1/4 tsp salt
- 6 egg whites, room temperature
- 1/4 teaspoon cream of tartar
- 5 oz (140g) fine granulated sugar
Instructions
- Preheat oven to at 325°F (160°C). Prepare and measure all the ingredients and set out on your working area. I used a 9-inch springform pan. Grease the entire pan and line the bottom part with parchment paper. Please refer to notes if you use other pan.
- On a stove top, melt cream cheese, butter and full milk on low heat. Use a whisk to mix well until the cream cheese melts completely without lumps. Remove from heat.
- Sift the cake flour and corn starch.
- Add egg yolks, lemon juice and salt to the cream cheese mixture. Whisk to combine well. Add the cake flour and corn starch, whisk until a smooth batter forms and there is no lump.
- Make the meringue by whisking egg whites, sugar and cream of tartar until light, foamy and soft peaks form. You can beat with a stand mixer or electronic hand mixer. I used speed 4 and beat for 1-2 minutes or until soft peaks form. DO NOT over beat.
- Add the cream cheese mixture gently into the meringue, FOLD GENTLY until well incorporated.
- Pour the mixture into the springform pan. Tap the cake pan gently before baking.
- Bake the cake using hot water bath. Place the cake pan in a larger pan and add 1 inch (2.5cm) of hot water in the larger pan. Bake at the bottom shelf of the oven for 1 hour 10 minutes.
- Leave the Japanese cheesecake to cool down in the oven with the oven door open, about 30 minutes. This will prevent sudden change of temperature that may cause the cake to shrink. However, it's normal that the cake will shrink about 1/2 – 1 inch (1cm-2.5cm) after cooling.
- Refrigerate the cake (with or without the cake tin) for at least 4 hours or overnight. Top the cake with powdered sugar before serving.
Video
Notes
- If you use a springform pan or loose base cake tin, make sure it’s closed tight. It’s best to wrap the base of your pan with 2 layers of aluminum foil (outside of the pan) to prevent the water bath from seeping inside the bottom part of the cake.
- If you use a 8″ round pan, it is very important to line the sides of the 8″ pan with parchment paper, make sure the parchment paper extends higher than the cake tin by about 1.5″.
- If you use a 9″ pan, you can line the bottom part and not the sides. You may line the entire pan with parchment paper, if you like.
- You can also use an 8-inch or 9-inch square pan.
- If the cake shrinks too much, the main reason is over mixing the egg white mixture with the cream cheese mixture.
- Beat the egg whites until soft peaks form, FOLD VERY GENTLY using a flipping motion.
- Do not stir or blend vigorously.
Nutrition
Nutrition information is automatically calculated, so should only be used as an approximation.


Hi, this cheesecake recipe is great. I have made it a few times already. Do you know why the bottom part of the cake is denser than the top? Initially I thought I may not have mixed the meringue well with the cake batter and so I tried to fold more thoroughly. But the cake is still denser at the bottom. Hope you can advise.
Tried this cake yesterday and turned up so well. Thanks the recipe.
Thanks Mangales for trying my Japanese cheesecake recipe.
Hi
I have made your cake successfully and let’s say it didn’t last more than 24 hrs . I would like a little more lemon taste so could I increase the lemon juice or would that change the whole mixture?
I also thought of fine grated lemon rind?
Dina
I think you can add the lemon rind but adding more juice I am not sure as this is a very sensitive recipe!
Any changes for high altitude? I live at 5280 ft.
What is water bath? Do you have foto to see ? Thanks
I bake cheesecake daily (working in a bakery) and did not realize that mine is very similar to the Japanese cheesecake.
I read some comment here with recipes so I guess it is OK to share my recipe too:)
There is a detailed explanation about the technique I use in my blog too.
My Cheesecake Recipe
Ingredients
(A)
Cream cheese 440g
Superfine sugar 50g
Butter 70 g
(B)
Egg yolks from 3 medium-sized eggs
Egg white from 1 and a half medium-sized eggs
Cornflour 22g
(C)
Heavy cream 215g
Freshly squeezed lemon juice 24g
(D)
Egg white from 1 and a half eggs
Superfine sugar 50g
(E)
Digestive biscuit 180g
Butter 60g
My method to make the cheesecake:
1. Mix (A) with an electric mixer until it becomes fluffy and homogeneous.
2. Beat (B) with an electric mixer until the cornflour is well mixed with the egg. Combine (B) and (A) and mix well.
3. Beat (C) until it reaches a density that is able to form stiff peaks when the mixer blade is lifted up. Add to the mixture of (A) and (B).
4. Beat the egg whites with the superfine sugar over a hot water bath until soft peaks are formed. Fold the egg whites into the batter in (3).
5. Crush the biscuit and mix with the melted butter (as in E), Place the biscuit / butter in a round baking pan. Press firmly to form a solid base.
6. Pour the cheesecake batter to the biscuit base.
7. Place the unbaked cheesecake in a larger pan and add enough boiling-hot water to reach halfway up the side of the smaller pan. Place it in a preheated oven at 150 degrees Celcius for 100 minutes.
8. Remove from the oven. Keep in the chiller until it is cool.
Hi!
My dad loves cheesecake and I want to make this for his birthday. But we have a small family and I wanted to make it in a 6″ round cake pan that has 3″ sides. How should I go about this (as in amount of ingredients or how high I should fill the pan and for how long?)
Thank you!
Im planning to make this tonight, but i dont have cake flour at the moment. What difference will it make if i use all purpose flour?
Have tried baking this cake 5 times already and it still comes out with a denser bottom. I’ve looked up many techniques on folding and I think I have that part done properly. Could it be the oven? Mine is fan-forced and I put it on the bottom most rack.
Jas – I am sorry but I am not expert in oven…not sure.
Alright, just made one. Was my first ever attempt at whipping egg whites, I heard it can be tricky. The end result is nowhere near as pretty as yours, but it still tastes delicious. It ended up being a bit heavier on the bottom and lighter on top – I’m assuming I didn’t whip the souffle enough. Also I couldn’t make a proper water bath (no baking tray large enough), so the cake pan wasn’t sitting in water, but suspended right above it.
It was still a great first try, thanks for the recipe!