This post may contain affiliate links. Please read my privacy policy.
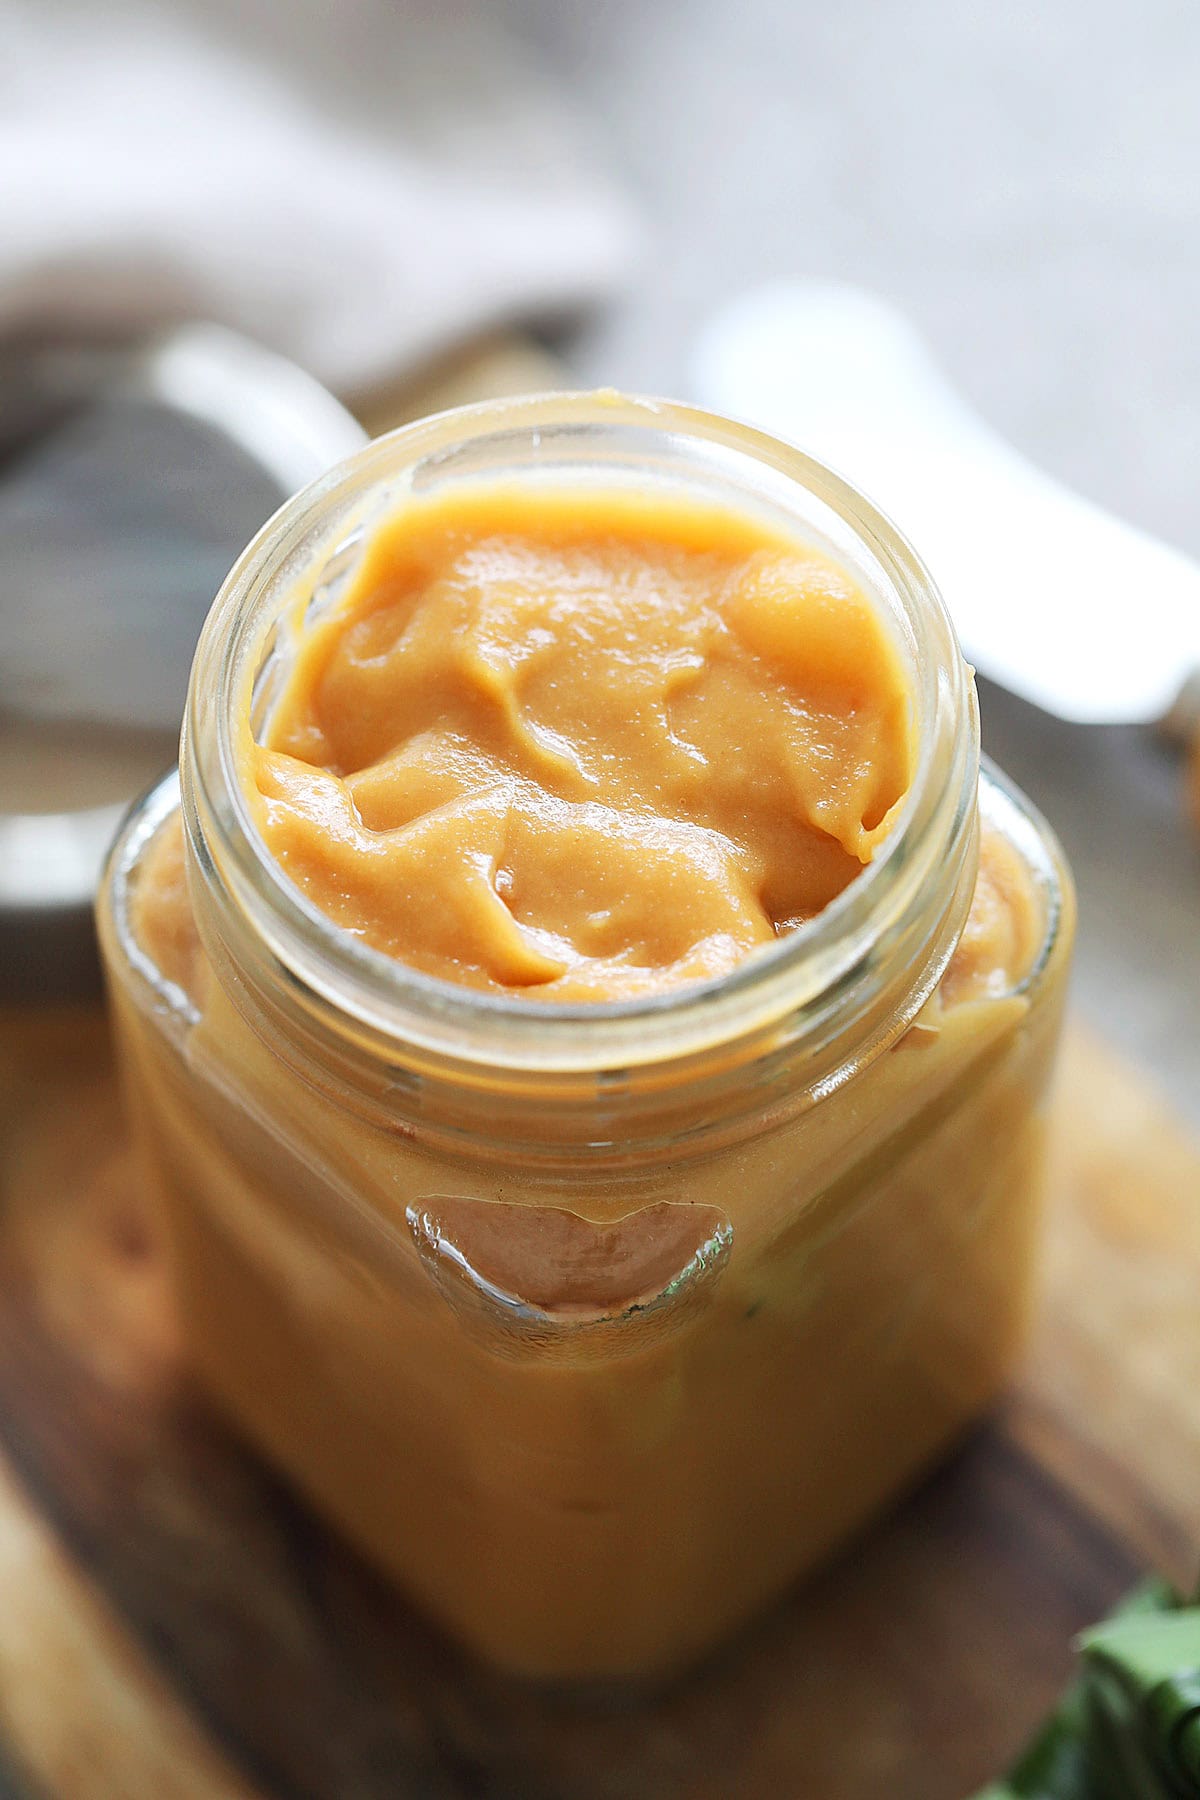
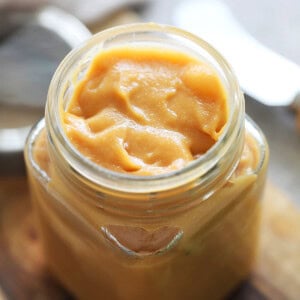
Coconut Jam (Kaya Jam) is a rich, creamy spread made with coconut milk, eggs, and caramelized sugar. It’s smooth, fragrant, and perfect on toast with coffee or tea. This homemade Malaysian-Nyonya kaya jam recipe is authentic, passed down from my late grandmother and tastes better than store-bought! Be sure to check out my video guide and tips below for the best kaya.
What Is Kaya
Kaya is one of my favorite Malay words because it has two meanings I love—“rich” and the incredibly delicious coconut egg jam that’s so popular in Malaysia (and Singapore).
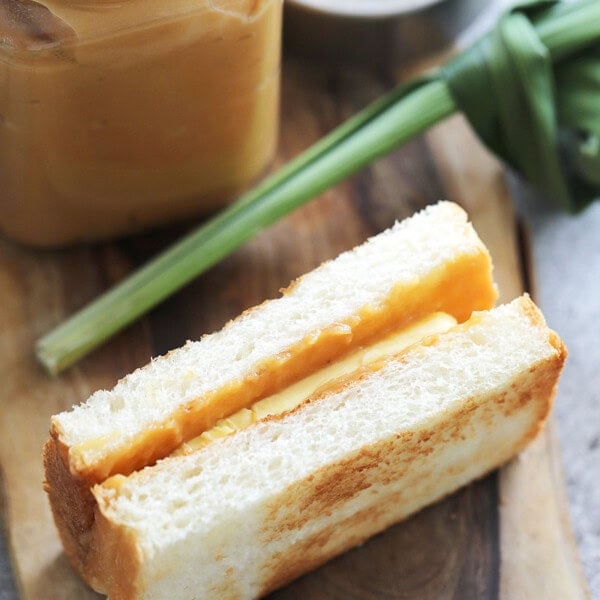
In this post, I’m sharing how I make kaya, a jam that always gets me excited for breakfast. Think silky smooth and sweet kaya on warm, crispy, buttery toast, paired with a cup of strong Malaysian coffee. Now that’s a perfect morning.
Also known as srikaya or seri kaya, this sweet jam is made with eggs, coconut milk, sugar, and fragrant pandan leaves. Just the thought of it takes me right back to my childhood in Penang, Malaysia.
Authentic & The Best Kaya Recipe
I spent a lot of time in the kitchen with my late grandmother, a skilled Nyonya cook and kuih maker. One of the staples we always made was kaya—a rich, creamy coconut jam that goes perfectly with Nyonya kuih (local sweet cakes) and, of course, kaya toast.
My late aunt was the kaya jam expert. She’d whisk eggs, coconut milk, and sugar with a traditional egg beater before cooking the mixture over a charcoal burner in an old yellow enamel double boiler. She’d sit by the fire for hours, patiently stirring until the kaya turned silky smooth with a deep golden brown color—nothing like the store-bought ones. And the taste? Fresh, rich, delicious, and absolutely perfect.
Sometimes, she’d let me help, and I loved watching the mixture thicken, slowly turning from pale yellow to golden amber as the caramel worked its magic. It was a slow, labor-intensive process, but the result was always worth it.
These days, you don’t need hours to make kaya. When I called my aunt for her recipe, she told me to skip the endless stirring and “just cook” the kaya. So I did—and now, this homemade kaya recipe takes just 30 minutes.
With modern kitchen tools, you can get that same smooth, creamy texture without spending hours at the stove. The flavor is as close as I can get to my aunt’s kaya, and I know my late grandmother would be proud. Give this easy kaya recipe a try—you’ll be spreading this delicious coconut jam on toast to make Kaya Toast in no time!
The Only Kaya Jam Recipe You’ll Ever Need
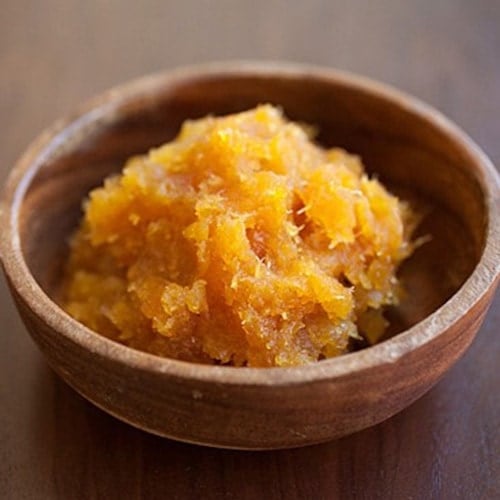
Rich and creamy. This coconut jam is thick, silky smooth, and full of deep, fragrant coconut and caramelized sugar goodness. Every spoonful is pure indulgence—fresh, aromatic, thick, and absolutely irresistible.
Authentic flavor in just 30 minutes. Traditional coconut jam recipe takes hours, but this recipe delivers that same deep, caramelized flavor in a jiffy. No need to stand by the stove all day—just rich, creamy kaya, fast and fuss-free!
No double boiler needed. This beginner-friendly recipe skips the tedious double boiler and endless stirring. You’ll cook kaya directly in a pot with a foolproof method that ensures a perfectly smooth, lump-free texture every time!
Better than store-bought. Freshly made kaya is richer, more fragrant, and free from artificial flavorings or preservatives. Once you taste the real deal, you’ll never want the store-bought, watery, overly-sweet kind again.
Ingredients You’ll Need
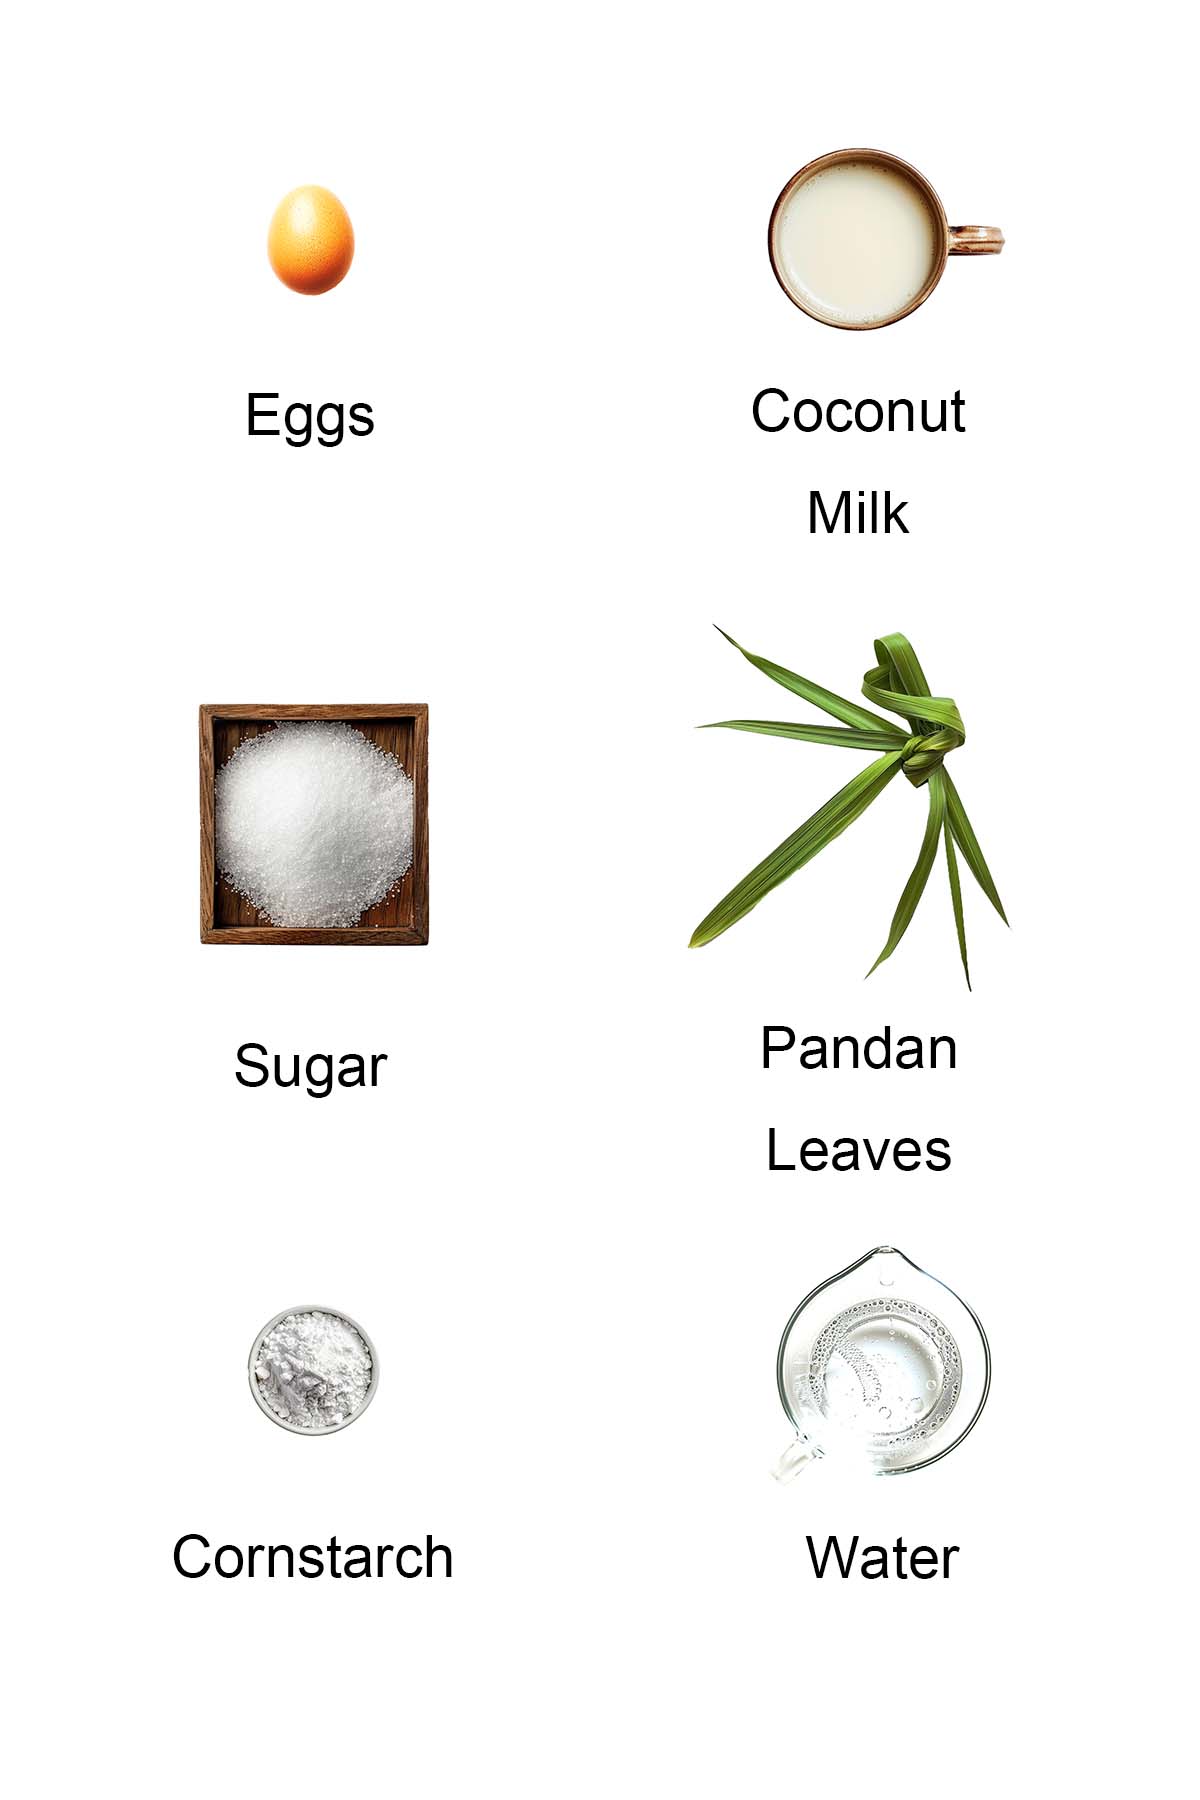
- Eggs – Use room temperature eggs. If you forget to take the eggs out ahead of time, just pop them in some warm water for 5-10 minutes to bring them to room temperature in a flash!
- Coconut milk – I recommend using fresh coconut milk if you can. If you are using boxed coconut milk, I recommend Kara brand or Ayam brand coconut milk.
- Sugar – Feel free to adjust the amount of sugar to suit your taste.
- Pandan leaves – If you can’t find pandan leaves, you can use a bit of pandan extract, though it won’t have that fresh aroma.
- Cornstarch
- Water
Check out the recipe card at the bottom of this post for the full ingredient list and details.
How To Make Coconut Jam
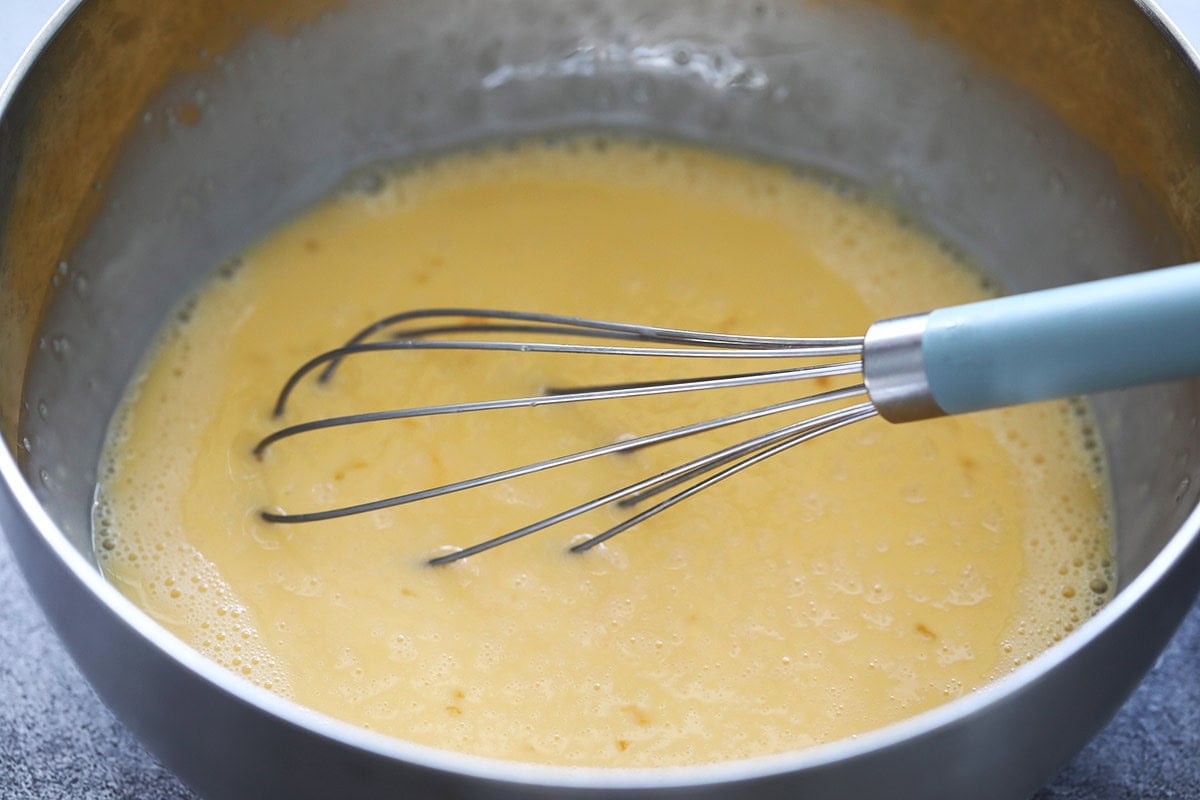
First, crack the eggs into a large bowl, then add the coconut milk and sugar. Whisk well by hand until everything is well incorporated.
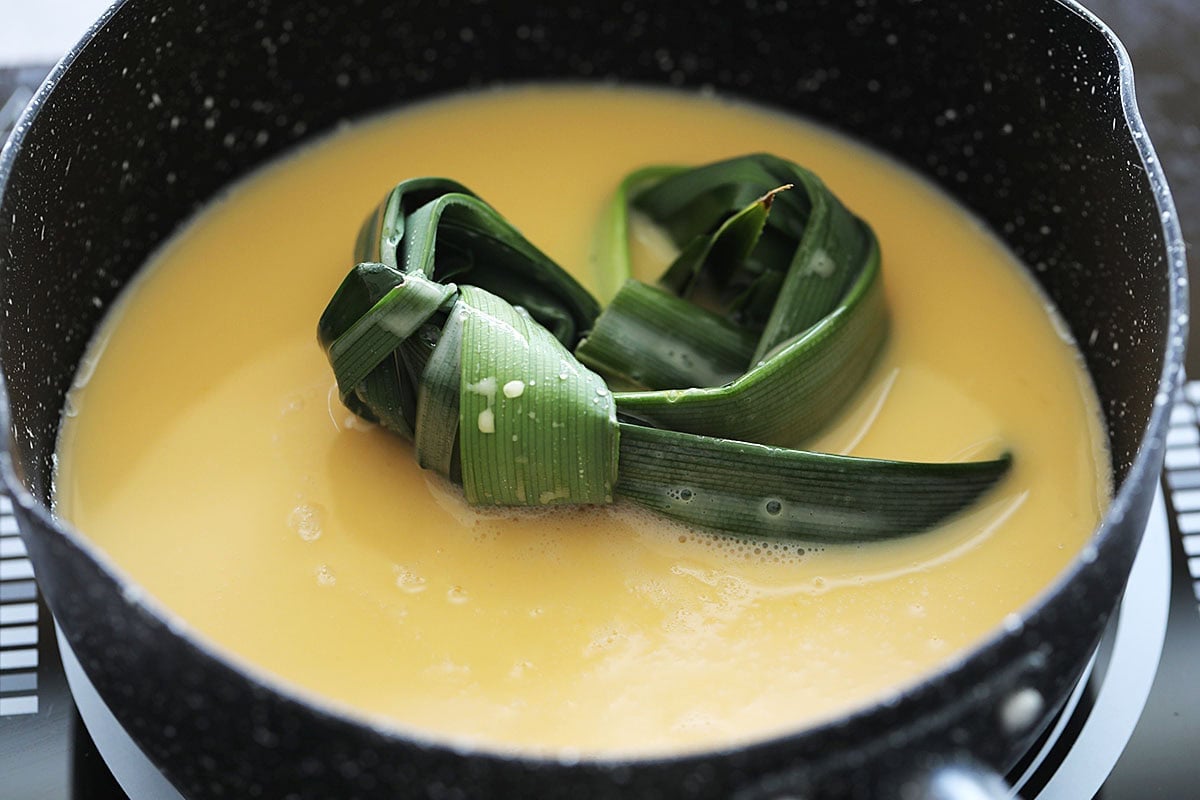
Strain the mixture into a non-stick saucepan, add the pandan leaves, and cook on low heat for about 20 minutes, stirring constantly. Add the cornstarch mixture to thicken, then turn off the heat and remove the pandan leaves. Don’t worry if it looks a bit lumpy!
The “Tired Arm” Marker: You will know you are halfway there when your arm starts to feel heavy. This is the “patience phase.” Do not stop stirring or the eggs will curdle. If you need to switch hands, do it fast, but keep that spatula moving!
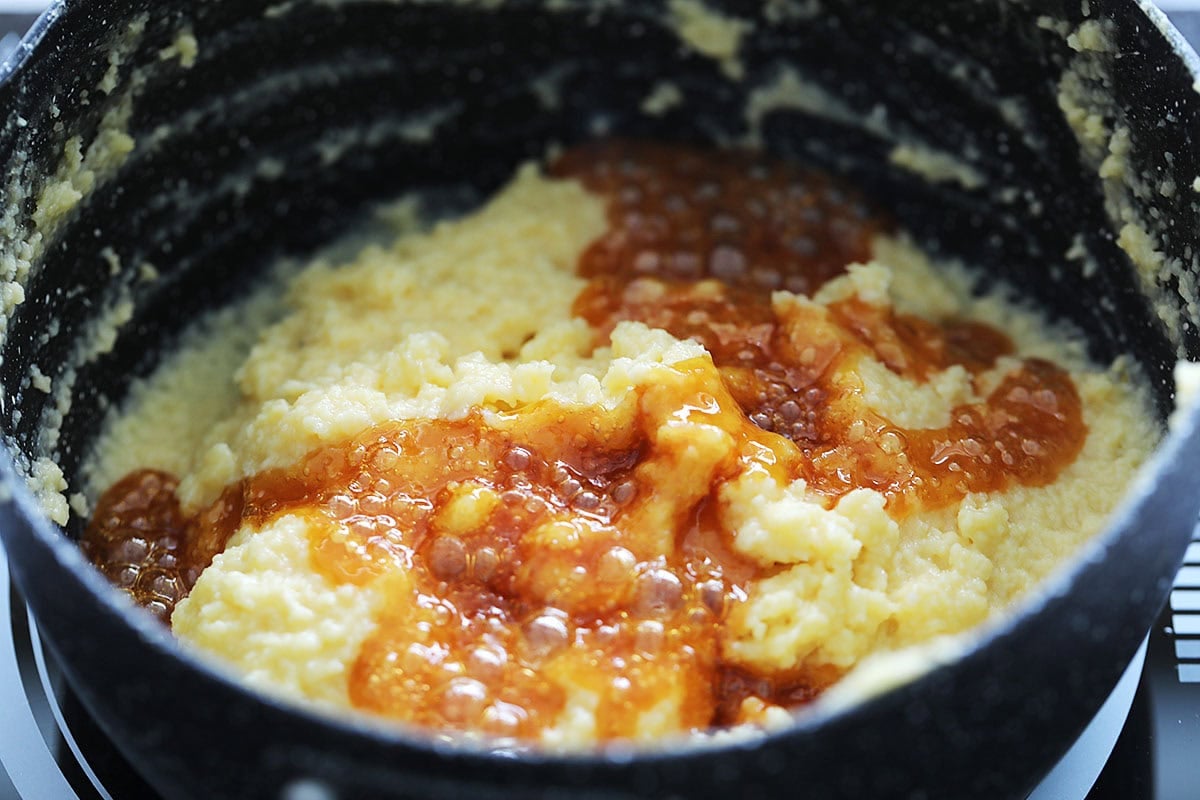
Okay, now grab another saucepan and make the caramel over medium-high heat. Just an eye on it and once it turns into golden brown color, take it off the heat and pour it into the kaya. Stir it in well, and you’ll see the kaya turn a nice golden brown color. That’s it—turn off the heat, and your kaya is ready!
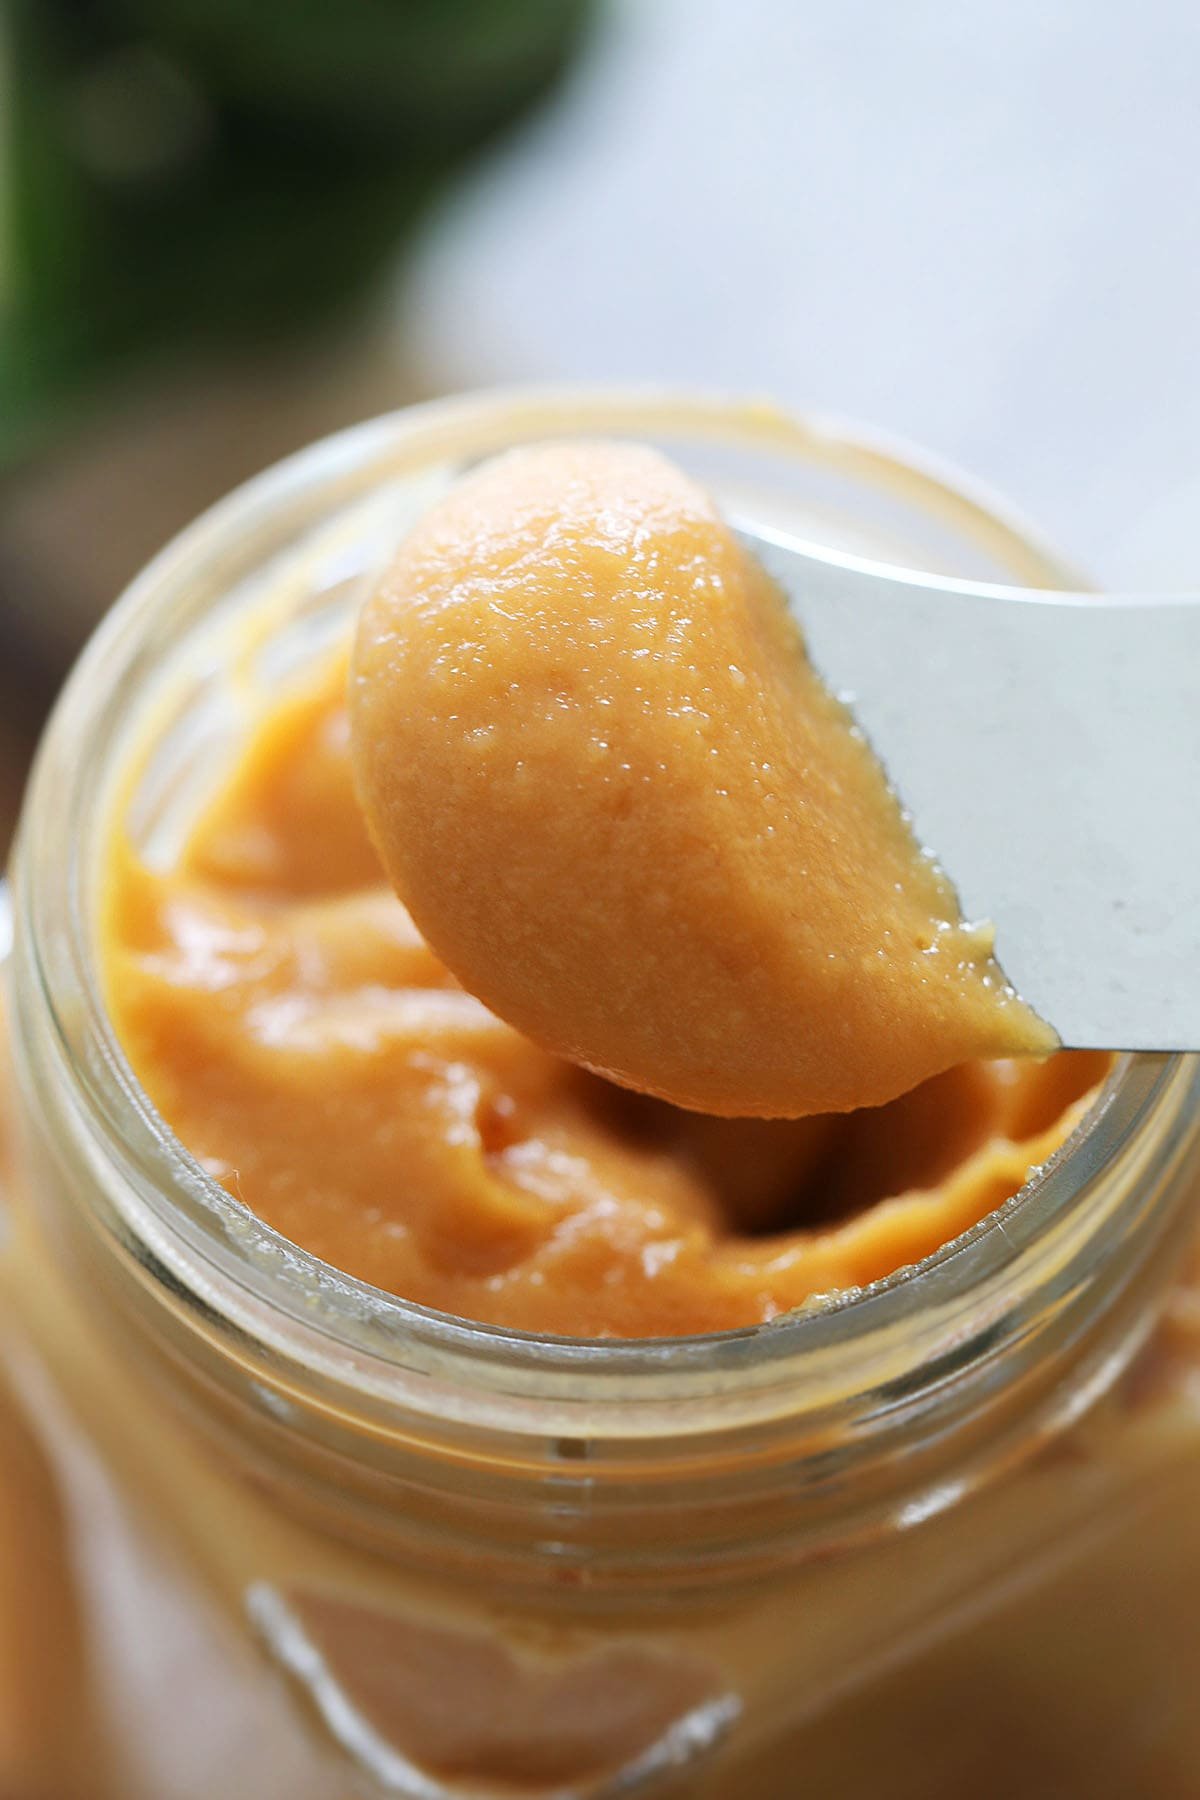
The Thickness Check: Since you will blend the jam later, don’t worry about small lumps now. Just look for a thick, custard like consistency that coats the back of your spoon. Once it holds its shape, it is ready for the blender.
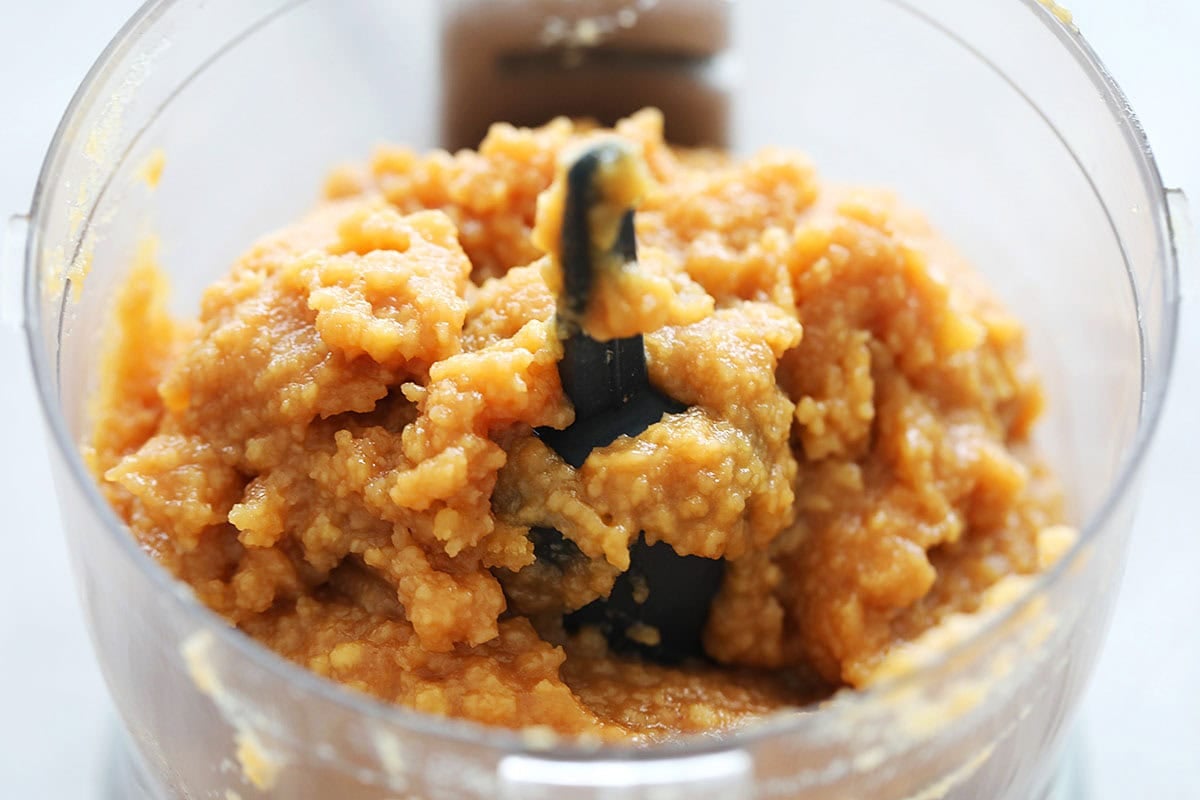
Next, transfer the kaya to a blender and blend it until it’s smooth and lump-free. Just make sure it’s nice and creamy!
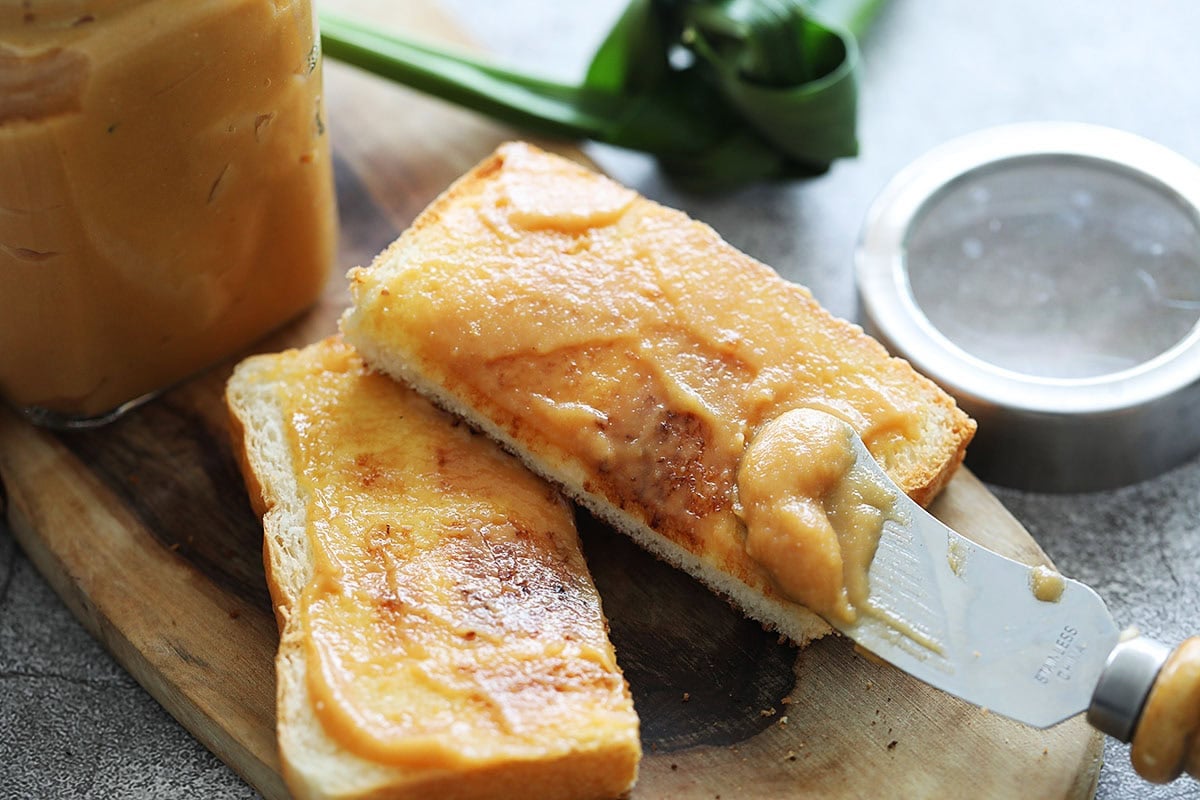
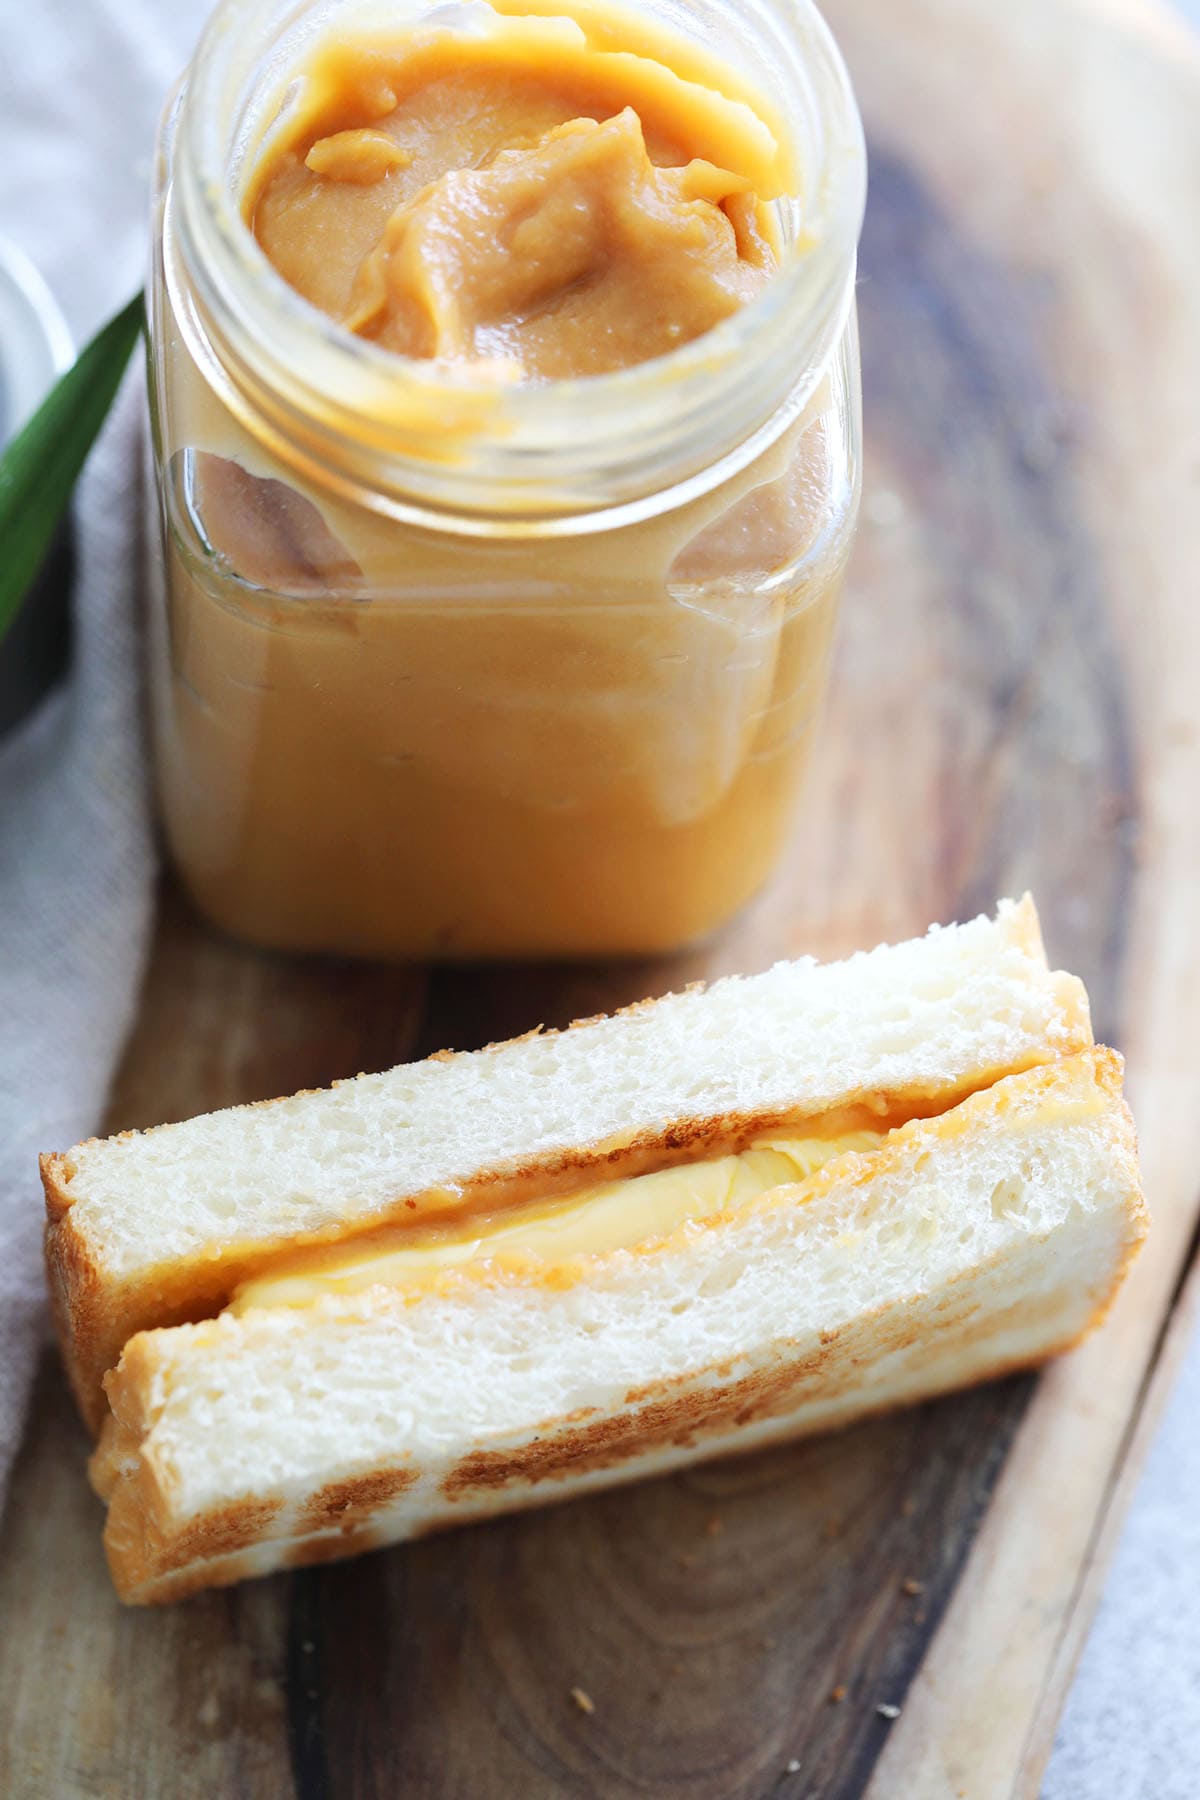
Spread on toast to make kaya toast. Store the leftover in a jar in the fridge for up to a week.
Secrets To The Best Coconut Jam
- As for the eggs, you can totally adjust based on your taste. My aunt told me you can use anywhere between 3 to 5 eggs, so it’s really up to you. I personally like my coconut jam rich, so I go with 5 eggs. Also, I prefer my kaya to be thicker in texture— I’m not a fan of that “watery” kaya that makes my toast soggy. The thicker, the better for me!
- Always go for a non-stick saucepan! It keeps the kaya from sticking or burning and makes cleanup so much easier. No stubborn bits stuck to the bottom.
- The key to silky coconut jam is constant stirring. I always keep the heat low and stir non-stop—don’t step away! The last thing you want is scrambled eggs in your kaya. Keep an eye on the heat and make sure it stays low so it doesn’t burn.
- I’ve noticed that sugar in the USA tends to be a bit weaker compared to what we use in Malaysia, so you might find your kaya a little too sweet. Just adjust the sugar to your taste—don’t be afraid to cut it down to get that perfect balance!
- If you prefer a lighter color, you can use 50g of sugar for the caramel— I used 75g for that richer brown hue.
Frequently Asked Questions
Blend the pandan leaves with the coconut milk, strain, and mix with the eggs and sugar. Follow the recipe as usual, but skip the caramel to keep the color bright.
Just reduce the eggs to four and cook for 15 minutes or until it reaches your desired consistency.
If you prefer your kaya a bit thinner, you can reduce the amount of cornstarch. Just keep in mind that it will have a lighter consistency.
Once the jam has cooled down, pop it into an airtight jar or container and store it in the fridge. It’ll stay fresh for about a week.
You can freeze kaya if you need to store it longer, but I wouldn’t recommend it if you want to keep that smooth, silky texture. Freezing can cause it to separate a bit when you thaw it. If you do decide to freeze it, make sure it’s in an airtight container. When you’re ready to use it, just let it thaw in the fridge overnight and give it a good stir to bring that creamy consistency back!
This recipe is only 149 calories per serving.
Other Recipes You Might Like

I hope you enjoy this post as much as I do. If you try my recipe, please leave a comment and consider giving it a 5-star rating. For more easy and delicious recipes, explore my Recipe Index, and stay updated by subscribing to my newsletter and following me on Facebook, Pinterest, and Instagram for new updates.
Coconut Jam (Kaya Jam)
Ingredients
- 5 eggs
- 200 ml coconut milk
- 120 g sugar
- 3 pandan leaves, tie into a knot
- 1½ tablespoons cornstarch
- 1½ tablespoons water, mix the cornstarch and water together
Caramel:
- 75 g sugar
Instructions
- Crack the eggs into a large bowl, then add the coconut milk and sugar. Whisk well by hand.
- Strain the mixture into a non-stick saucepan and add the pandan leaves. Cook on low heat, stirring continuously to avoid burning, for about 20 minutes. Add the cornstarch mixture to thicken the coconut jam. Turn off the heat and discard the pandan leaves. (Note: The jam may appear lumpy.)
- In another saucepan, heat the sugar over medium-high heat until it melts into caramel. Once it turns golden brown, remove from heat and add it to the kaya and stir well. The kaya should turn golden brown.
- Transfer the kaya to a blender and blend until smooth and lump-free. Spread on toast to make kaya toast. Store the leftover in a jar in the fridge for up to a week.
Video
Notes
- As for the eggs, you can totally adjust based on your taste. My aunt told me you can use anywhere between 3 to 5 eggs, so it’s really up to you. I personally like my coconut jam rich, so I go with 5 eggs. Also, I prefer my kaya to be thicker in texture— I’m not a fan of that “watery” kaya that makes my toast soggy. The thicker, the better for me!
- Always go for a non-stick saucepan! It keeps the kaya from sticking or burning and makes cleanup so much easier. No stubborn bits stuck to the bottom.
- The key to silky coconut jam is constant stirring. I always keep the heat low and stir non-stop—don’t step away! The last thing you want is scrambled eggs in your kaya. Keep an eye on the heat and make sure it stays low so it doesn’t burn.
- I’ve noticed that sugar in the USA tends to be a bit weaker compared to what we use in Malaysia, so you might find your kaya a little too sweet. Just adjust the sugar to your taste—don’t be afraid to cut it down to get that perfect balance!
- If you prefer a lighter color, you can use 50g of sugar for the caramel— I used 75g for that richer brown hue.
Nutrition
Nutrition information is automatically calculated, so should only be used as an approximation.


Hi Bee,
I watched your video how to make the Kaya butter. It was simple and easy to follow.
Will definitely try. Where I live, I can’t get pandan leaves. Is there a substitute or can I omit.
Thank you so much for the video. You’re awesome!
Hi Alice, you can omit.
Hi Bee,
I love your recipes and I am very pleased with your recipe for kaya jam! My question is does you use white sugar or is it better to use raw sugar?
Both are fine. Just make sure it’s per your taste.
Wow … super easy and faster ways to make kaya. Came out really well. Skip pandan leaf as I can’t get it in here in north west of Ireland. Still taste super good. Next time I will op for brown sugar and less sugar. A but too sweet for me but as I’m making it to give away, I guess it ok. Yes … I put it in the blender, came out super smooth. Thanks x
Hi Seanny, thanks for your feedback and I am glad it worked out for you. For the sugar, USA sugar is weaker, I noticed that when I make it in Malaysia, it’s too sweet, too. So please cut down per your taste.
Hi, I tried this recipe but have a question, once I added the caramel to the egg mixture, it seemed to get very lumpy or maybe the egg curdled. Is this suppose to happen? From your video, your mixture doesn’t look smooth and a bit lumpy, I assume once you put it in the blender, it will smooth out. Is this how it’s suppose to be? Thanks so much!
Hi Trish. Yes, kaya tends to be lumpy through the cooking process. Once it is blended, it will be much smoother.
Thank you! I made it again and this time it turned out perfect!! It is so tasty and so much better than store bought. Thank you for sharing this easy recipe!
Hi Trish. Thank you for your comment. So glad you were able to make it better the second time. Yay!
Okay, I live in the us and pandan leaves are t readily available, I do have pandan essence would it work if I just added a bit of pandemic essence instead of knotted pandan leaves?
Hi Gabe. Pandan leaves are usually found in the frozen section of most Asian markets. But yes, in a pinch you can use a tiny bit of pandan essence. However, it is not quite the same as using the actual leaves.
If I like my kaya green, do I skip the caramel? Or this is a mandatory step?
You will need to switch making it with pandan leaves instead of caramel, but the process will be a bit different.
How to store the Kaya?
In the fridge.
Thanks for the recipe. It really reduce the cooking time. I had reduce sugar to 150gm and it taste great, for me.
Nice!
I prefer not to use thickening agent like corn flour; so maybe I will reduce the amount of coconut milk. Will that affect the taste n texture of the final product? Thank you
Yes you can use less coconut milk or cook longer.
Love this recipe . Thank you. I have tried other recipes previously but my son says this is the best . Many thank for sharing your delicious recipes
Thank you! :)