This post may contain affiliate links. Please read my privacy policy.
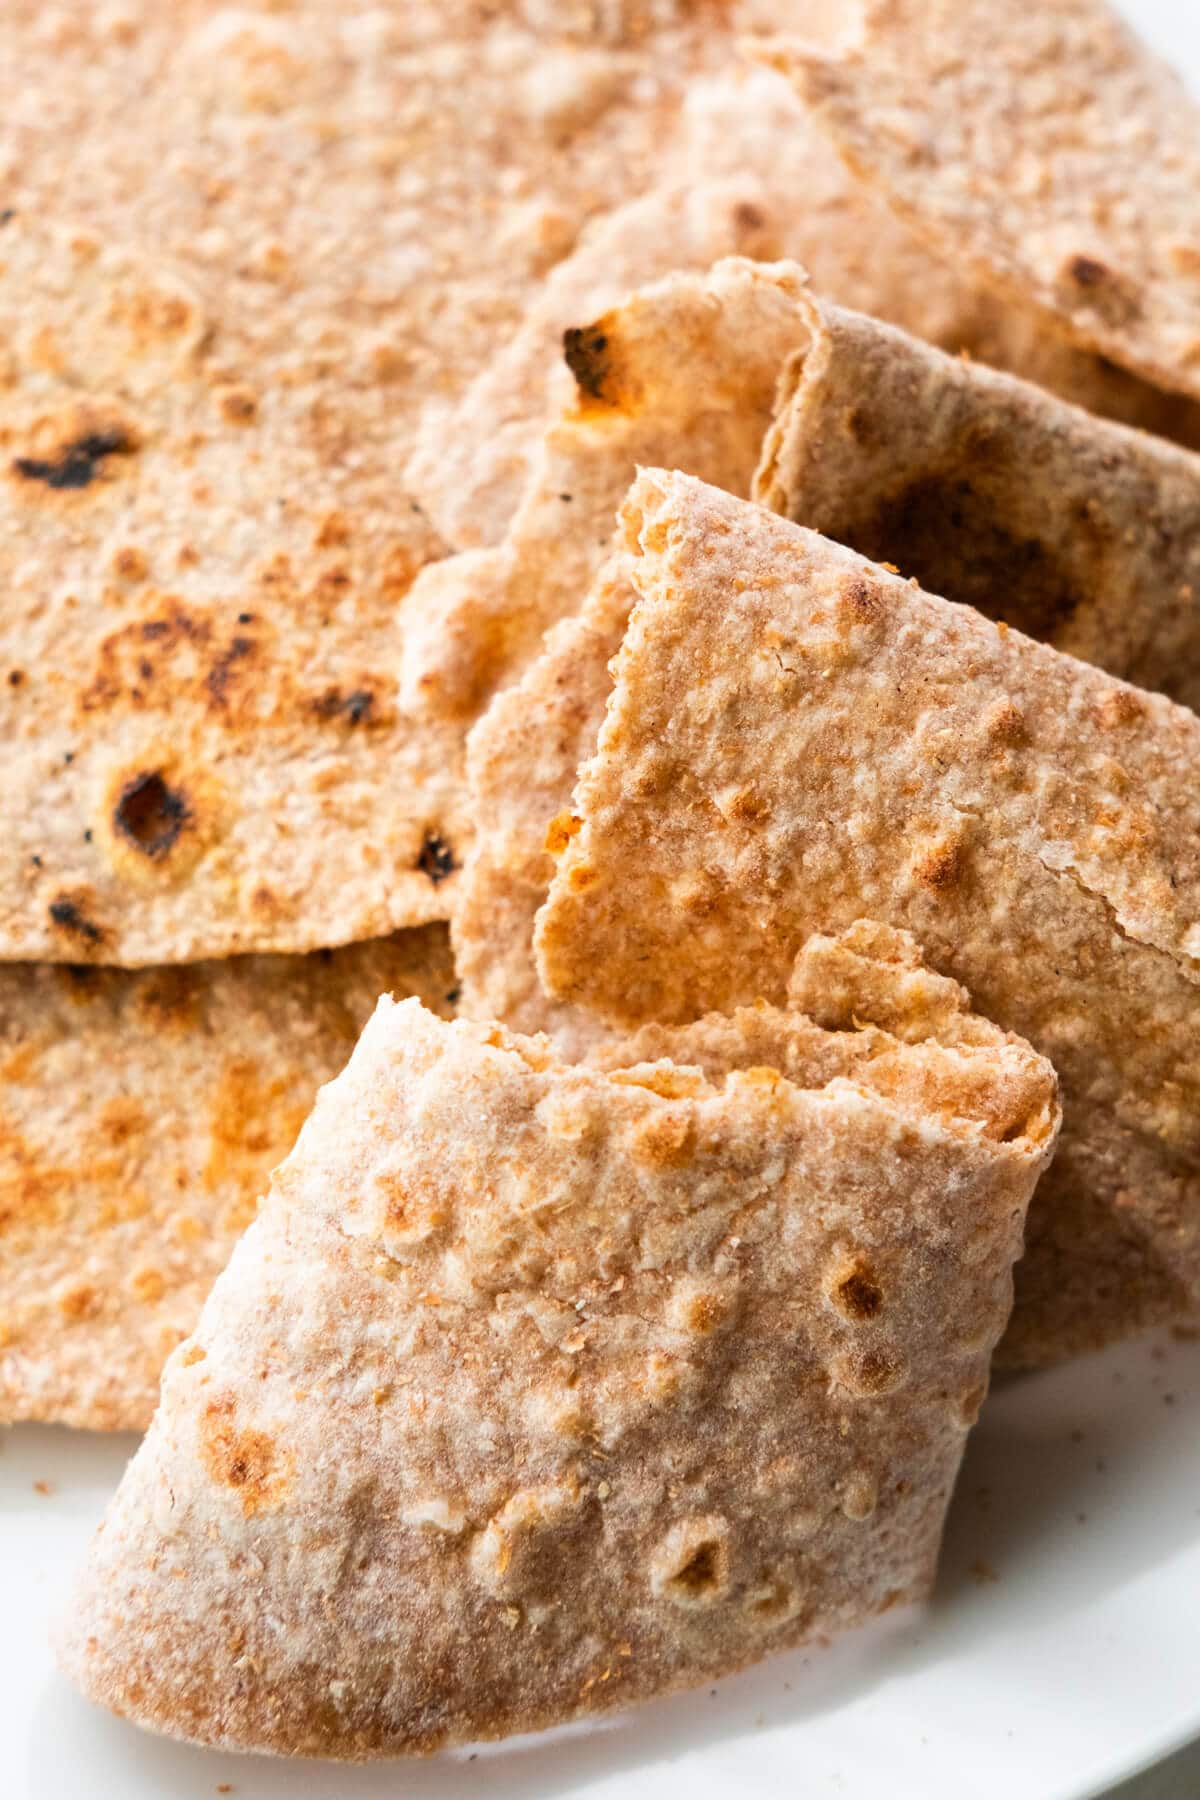
Chapati is a must-try Indian flatbread! With just three simple ingredients, this easy chapati recipe results in a thin, soft, and puffy bread that’s perfect for scooping up curries and stews or enjoying all on its own!
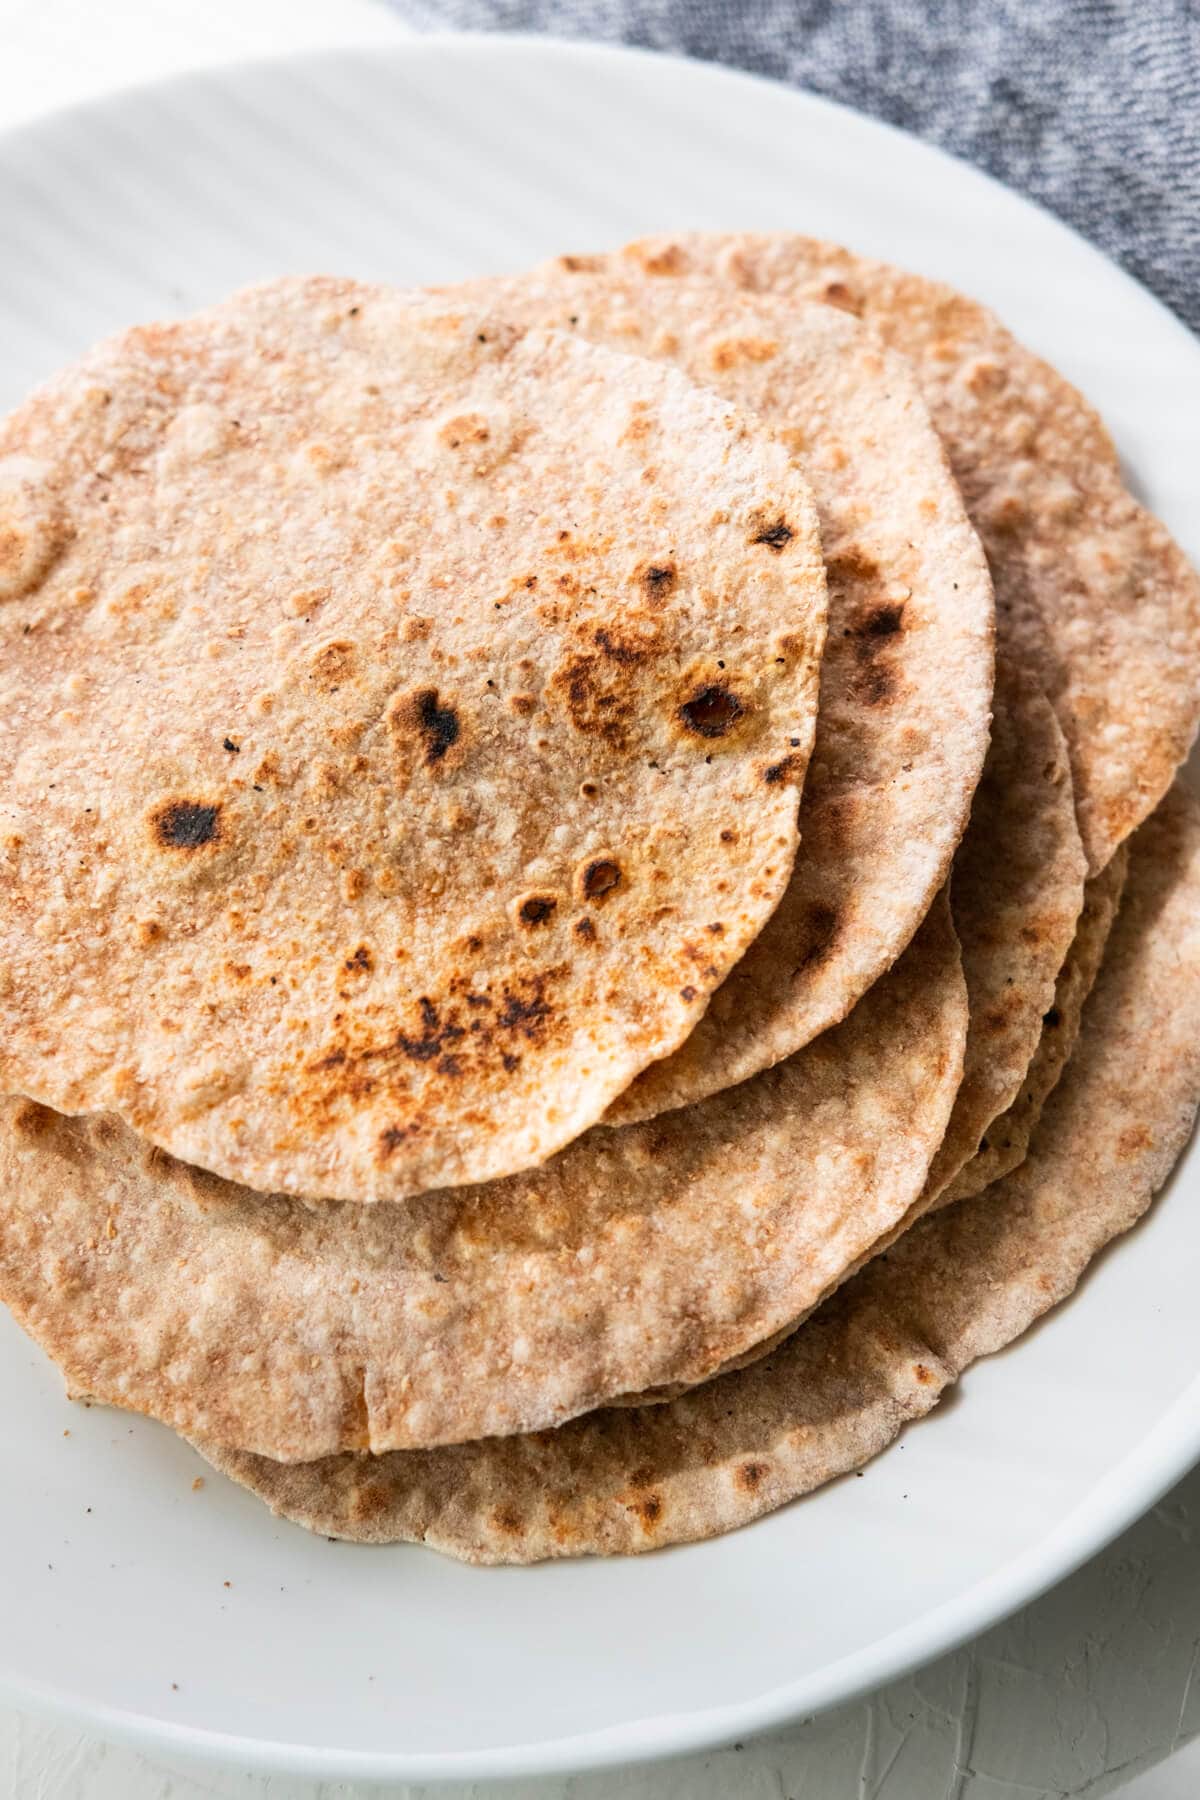
Table of Contents
Easy Whole Wheat Chapati Recipe
Is there anything better than warm chapati straight off the griddle? The best part? I don’t even need an oven to make this tasty Indian flatbread! With just a hot griddle or pan and a few simple ingredients, I can enjoy a fresh batch of chapati anytime. Be sure to check out my step-by-step video and tips below to make perfect chapati every time!
Want to try making more flatbreads at home? Check out my Naan recipe!
What Is Chapati
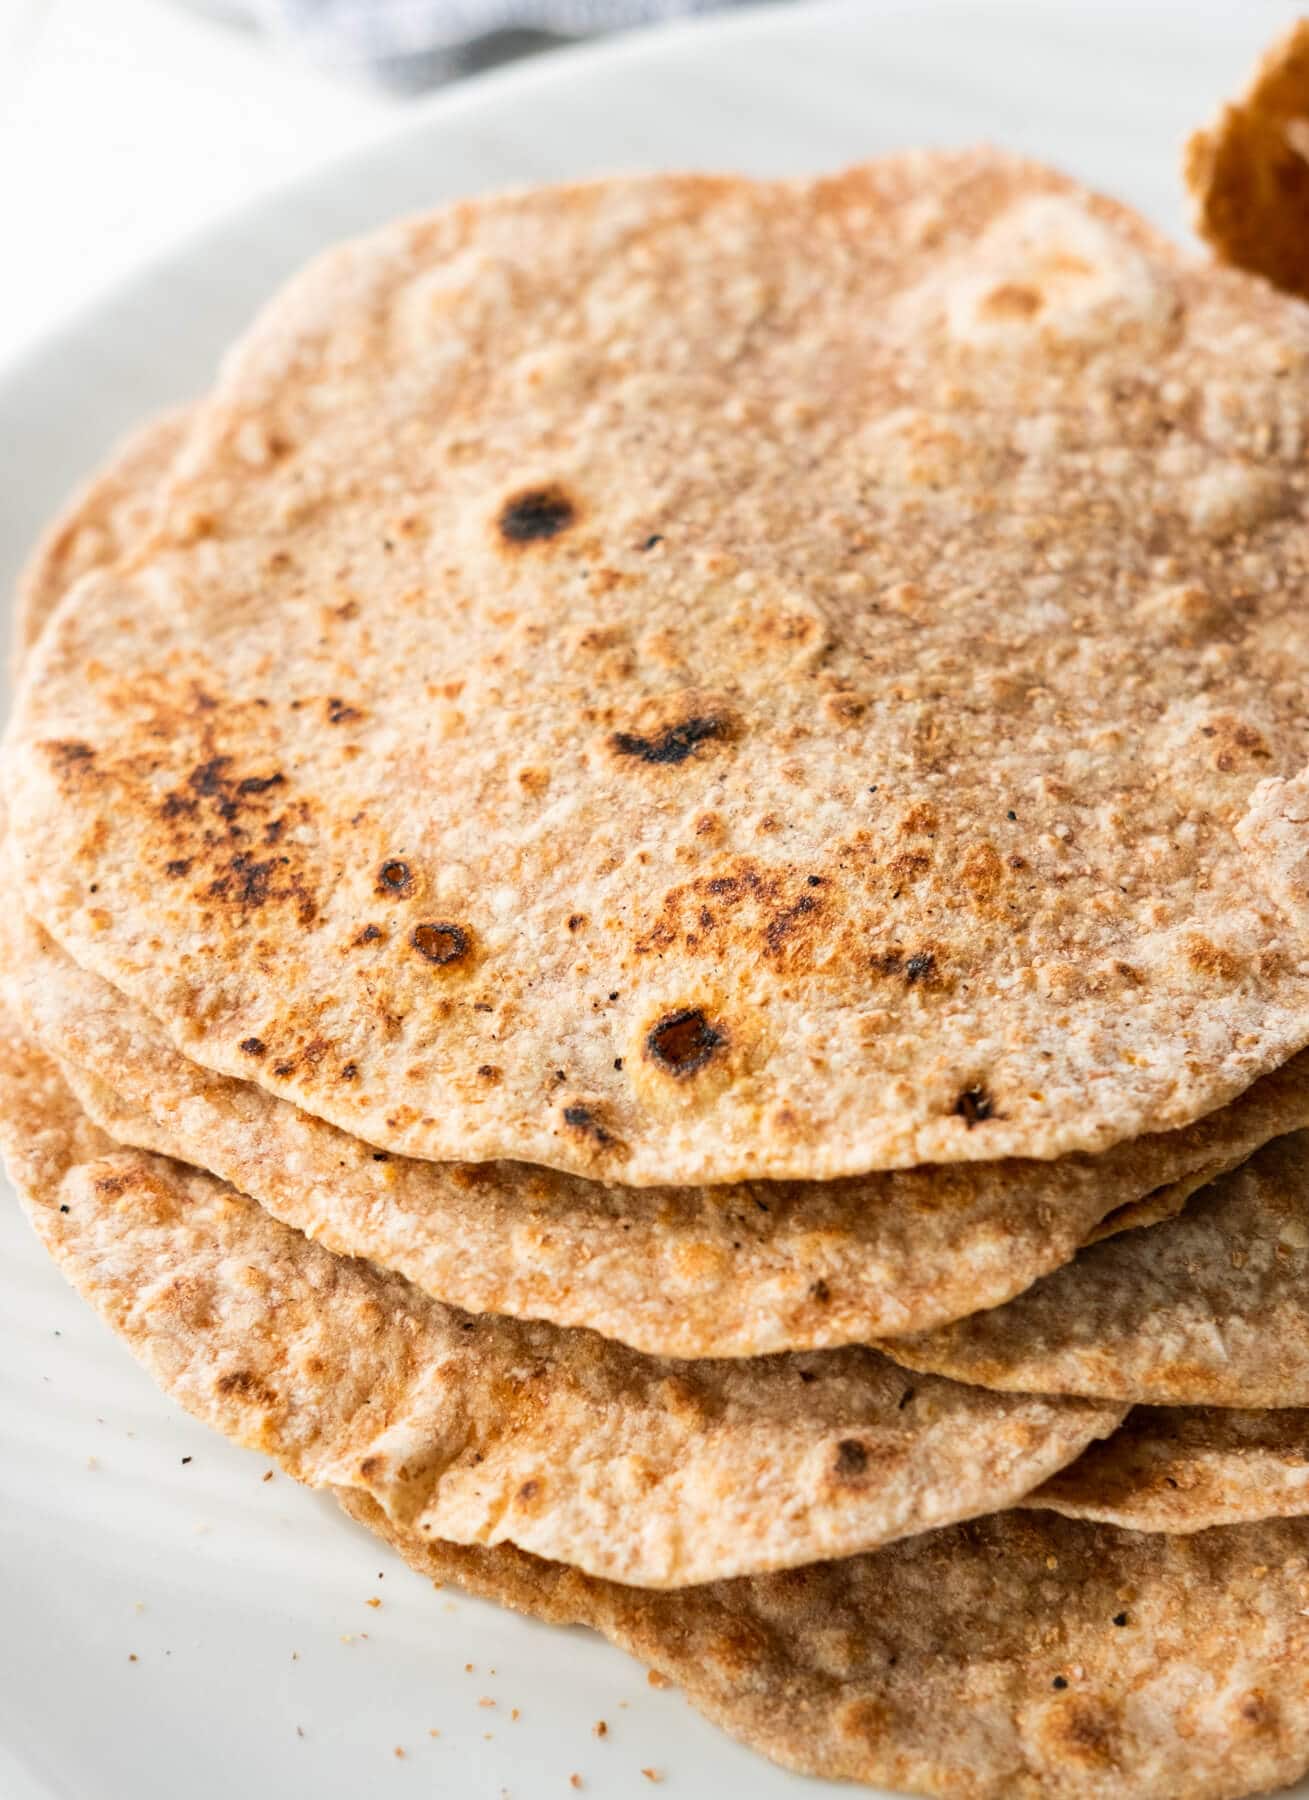
Chapati, also known as chapathi, phulka, or roti, is a staple in India and many other South Asian countries. It’s typically served alongside curries, stews, chutneys, and stir-fries, making it the perfect companion to any Indian meal.
The word “chapati” comes from the Sanskrit word “carpatī,” which means flat or thin cake, and that’s exactly what this bread is—a thin, soft, and delicious flatbread!
This easy and authentic chapati recipe uses just three simple ingredients—wheat flour, water, and salt. The dough is rolled into thin circles and cooked on a hot griddle or skillet until it puffs up. I got this recipe from my friend Reem, and after trying her homemade chapati, I was hooked on how soft, fluffy, and flavorful it was!
To learn more about Indian flatbreads, check out the MICHELIN Guide.
Which Flour Is Best For Chapati
Traditionally, chapati is made with whole meal flour known as atta in Hindi. It is a finely ground whole wheat flour with a slightly nutty flavor commonly used in Indian cuisine.
What makes atta perfect for chapati is its gluten content, which gives elasticity to the dough. This property makes each piece easier to roll out thin and puff up when cooked.
The amount of damaged starch from the milling process also allows the flour to absorb more water. And that naturally results in a soft and pliable dough. However, if you don’t have access to atta, you can still make delicious chapatis with regular whole wheat flour.
Ingredients You’ll Need
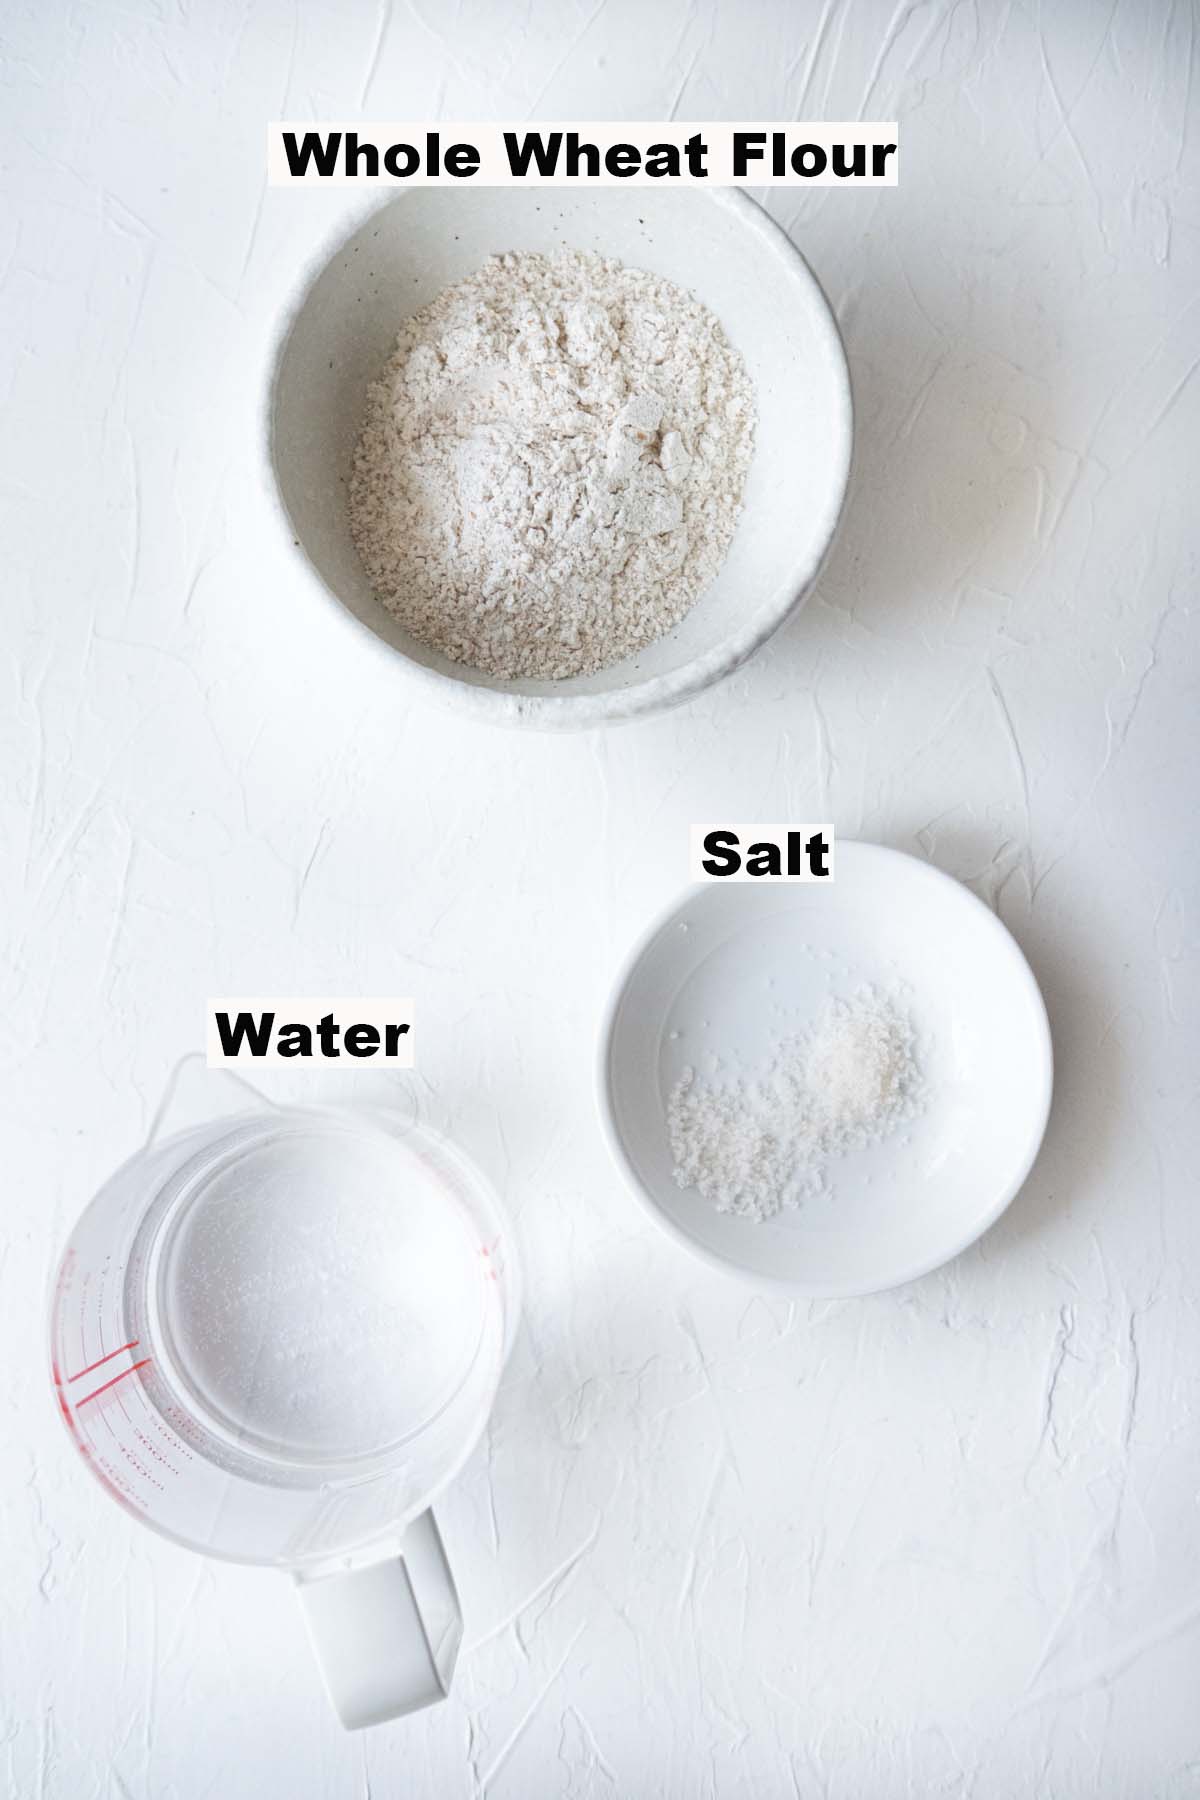
- Flour – the best flour for chapati is whole wheat flour or durum-wheat atta. It’s sometimes labeled as chakki atta. You might also see chapati flour at the grocery store, which is a combination of wheat flour and plain flour.
- Water – I like to use lukewarm water as it helps activate the gluten in the flour and makes it easier to roll out.
- Salt – just a teaspoon of salt is enough to enhance the flavors of your bread. It also helps strengthen gluten, which is what we want for this flatbread.
Please refer to the recipe card at the bottom of this post for full details on each ingredient.
How To Make Chapati Bread
Sometimes compared to a tortilla for its thin, soft, and round shape, chapati is made from whole wheat flour instead of corn. The dough itself is simple, made from only three ingredients.
Making chapati from scratch is all about techniques. And even if it’s your first time making it, you will learn below the exact process and techniques I use in my recipe for a soft, light, airy, and puffy homemade chapati!
Here’s how to make chapati at home without oil:
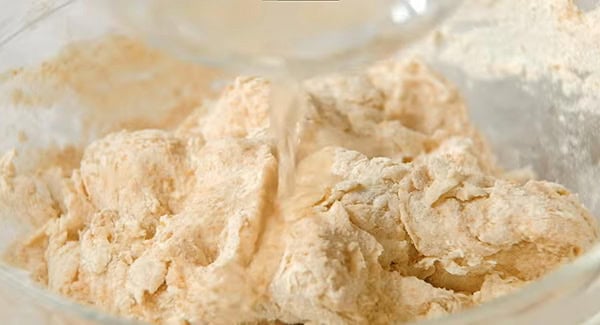
Sift the flour and mix in the salt. Then, place it in a large bowl and pour in 3/4 cup of the water. Gently stir with your fingers in a circular motion until the flour starts to come together.
Pro tip: If the dough looks too sticky, add 1-2 tablespoons more flour. If it seems too dry or firm, add a bit more water—just until it’s nice and smooth.
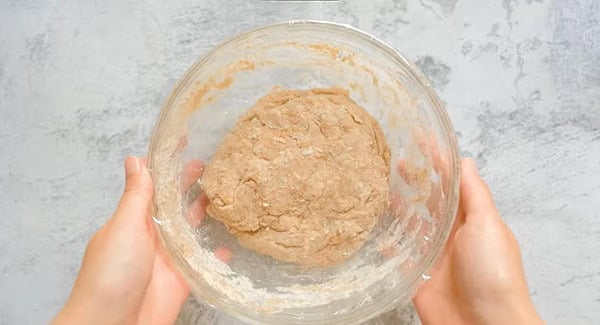
Knead the dough until it’s soft, smooth, and doesn’t stick to your fingers. If you find it’s a bit sticky, you can lightly oil your hands while kneading. Once it’s ready, cover the dough with plastic wrap and let it rest for at least 1 hour at room temperature.
Pro tip: If you need to make it ahead, you can store the dough in the fridge. Just make sure to let it come to room temperature before using it.
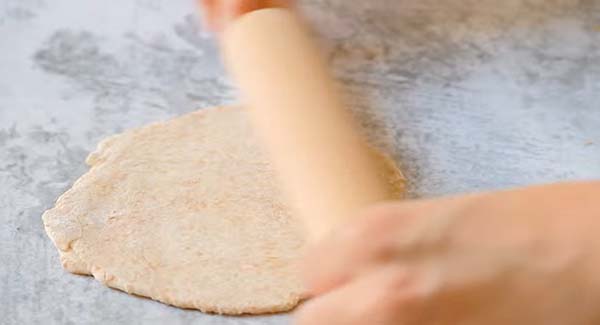
When you’re ready to make chapatis, heat up the griddle over medium-high heat. Divide the dough into 10-12 equal-sized balls. Take one ball at a time, roll it in flour, and flatten it a bit with your hands. Place the flattened ball on a clean, flat surface, and use a rolling pin to roll it out into a 6-7 inch (15cm-17cm) disc.
Pro tip: If the dough sticks to the surface, just dust it with a little more flour—easy fix!
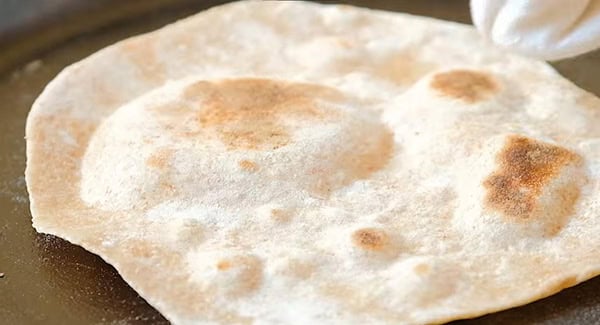
Place the chapati on the hot griddle and cook for about 30 seconds until you see tiny golden dots on the surface. Flip it over and cook the other side. Then flip it again, and soon it will start to puff up. Gently press down on the puffy chapati with a folded kitchen towel to push the air to the flattened part. The whole bread should puff up into a nice, round ball.
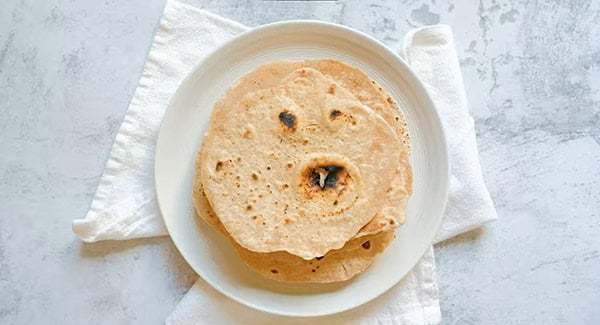
Once they’re cooked, transfer the chapatis to a serving platter. If you like, you can brush them with a little butter or ghee while they’re still warm. Serve them up immediately—so good fresh off the griddle!
Secrets To Perfectly Soft And Puffy Chapati
- I adjust the dough’s consistency by adding more water or flour, depending on what it needs. It should never be too dry or sticky.
- When I knead the dough, I make sure it has enough moisture. If it’s too dry, it’ll be hard to roll out, and it might turn tough when cooked.
- Before rolling, I give the dough a little poke with my finger. If it bounces back, I know it’s soft and pliable and ready to go.
- Like any flatbread, I avoid over-kneading the dough because that can make the chapati dense, hard, and chewy.
- I also keep a close eye on the heat while cooking. If it’s too high, the chapatis brown too fast and don’t have time to puff up properly. If it’s too low, they end up flat and tough.
- If my chapati doesn’t puff up perfectly, I don’t stress about it. It still tastes amazing! Perfectly puffy chapatis take a little practice, but I find they puff up best when cooked over direct flame.
Frequently Asked Questions
There’s a lot to be said about the art of making soft chapatis, but the secret is in the dough. Kneading it well and letting it rest enough helps to form the gluten, which makes it soft, pliable, and puffy.
Chapati and roti are both unleavened flatbreads popular in Indian cuisine. Most people consider them the same since they use similar ingredients, but some say that chapati is rolled slightly thinner than roti.
No, chapati is an unleavened flatbread, which means it does not contain baking soda or any other leavening agent. Its softness and puffiness come from steam created during cooking.
The dough should rest for at least 30 minutes to an hour. This step allows the gluten to relax, which will make the dough easier to roll out.
Cook the chapatis on a hot, dry griddle or skillet—no oil needed! The high heat helps them puff up and develop those golden brown spots. Just make sure the pan is preheated before placing the dough on it.
If your chapati becomes crispy, it has been probably cooked for too long or at too high of a heat. Make sure to cook it on medium to medium-high heat and only for about 30 seconds on each side.
One possible reason could be that the dough was not kneaded enough, which can result in too weak gluten strands. Another reason could be that the dough is too dry, causing it to not have enough moisture to puff up.
The most common reason for hard chapatis is that the dough has not been kneaded enough to develop the gluten. It’s also possible that the dough doesn’t have enough moisture to keep it from drying out.
Chapatis stay fresh for a few hours at room temperature if stored in an airtight container or wrapped in a towel. For the best texture, enjoy them within a day. If you’re keeping them longer, it’s best to refrigerate or freeze them!
Yes, you can freeze cooked chapatis! Just let them cool, stack with parchment paper between each one, and store in a freezer bag. They’ll stay good for up to a month. Reheat on a skillet or microwave when you’re ready to enjoy!
This recipe has only 68 calories per serving (per piece).
What To Serve With This Recipe
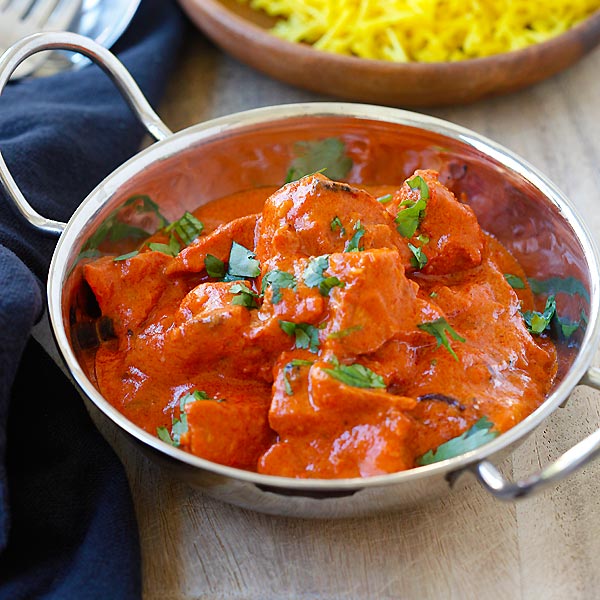
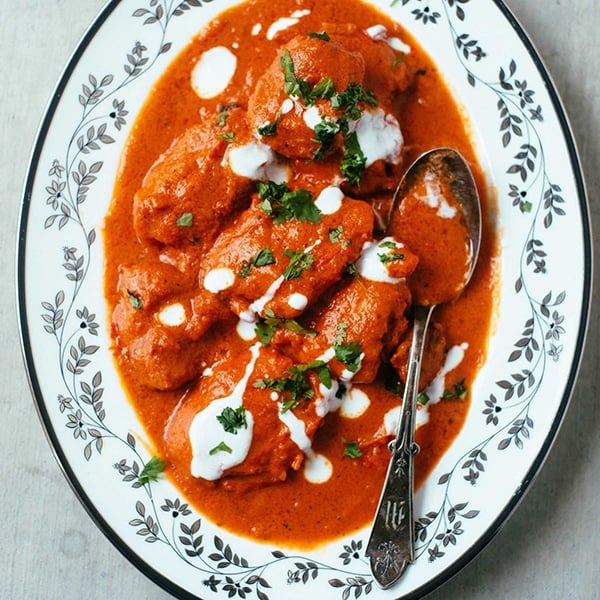
Serve chapati as is, with some butter (my favorite), some garlic and cheese, or even with Mango Chutney, Cardamom Chicken (Masala Murgh), Malaysian Chicken Curry and Butter Chicken.
For a wholesome and easy Indian-inspired dinner, I recommend the following recipes:
I hope you enjoy this post as much as I do. If you try my recipe, please leave a comment and consider giving it a 5-star rating. For more easy and delicious recipes, explore my Recipe Index, and stay updated by subscribing to my newsletter and following me on Facebook, Pinterest, and Instagram for new updates.
Other Indian Recipes You Might Like

Chapati (Indian Flat Bread) Recipe
Ingredients
- 2 cups whole wheat flour , or drum-wheat “Atta”
- 1 teaspoon salt
- 1 cup water
- 2 tablespoons wheat flour, for rolling and dusting
Instructions
- Sieve the flour, add salt, and mix well. Place the flour in a large bowl and add 3/4 cup of the water. Stir gently with fingers in a circular motion until the flour starts to gather. Add 1-2 tablespoons more flour if the dough looks too sticky. Add more water if it looks too dry and firm.
- Knead the flour until it becomes soft and pliable and doesn’t stick to your fingers. You can put a little oil on your hand while kneading the dough to help with the kneading. Cover the dough with plastic wrap and let the dough rest for at least 1 hour at room temperature. You may also store the dough in the refrigerator. Just thaw it to room temperature before using it.
- Once ready to make chapatis, heat the griddle over medium-high heat. Divide the dough into 10-12 equal-sized dough balls. Working on one dough ball at a time, roll it on the flour and flatten it a bit with your hands. Transfer the flattened ball to a clean flat surface, and roll it with a rolling pin into a 6-7 inch (15cm-17cm) disc. If the dough sticks to the surface, dust the surface with more flour.
- Place the chapati on the hot griddle and cook for 30 seconds or until tiny golden dots appear on the surface. Flip over and cook the other side. Flip over again and soon it will start to puff up. Use a folded kitchen towel and press gently on the puffy chapati to push the air to the flattened part. The whole bread should puff up into a round ball.
- Transfer the cooked chapatis to a serving platter. You may baste it with a little butter or ghee. Serve immediately.
Video
Notes
- I adjust the dough’s consistency by adding more water or flour, depending on what it needs. It should never be too dry or sticky.
- When I knead the dough, I make sure it has enough moisture. If it’s too dry, it’ll be hard to roll out, and it might turn tough when cooked.
- Before rolling, I give the dough a little poke with my finger. If it bounces back, I know it’s soft and pliable and ready to go.
- Like any flatbread, I avoid over-kneading the dough because that can make the chapati dense, hard, and chewy.
- I also keep a close eye on the heat while cooking. If it’s too high, the chapatis brown too fast and don’t have time to puff up properly. If it’s too low, they end up flat and tough.
- If my chapati doesn’t puff up perfectly, I don’t stress about it. It still tastes amazing! Perfectly puffy chapatis take a little practice, but I find they puff up best when cooked over direct flame.
Nutrition
Nutrition information is automatically calculated, so should only be used as an approximation.



I have a friend (yes she’s Indian) and does make her own chapati. She’s brought me some and the are delious. I prefer them over regular white bread. The only bread I like better is good old fashion crusty on the outside chewy on the inside (I’m italian). Thanks for the recipe. I can’t wait to try it. #rasamalaysia
Awesome you should try this chapati recipe, it’s very good.
Beautiful recipe.Thank you for posting this recipe. I think this is the best one I have found so far with easy step by step instructions. I am waiting for more such recipes.
You can try more recipes on my site: https://rasamalaysia.com/recipe-index-gallery/
Thank you for sharing this recipe. This is the best one I have found so far with easy step by step instructions. Can’t wait to try it and I’m sure I will like them, but I will leave a comment on my experience making them.
Hi Beverly – thanks for trying this chapati recipe.
I am bachelor and I tries to make chapati for dinner. we roommates are enjoying chapati and cari . thank you for this recipe.
Fabulous recipe. Is it possible to freeze these? If so is it better to freeze cooked or uncooked ?
Freeze cooked.
Easy recipe for great chapatis. Love the photos. I always make them now but I admit I use my stand mixer. Perfect result every time.
Awesome thanks Lynn for trying the Chapati.
I’d love to hear how you used your stand mixer.
Nice recipe very simple. I am fade up of eating stored breads and burgers at least i can try some special and fresh. Thanks a lot.
How do we store chapatis (serving for one person)? Would you recommend making the dough and storing the dough (hence rolling it out as needed) or storing the made chapati? I’m a student here and would like to have chapatis on daily basis.
Storing made chapati is better.
Wow! This is the first time I have made chapati and it came out perfectly!!I was very nervous as I wasn’t sure how the dough was supposed to feel or how long to knead it, but it all came together. I let the dough rest more than an hour because I was running around doing other things. It rolled easily and actually puffed just like the pictures! Best of all, it tastes delicious. I used Aashirvaad whole wheat flour with multi-grains from the local Indian market. I will never but flat bread from a store again.
Going to make this recipe tentatively tonight. My dear I noticed a typo… “Place the bowl in dry flour” I’m sure the recipe should say place the ball. Thanks !