This post may contain affiliate links. Please read my privacy policy.
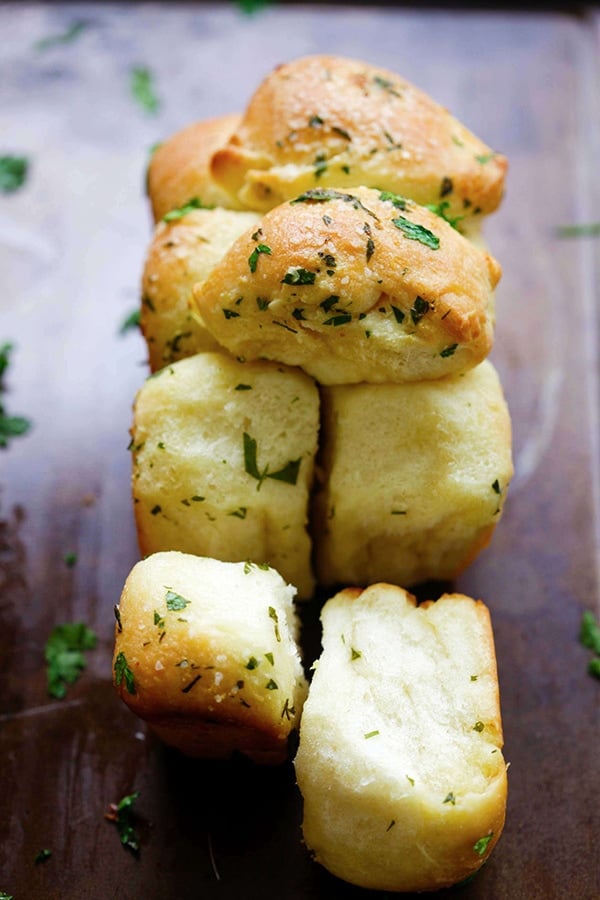
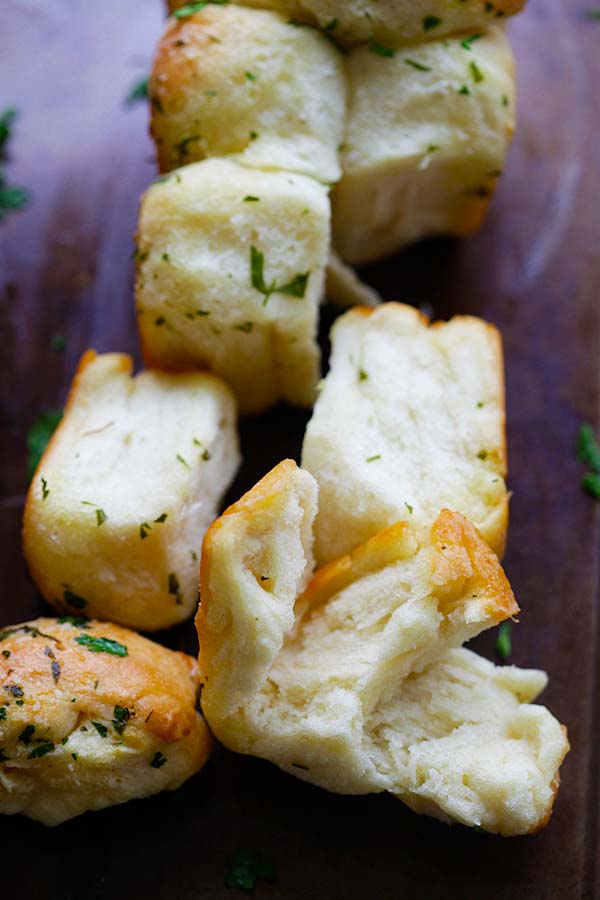
This easy homemade Pull Apart Garlic Bread is seriously the softest, fluffiest, most foolproof garlic bread ever. Loaded with buttery garlic flavor in every bite and no slicing needed. Just tear and eat. Once you try it, you’ll never go back to store-bought.
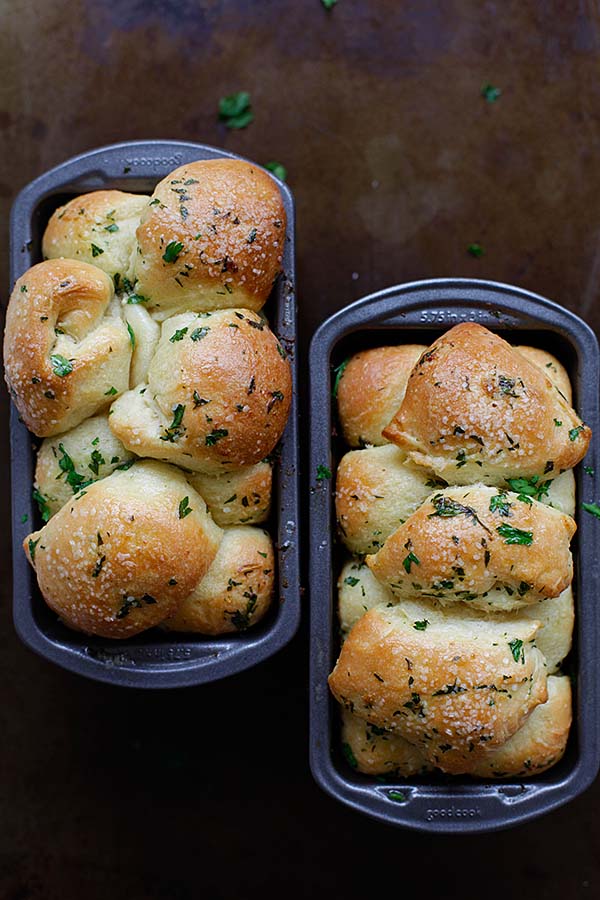
Table of Contents
Homemade Pull-Apart Garlic Bread Recipe
I’m not a seasoned baker, but once in a while, when I stumble on a really good baking recipe, I’ll bookmark it and give it a try at home. That’s exactly what happened when I spotted this pull-apart garlic bread on Pinterest a few weeks ago—I saved it right away. I’ve always loved garlic bread, especially when it’s fresh out of the oven, soft and fluffy inside, with that buttery, garlicky aroma. Regular garlic bread is great, but I find slicing a whole loaf a bit of a hassle. This pull apart version is perfect—you just tear and eat, no knife needed.
I ended up halving the original recipe (from Gather for Bread) to avoid wasting ingredients in case it didn’t work out. But honestly, the recipe turned out to be super easy, straightforward, and totally foolproof. Just a few hours in the kitchen and I had the softest, most delicious garlic bread ready to go. If you’re new to baking or just want a no-fail recipe, this one’s for you.
Be sure to check out my tips below and video guide to help you get the best results. And if you love homemade bread, don’t miss my Brioche and Milk Bun recipes too.
This Garlic Bread Always Gets Asked For
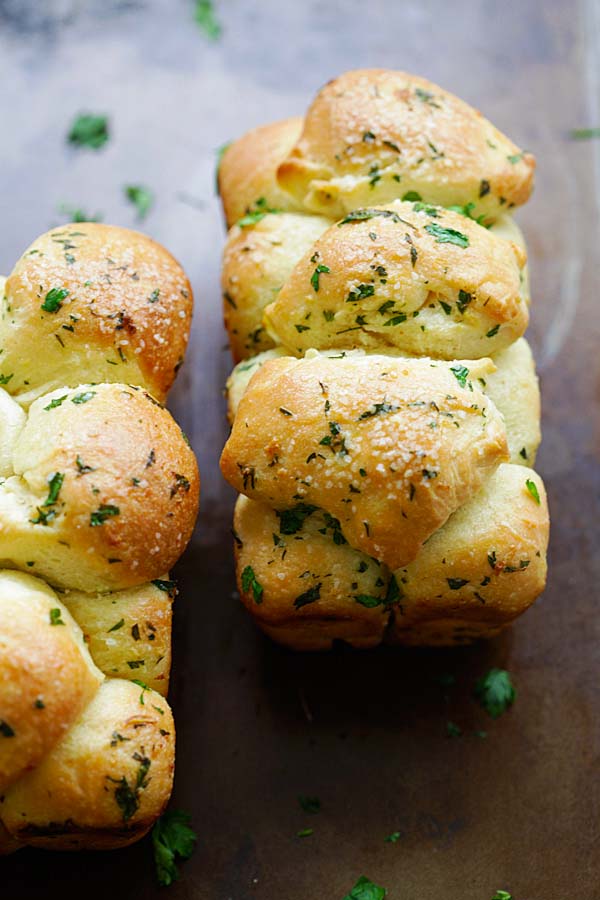
I’ve made this so many times and it’s always the first thing to go—here’s what makes it so good:
- Soft and fluffy inside, golden on the outside. This bread bakes up pillowy and light with buttery, golden tops—every bite is warm, garlicky comfort.
- Easy, homemade dough. Foolproof and simple, the dough comes together with pantry basics. No fancy mixers or baking skills needed.
- Loaded with real garlic butter. Each piece is dipped in a fragrant mix of melted butter, fresh garlic, and parsley—so you get flavor in every bite.
Ingredients You’ll Need
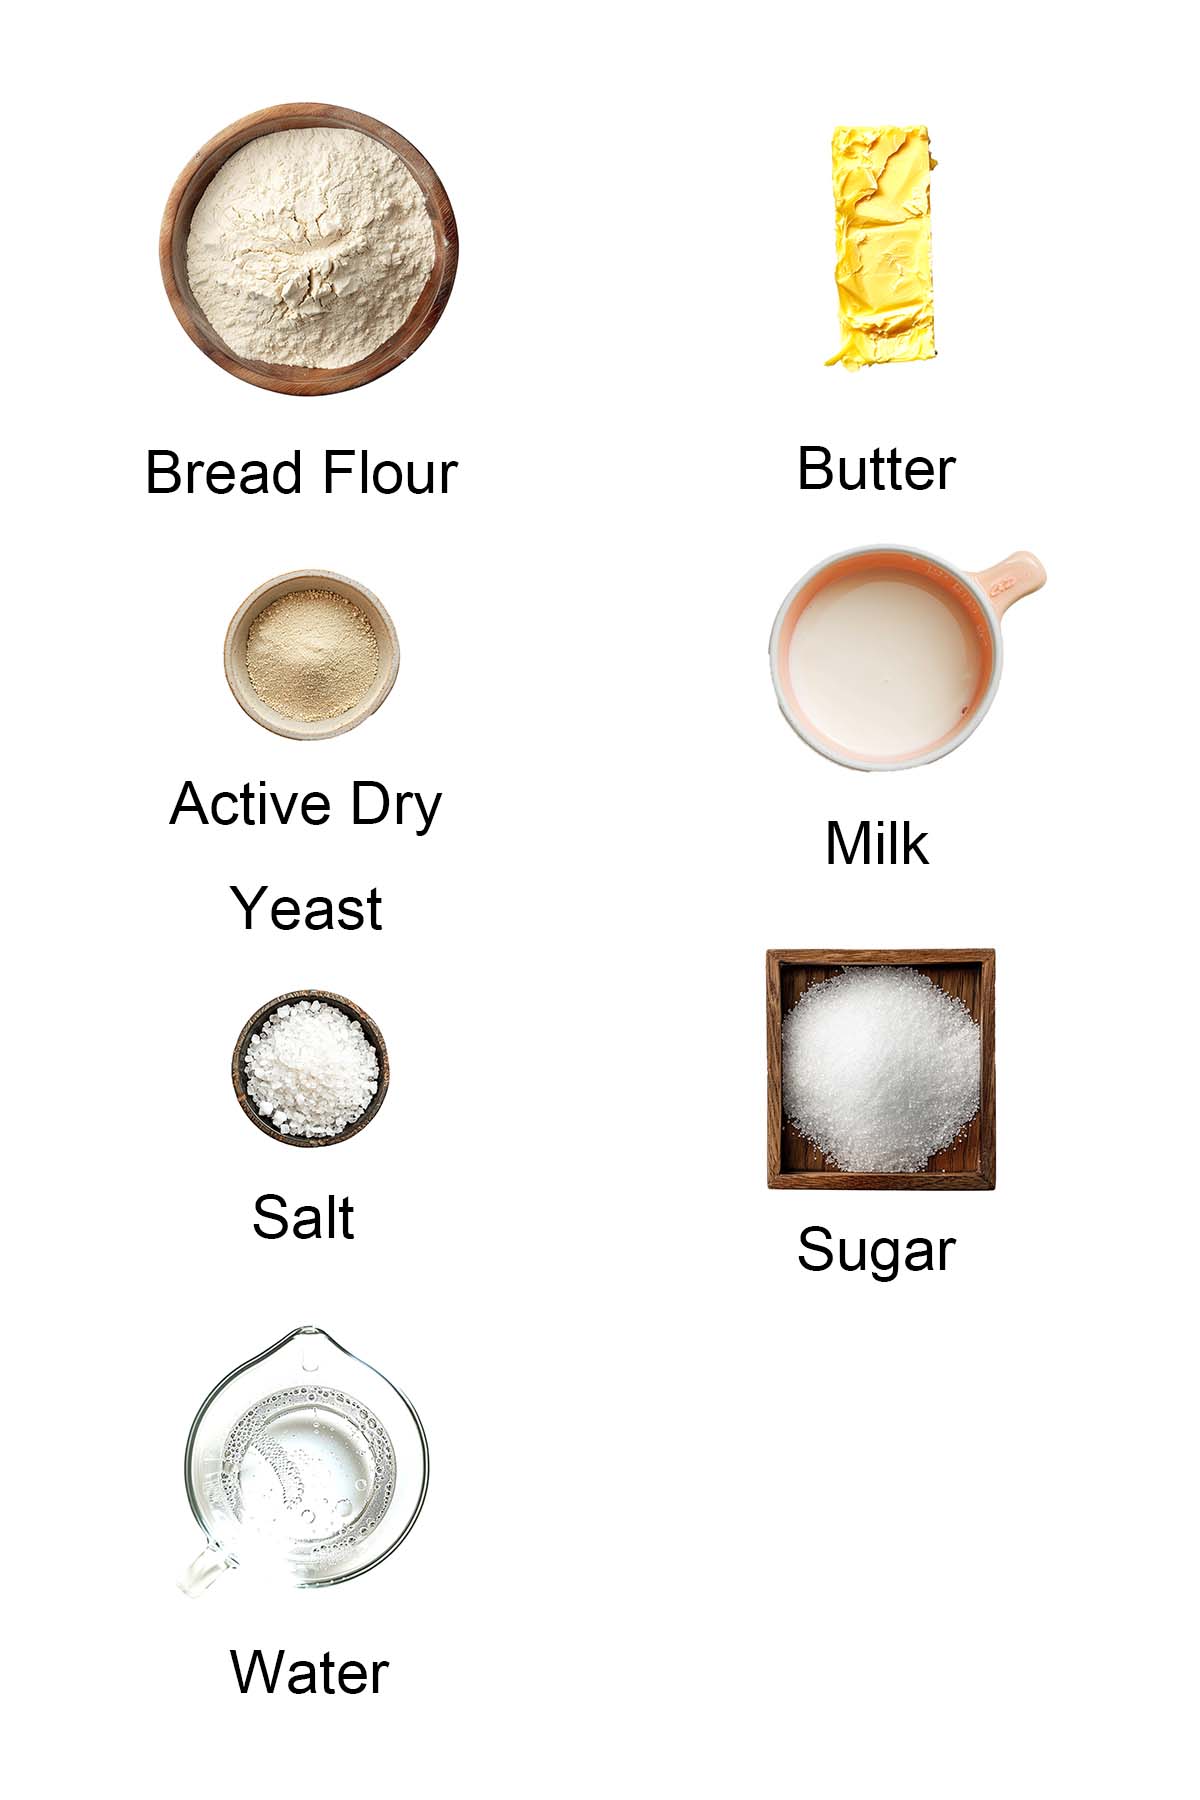
- Bread flour
- Butter
- Active dry yeast
- Milk
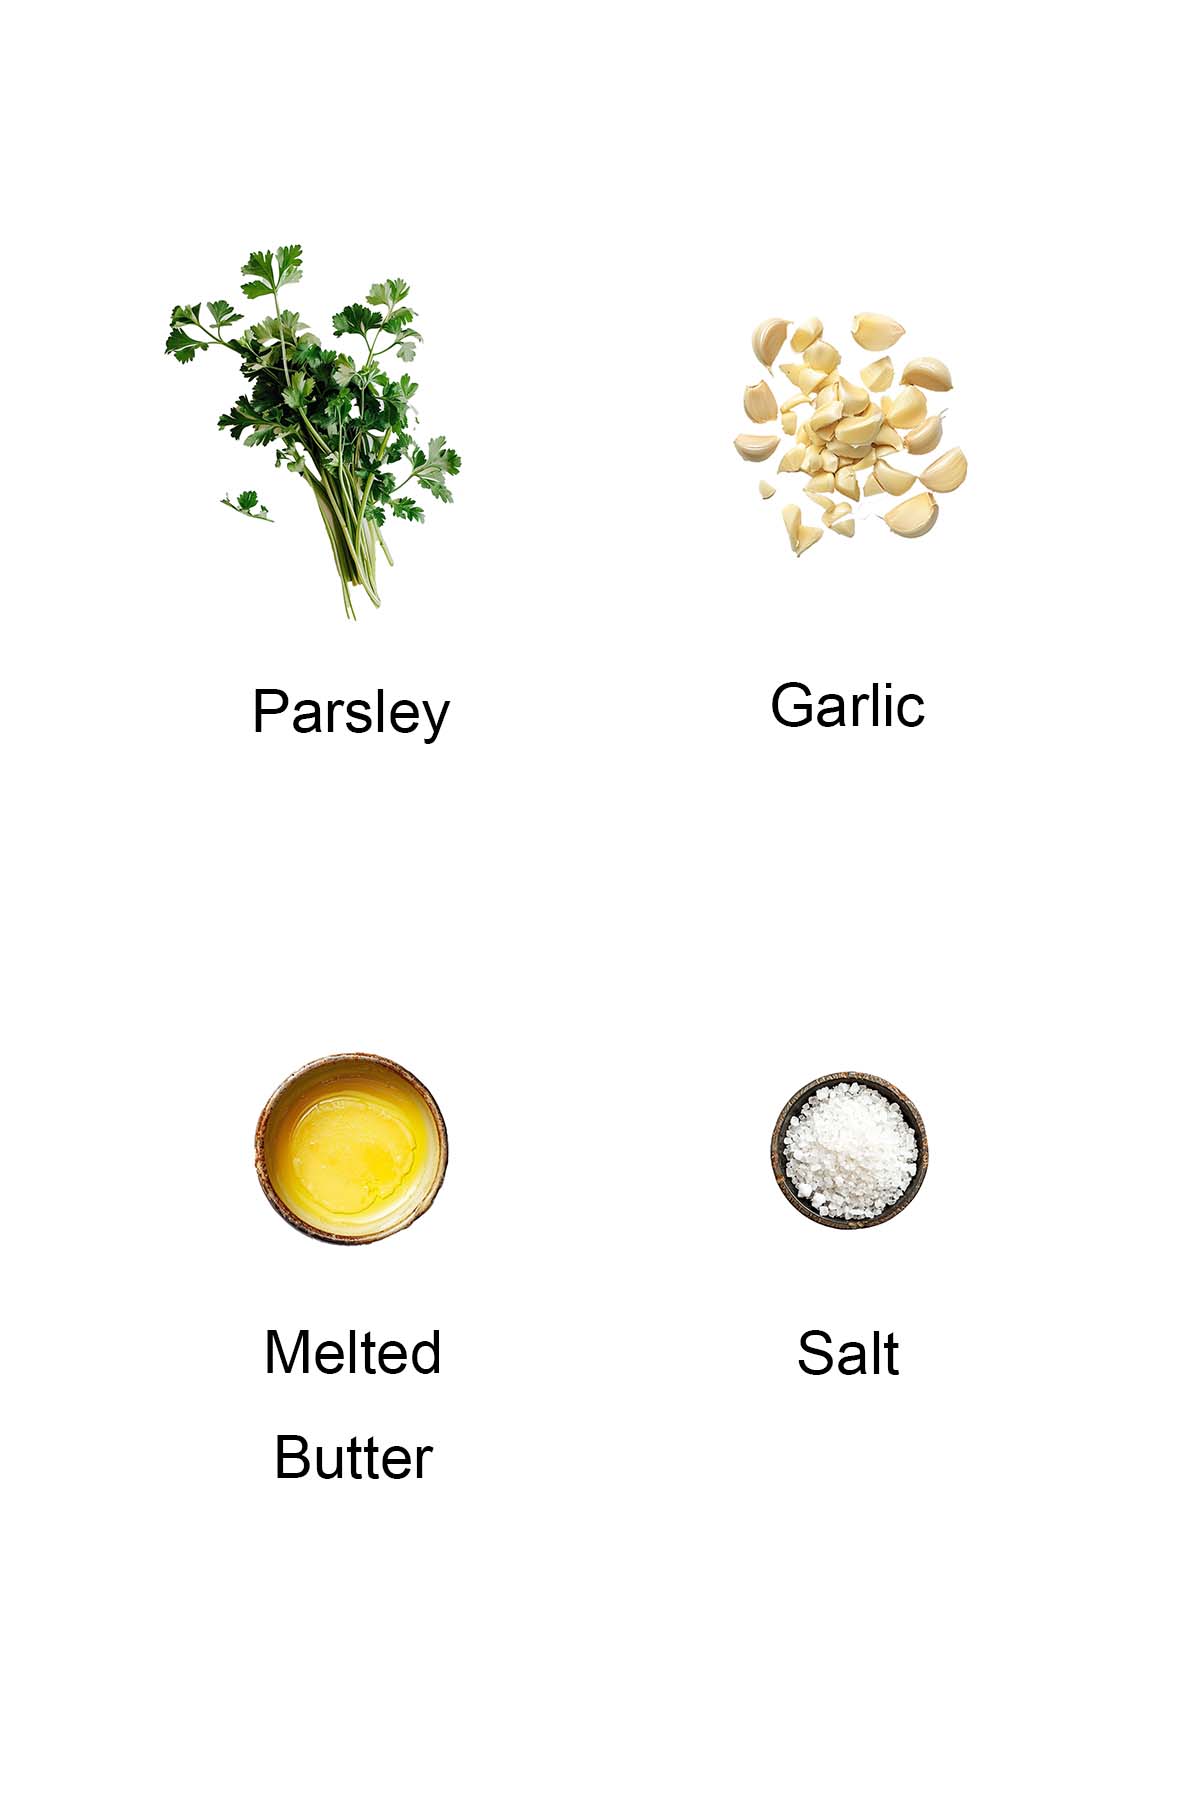
Ingredients For Topping
- Parsley
- Garlic
Please refer to the recipe card at the bottom of this post for full details on each ingredient.
Pro Tip #1: Why I Use Bread Flour
Bread flour gives you that soft, chewy texture with a little more structure than all-purpose. It makes the bread fluffier and helps it hold its shape—especially important for pull apart bread that’s meant to be torn and shared.
Pro Tip #2: Warm Water Helps Activate the Yeast
I always start with warm (not hot!) water because it wakes up the yeast and gets it going. You’ll know it’s working when it turns foamy—that’s the sign your bread is on the right track.
Pro Tip #3: Milk Makes It Soft and Rich
Milk adds richness and moisture to the dough, giving it a softer crumb. It’s what makes the bread taste homemade and slightly buttery, even before you brush on the garlic butter.
Recipe Variations
Once you’ve mastered this garlic pull apart bread, try one of these easy twists for something new and just as irresistible:
- Garlic Herb and Cheese Pull Apart Bread: Love cheese? This version adds melty mozzarella and sharp Parmesan with a fragrant mix of Italian herbs. Extra cheesy, extra garlicky—what’s not to love?
- Pull-Apart Pepperoni Garlic Knots: Think garlic bread meets pizza. These soft, buttery knots are loaded with pepperoni and garlic—perfect for snacking, game day, or whenever those pizza cravings hit.
- Chocolate-Cinnamon Pull-Apart Bread: Swap savory for sweet with this soft, fluffy bread filled with melted chocolate and warm cinnamon. It’s like dessert and breakfast rolled into one.
- Blueberry-Cream Cheese Pull-Apart Bread: A creamy, fruity twist made with swirls of sweet blueberries and rich cream cheese. Perfect for brunch or a cozy afternoon treat.
- Cheesy Pull-Apart Rolls: These soft, golden rolls are packed with gooey cheese in every bite—simple, comforting, and always a crowd-pleaser.
How To Make Pull Apart Garlic Bread
Start by pouring the warm water into your stand mixer bowl—make sure you’ve got the dough hook attached. Sprinkle in the sugar and yeast, and just let it sit for about 5 to 10 minutes until it gets nice and foamy. That’s how you know the yeast is alive and ready to go!
Next, add in the butter, milk, and salt. Then gradually stir in the flour—it’ll start coming together into a dough. Let the mixer knead it for about 7 to 10 minutes. You’ll know it’s right when the dough sticks a bit to the bottom of the bowl but pulls away from the sides.
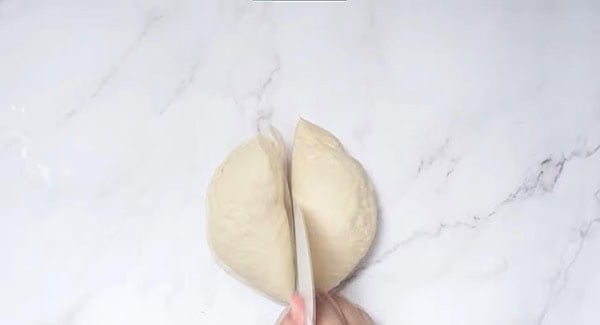
Once that’s done, go ahead and divide the dough into two equal portions.
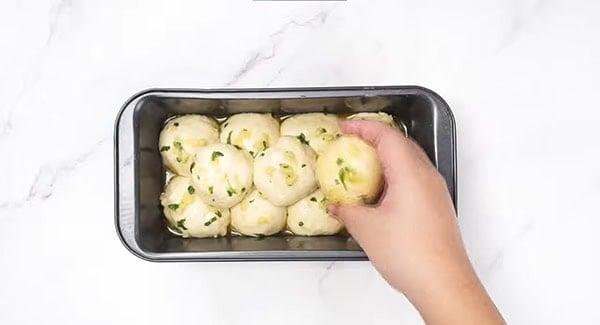
Now in a small bowl, mix together the butter, a pinch of salt, chopped parsley, and garlic. It smells so good already, right?
Take your dough and cut it into small little pieces—kind of like mini dough balls. Dip each one into that buttery garlic mixture (make sure they’re coated well!), and then start arranging them in either two mini loaf pans or just one regular loaf pan, whatever you’ve got.
Pro Tip: Cutting the dough into small pieces and coating each one in garlic butter means every bite gets that buttery, garlicky flavor—plus, it gives you that classic pull-apart look without needing to slice anything after baking. Just tear and eat!
Once that’s done, cover the pan with a clean kitchen towel and let the dough rise for about an hour, or until it’s doubled in size and looking puffy. Oh—and don’t toss the leftover butter mixture! We’ll use that later.
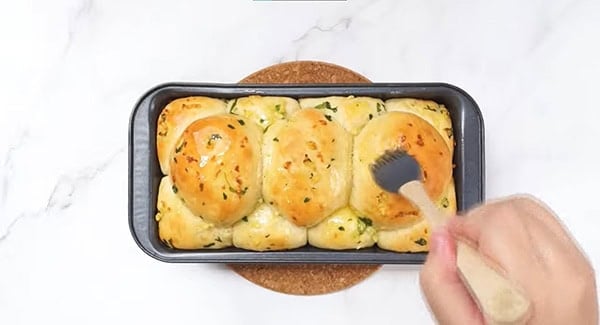
Pop the pan into the oven at 350°F (or 176°C) and bake for about 30 minutes, or until the top is golden brown and smells amazing.
As soon as you take it out of the oven—while it’s still hot—brush the top with that leftover garlic butter we saved earlier. It’ll melt right in and make everything extra flavorful and buttery. Trust me, this part takes it over the top!
Frequently Asked Questions
Yes! You can prep everything—cut and coat the dough pieces, arrange them in the pan—and store in the fridge overnight. Let it rest at room temp for about 30 minutes before baking.
Add a handful of shredded mozzarella or cheddar between the dough balls before baking. It melts into the buttery garlic mixture for a gooey, cheesy upgrade.
Once cooled, keep the bread in an airtight container at room temperature for up to 2 days, or refrigerate for up to 5. Reheat before serving to bring back that fresh-from-the-oven softness.
I recommend using the oven or air fryer at 300°F (150°C) for 5–8 minutes to warm it through while keeping the edges slightly crisp. You can also microwave it for about 20 seconds if you’re short on time.
Definitely. Wrap the baked and cooled bread tightly and freeze for up to 1 month. Thaw at room temp, then reheat to enjoy. You can also freeze the unbaked, shaped dough and bake straight from frozen with a few extra minutes added.
This recipe is 897 calories per loaf.
What To Serve With Garlic Bread
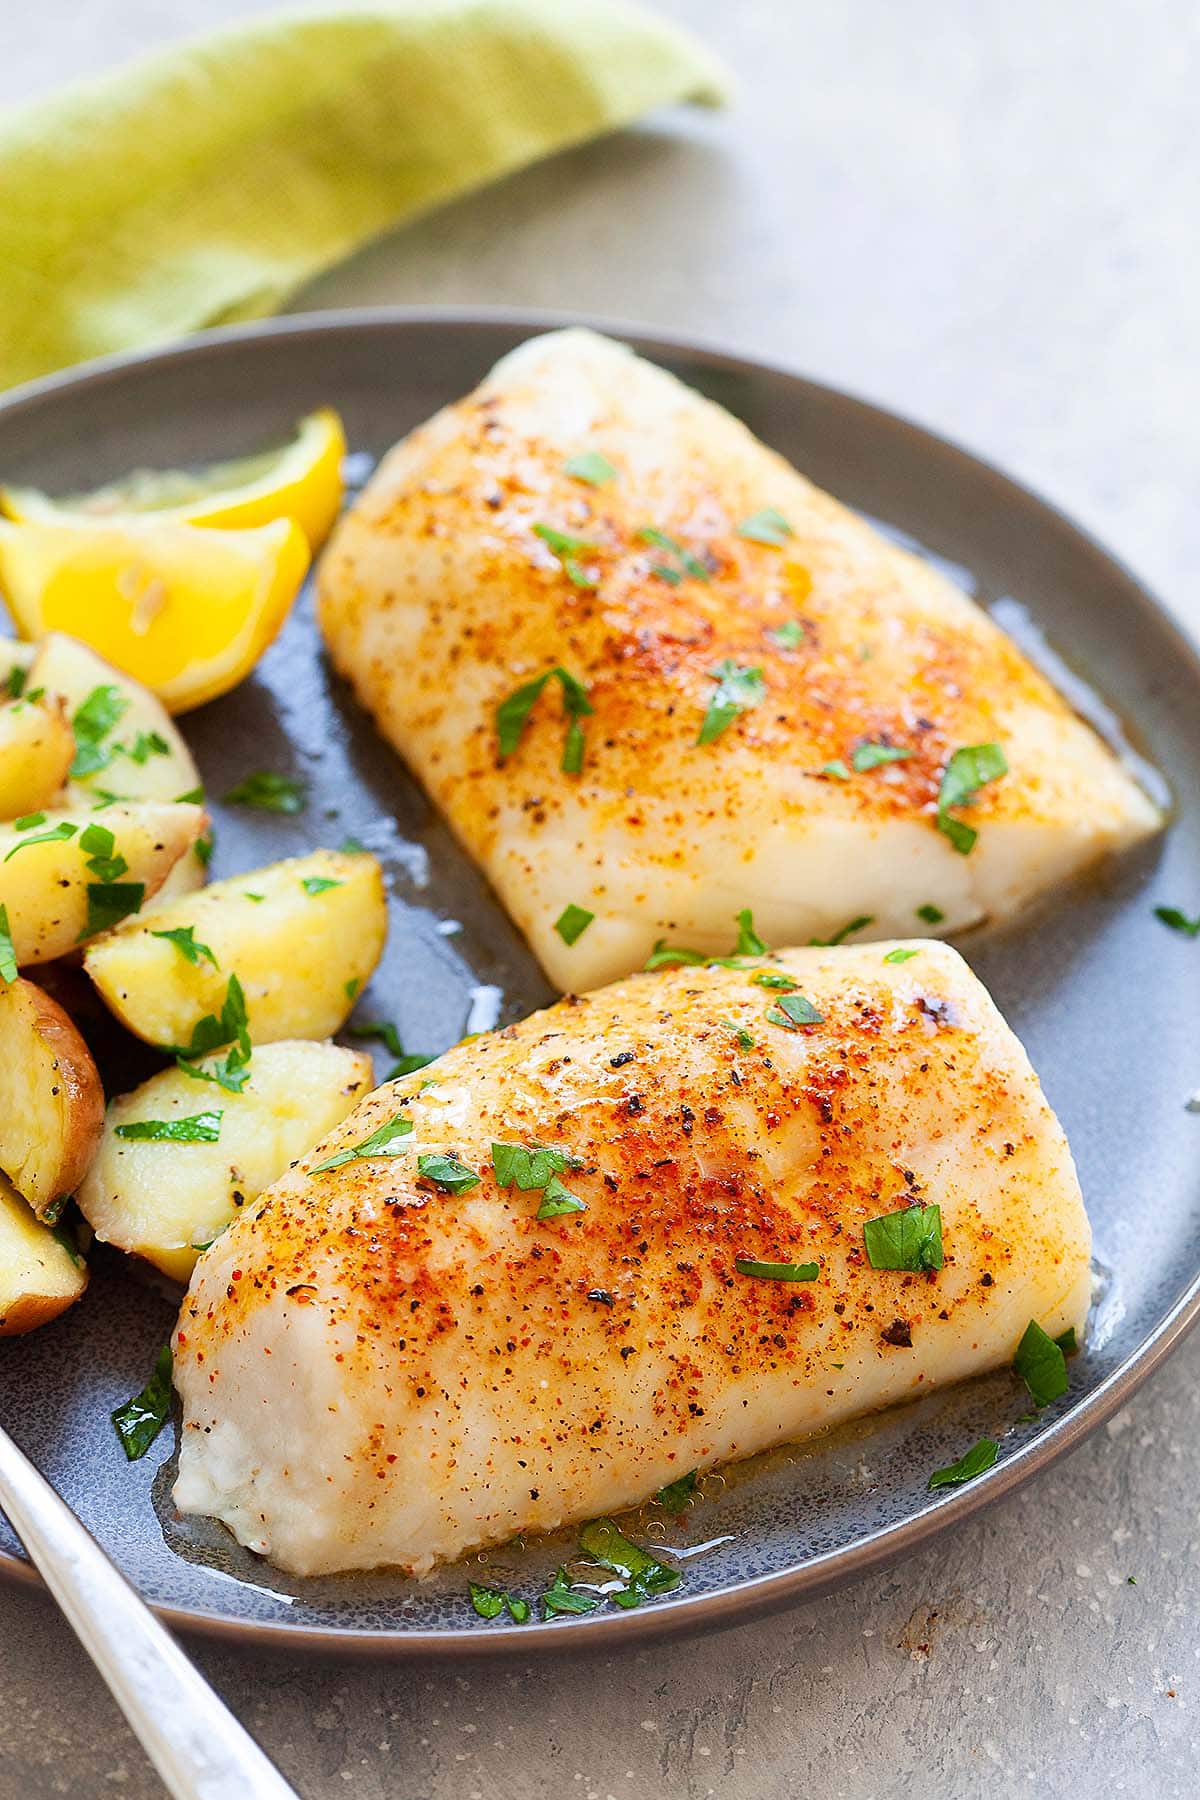
For a wholesome meal and easy weeknight dinner, pair the bread with the following recipes.
I hope you enjoy this post as much as I do. If you try my recipe, please leave a comment and consider giving it a 5-star rating. For more easy and delicious recipes, explore my Recipe Index, and stay updated by subscribing to my newsletter and following me on Facebook, Pinterest, and Instagram for new updates.
Other Recipes You Might Like
- Garlic Bread Homemade
- Skillet Garlic Bread
- Homemade Garlic Bread
- Parmesan Garlic Bread
- Hasselback Cheesy Garlic Bread
- Cheesy Garlic Bread
Pull Apart Garlic Bread
Ingredients
- 1/2 cup warm water
- 1 tablespoon white sugar
- 1 teaspoon active dry yeast
- 1 tablespoon unsalted butter, softened
- 1/2 cup milk
- 1 teaspoon salt
- 2 1/2 cups bread flour
Topping:
- 4 tablespoons unsalted butter, melted
- 1 pinch salt
- some fresh parsley leaves, finely chopped
- 3 cloves garlic, finely minced
- 1 teaspoon grated Parmesan cheese, optional
Instructions
- Add warm water to the bowl of a stand mixer fitted with a dough hook. Sprinkle sugar and yeast into the water and let it stand for 5-10 minutes until foamy. Mix in the butter, milk, and salt, and then stir in the flour gradually. Knead for 7-10 minutes. The dough should stick to the bottom of the bowl but clear the sides. Add 1 to 2 tablespoons or more water if the dough is too dense. Divide the dough into 2 equal portions.
- In a small bowl, combine the unsalted butter, salt, parsley leaves, garlic, and grated Parmesan cheese (if using). Cut the dough into small round pieces and dip them into the butter mixture. Arrange the dough balls in two mini loaf pans or one regular loaf pan. Cover and let rise until doubled, about 1 hour. Reserve the leftover butter mixture.
- Bake at 350°F (176°C) for 30 minutes or until golden brown. Baste the butter mixture onto the pull-apart garlic bread after it comes out of the oven.
Video
Notes
- Add 1 to 2 tablespoon or more water if the dough is too tough.
- Dough should stick to the bottom of the bowl but clears sides.
- You can divide the dough balls into however many pieces you would like to place into the loaf pan.
Nutrition
Nutrition information is automatically calculated, so should only be used as an approximation.


These were excellent and easy to make. My dough was just a touch dry so I added a splash of white wine. My dough was dry because my house is very dry right now. Everyone loved them.
Hi Manna, I am so glad you had great success with this recipe!
Hoping i did it right. I divided the dough into small balls, dipped in garlic/butter and then put them in a loaf pan to rise.
When I watched the video it looked like you divided the dough into 2 balls then let it rise, then made small balls and dipped.
The small balls only cover the bottom of the loaf pan, but maybe when they rise they’ll fill the pan like the picture.
Okay! Hopefully I did it correctly! Thank you for sharing!
Hi Sue, thanks for trying my recipe! Either ways work fine.
I tried this recipe for my first time making pull a part bread. my dough came out a bit tough and did not stick to the bottom of the bowl as a result when i took the bread out of the oven and tried to take it out of the pan it fell apart. the centre of the dough was a little doughy and the outside was a bit over cook and other parts were perfect. any suggestions on making this better would be appreciated as i want to try this recipe again. i am going to make more garlic butter for the bread as i didnt have enough for coating after baking
Hi Sarah, I am not sure why. What size of pan did you use?
So easy and delicious. Used a meatloaf pan and they can out PERFECT!
Thank you for an incredible recipe!
Thanks Heather. So glad it worked out for you and thanks for the 5 stars rating.
I am wanting to make this tonight….um now. Lol
I doubt you’ll see this anytime soon, but can you double or triple the recipe? I HAVE to make this for my family, but my goodness. One pan will just cause a lot of disappointment and stress, lol. I will need two at least. We all love’ove bread! I might just do it and take a chance.
Yes you can double or triple. In the recipe card, there is 1x, 2x, 3x to change the quantities.
Oh em geee!!! My WHOLE family loved these. Delightfully soft, and so good. I added a bit more garlic and salt and they were perfect. 10/10 would totally recommend!!
Hi Crystal, thanks for trying my recipe and for the 5 star rating!
These weren’t very fluffy at all and the garlic butter doesn’t really go into the buns
Liz, the pictures are exactly what you made, if yours weren’t fluffy, you must not have followed the recipe exactly.
I agree with Liz. I was trying it in the bread machine and found that it mixed a pretty tough dough in the machine. So I added a bit more water and butter, otherwise the bread would be tough and hard.
Compared to recipes on other people’s websites, similar recipes have one egg in the dough and more liquid (water, milk, etc.). It’s rising now, and I’m hoping it will have the desired firmness.
Hi Yuri, sorry for the trouble, I adapted this recipe from another blog: https://gatherforbread.com/pull-apart-garlic-bread/. There is no egg in the dough. I had great success as you can see from my photos and the video.
Very good, I could’ve used more garlic so i may make another half of the butter next time and add more to the balls of dough prior to baking. Other than that, very delicious and I am trying the same recipe with cinnamon sugar instead of garlic! (i did a teaspoon of cinnamon and three teaspoons of brown sugar with a few shakes of nutmeg in the butter instead of garlic). The bread itself is a perfect canvas for any spread topping!
Hi Olivia, that sounds delicious! Thanks for trying my recipe and giving me 5 stars rating. Please try more recipes on my site!
I cannot find the link to the video. I’d like to see how you laid the dough balls on the loaf pans. Is there a proper way?
The video is at the recipe card. If you have ad blocker, you won’t see it.
Can I freeze the dough after i have it in the pan and before baking? To bake the next morning.
Yes you can. When you’re ready to bake, remove the dough from the freezer and let it thaw in the refrigerator overnight. On baking day, let it come to room temperature and rise for about 30 minutes to an hour before baking.
I’ve never made bread before and decided to make this. It was super yummy and easy! Thank you!
Awesome, thanks for trying my recipe and giving me 5 stars rating. Please try more recipes on my site!